Learn how to display feature attributes in a pop-up.
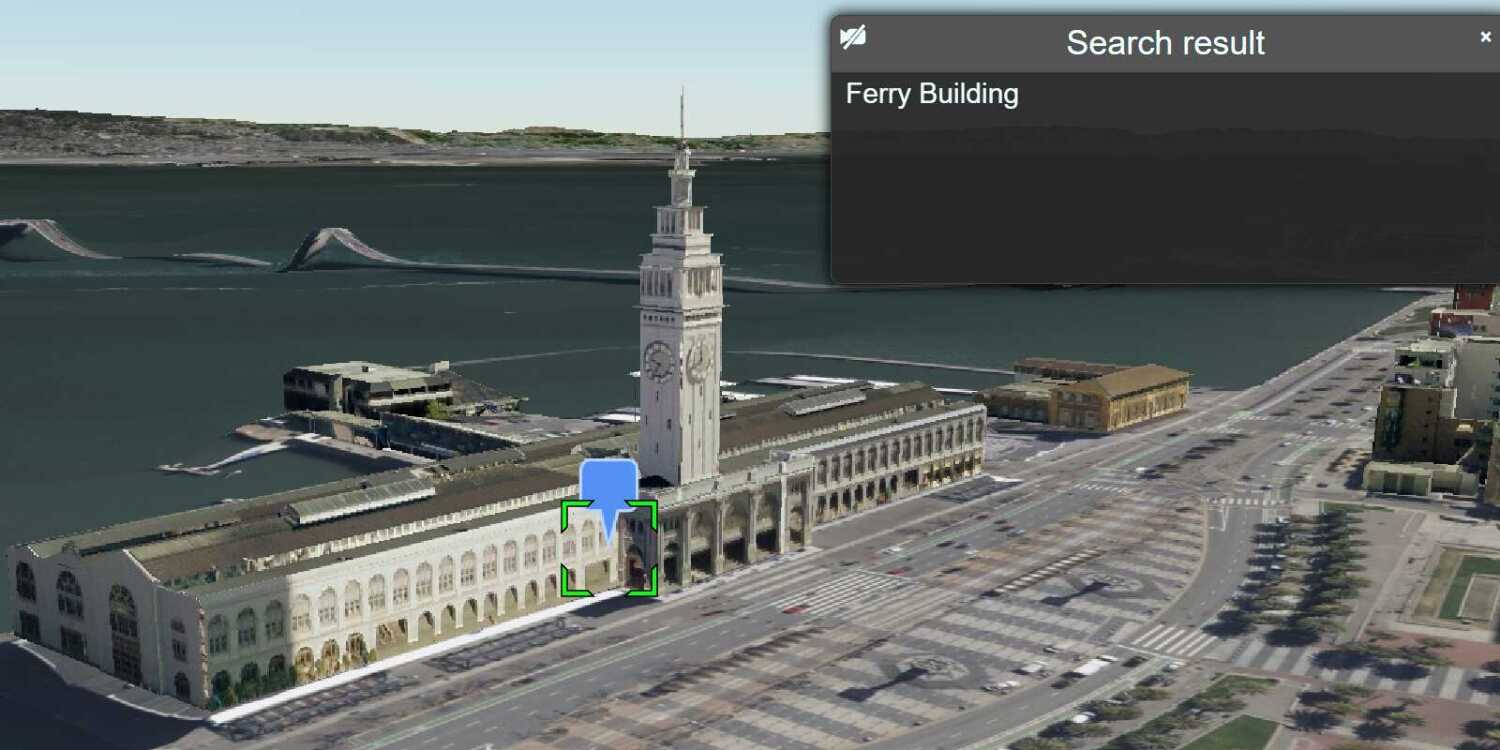
A pop-up, also known as a "popup", is a visual element that displays information about a feature when it is clicked. You typically style and configure a pop-up using HTML and CSS for each layer in a map. Pop-ups can display attribute values, calculated values, or rich content such as images, charts, or videos.
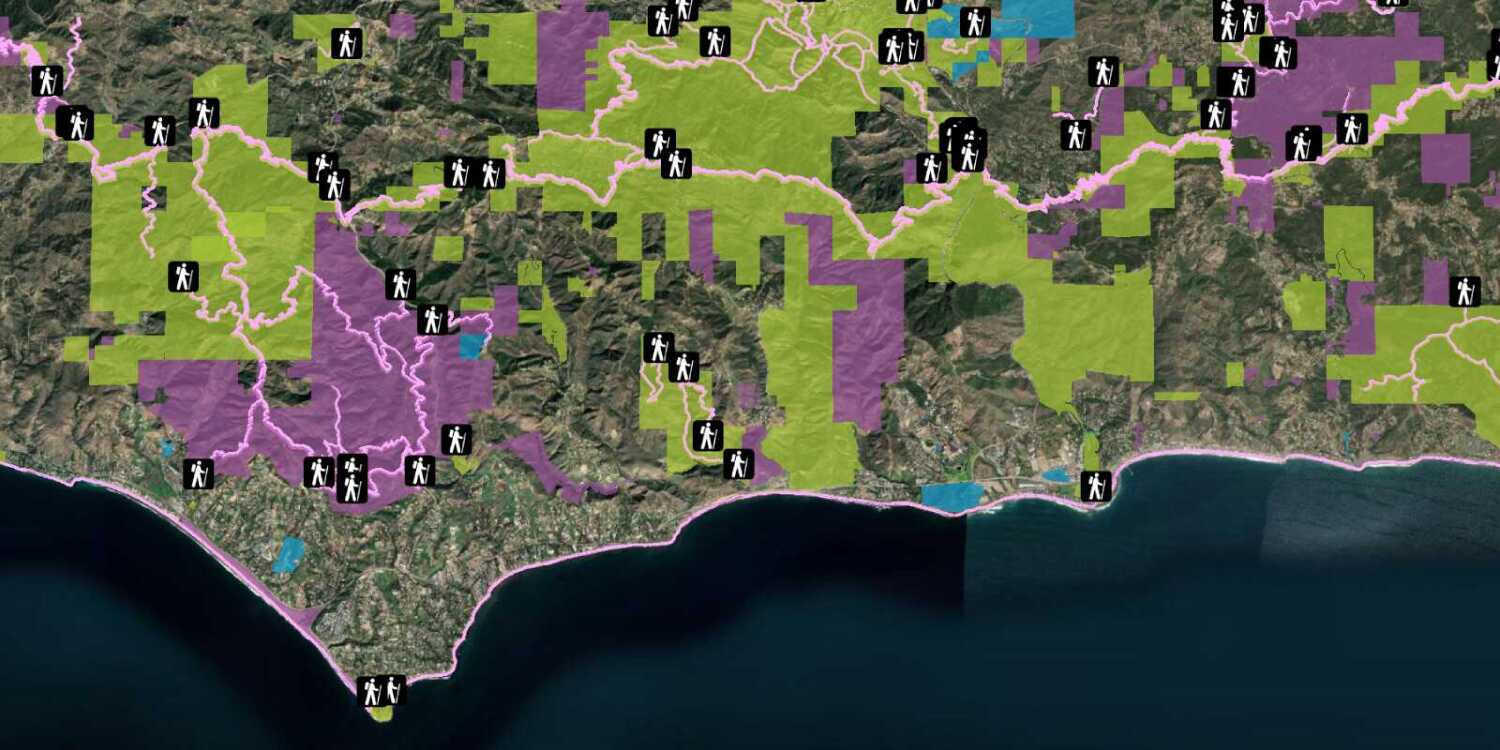
In this tutorial, you customize the interactive pop-up created by CesiumJS for the Trailheads feature service in the Santa Monica Mountains. When a feature is clicked, a pop-up will display containing the name of the trail and the service that manages it.
Prerequisites
An ArcGIS Location Platform or ArcGIS Online account.
Steps
Get the starter app
Select a type of authentication below and follow the steps to create a new application.
Set up authentication
Create developer credentials in your portal for the type of authentication you selected.
Set developer credentials
Use the API key or OAuth developer credentials created in the previous step in your application.
Get a Cesium ion access token
All Cesium applications must use an access token provided through Cesium ion. This token allows you to access assets such as Cesium World Terrain in your application.
-
Go to your Cesium ion dashboard to generate an access token. Copy the key to your clipboard.
-
Create a
cesiumvariable and replaceAccess Token YOURwith the access token you copied from the Cesium ion dashboard._CESIUM _ACCESS _TOKEN Use dark colors for code blocks <script> /* Use for API key authentication */ const accessToken = "YOUR_ACCESS_TOKEN"; // or /* Use for user authentication */ // const session = await arcgisRest.ArcGISIdentityManager.beginOAuth2({ // clientId: "YOUR_CLIENT_ID", // Your client ID from OAuth credentials // redirectUri: "YOUR_REDIRECT_URI", // The redirect URL registered in your OAuth credentials // portal: "YOUR_PORTAL_URL" // Your portal URL // }) // const accessToken = session.token; Cesium.ArcGisMapService.defaultAccessToken = accessToken; const cesiumAccessToken = "YOUR_CESIUM_ACCESS_TOKEN"; </script> -
Configure
Cesium.with the Cesium access token to validate the application.Ion.default Access Token Use dark colors for code blocks <script> /* Use for API key authentication */ const accessToken = "YOUR_ACCESS_TOKEN"; // or /* Use for user authentication */ // const session = await arcgisRest.ArcGISIdentityManager.beginOAuth2({ // clientId: "YOUR_CLIENT_ID", // Your client ID from OAuth credentials // redirectUri: "YOUR_REDIRECT_URI", // The redirect URL registered in your OAuth credentials // portal: "YOUR_PORTAL_URL" // Your portal URL // }) // const accessToken = session.token; Cesium.ArcGisMapService.defaultAccessToken = accessToken; const cesiumAccessToken = "YOUR_CESIUM_ACCESS_TOKEN"; Cesium.Ion.defaultAccessToken = cesiumAccessToken; </script>
Add references to ArcGIS REST JS
-
In the
<headelement, reference the> feature-serviceandrequestpackages from ArcGIS REST JS.Use dark colors for code blocks <script src="https://cesium.com/downloads/cesiumjs/releases/1.125/Build/Cesium/Cesium.js"></script> <link href="https://cesium.com/downloads/cesiumjs/releases/1.125/Build/Cesium/Widgets/widgets.css" rel="stylesheet"> <script src="https://unpkg.com/@esri/arcgis-rest-request@4/dist/bundled/request.umd.js"></script> <script src="https://unpkg.com/@esri/arcgis-rest-feature-service@4/dist/bundled/feature-service.umd.js"></script>
Add the trailheads layer
Use arcgis to query the Trailheads URL and add features to the scene as GeoJSON.
-
In the
<body, create an> arcgisusing your access token to authenticate requests to the feature service.Rest. Api Key Manager Use dark colors for code blocks /* Use for API key authentication */ const accessToken = "YOUR_ACCESS_TOKEN"; // or /* Use for user authentication */ // const session = await arcgisRest.ArcGISIdentityManager.beginOAuth2({ // clientId: "YOUR_CLIENT_ID", // Your client ID from OAuth credentials // redirectUri: "YOUR_REDIRECT_URI", // The redirect URL registered in your OAuth credentials // portal: "YOUR_PORTAL_URL" // Your portal URL // }) // const accessToken = session.token; Cesium.ArcGisMapService.defaultAccessToken = accessToken; const authentication = arcgisRest.ApiKeyManager.fromKey(accessToken); -
Use
arcgisto make an authenticated request to the Trailheads feature service. Set theRest.query Features fproperty togeojsonto format the response as GeoJSON.Use dark colors for code blocks destination : Cesium.Cartesian3.fromDegrees(-118.705, 33.957, 35000), orientation : { heading : Cesium.Math.toRadians(0.0), pitch : Cesium.Math.toRadians(-70.0), } }); const trailheadsURL = "https://services3.arcgis.com/GVgbJbqm8hXASVYi/arcgis/rest/services/Trailheads/FeatureServer/0"; arcgisRest.queryFeatures({ url: trailheadsURL, authentication, f:"geojson" }).then((response) => { }) -
Load the features into your scene using a
GeoJson Data Source Use dark colors for code blocks const trailheadsURL = "https://services3.arcgis.com/GVgbJbqm8hXASVYi/arcgis/rest/services/Trailheads/FeatureServer/0"; arcgisRest.queryFeatures({ url: trailheadsURL, authentication, f:"geojson" }).then((response) => { Cesium.GeoJsonDataSource.load(response,{ clampToGround:true, markerColor: Cesium.Color.fromCssColorString('#5491f5'), }).then((data)=>{ viewer.dataSources.add(data); }) }) -
Add the data attribution for the feature layer source.
- Go to the Trailheads (Santa Monica Mountains) item.
- Scroll down to the Credits (Attribution) section and copy its value.
- Create an
attributionproperty and paste the attribution value from the item.Use dark colors for code blocks const trailheadsURL = "https://services3.arcgis.com/GVgbJbqm8hXASVYi/arcgis/rest/services/Trailheads/FeatureServer/0"; arcgisRest.queryFeatures({ url: trailheadsURL, authentication, f:"geojson" }).then((response) => { Cesium.GeoJsonDataSource.load(response,{ clampToGround:true, markerColor: Cesium.Color.fromCssColorString('#5491f5'), // Attribution text retrieved from https://arcgis.com/home/item.html?id=883cedb8c9fe4524b64d47666ed234a7 credit: new Cesium.Credit('Los Angeles GeoHub', false) }).then((data)=>{ viewer.dataSources.add(data); }) })
Customize the pop-up
Cesium automatically creates popups for GeoJSON layers using the properties of each feature. You can set the title and description properties of each feature to customize the popup content.
-
Access the GeoJSON response from
arcgisand iterate through each feature. Set theRest.query Features titleproperty of each trailhead to the trail name (TRL)._NAME Use dark colors for code blocks const trailheadsURL = "https://services3.arcgis.com/GVgbJbqm8hXASVYi/arcgis/rest/services/Trailheads/FeatureServer/0"; arcgisRest.queryFeatures({ url: trailheadsURL, authentication, f:"geojson" }).then((response) => { for (let i=0; i<response.features.length; i++) { let feature = response.features[i]; feature.properties.title = feature.properties.TRL_NAME; } Cesium.GeoJsonDataSource.load(response,{ clampToGround:true, markerColor: Cesium.Color.fromCssColorString('#5491f5'), // Attribution text retrieved from https://arcgis.com/home/item.html?id=883cedb8c9fe4524b64d47666ed234a7 credit: new Cesium.Credit('Los Angeles GeoHub', false) }).then((data)=>{ viewer.dataSources.add(data); }) }) -
Set the
descriptionproperty of each trailhead to include additional feature attributes.Use dark colors for code blocks for (let i=0; i<response.features.length; i++) { let feature = response.features[i]; feature.properties.title = feature.properties.TRL_NAME; feature.properties.description = `<b>${feature.properties.PARK_NAME}</b><br> Zip code: ${feature.properties.ZIP_CODE}<br> Elevation: ${feature.properties.ELEV_FT}ft` }
Run the app
Run the app.
You should see the trailheads feature layer represented as points in the scene. Click on a trailhead to open a pop-up that displays information about it.
What's next?
Learn how to use additional ArcGIS location services in these tutorials:


