Learn how to customize the CesiumJS base layer picker to display ArcGIS data provider options.
ArcGIS provides base layers for both imagery and terrain that you can use in your CesiumJS applications. You can use map tiles from the basemap styles service to create an Imagery, and you can use elevation data from the Elevation service to create a Terrain.
In this tutorial, you customize the Base widget to display the different ArcGIS base layers available for imagery and terrain.
Prerequisites
An ArcGIS Location Platform or ArcGIS Online account.
Steps
Get the starter app
Select a type of authentication below and follow the steps to create a new application.
Set up authentication
Create developer credentials in your portal for the type of authentication you selected.
Set developer credentials
Use the API key or OAuth developer credentials created in the previous step in your application.
Get a Cesium ion access token
All Cesium applications must use an access token provided through Cesium ion. This token allows you to access assets such as Cesium World Terrain in your application.
-
Go to your Cesium ion dashboard to generate an access token. Copy the key to your clipboard.
-
Create a
cesiumvariable and replaceAccess Token YOURwith the access token you copied from the Cesium ion dashboard._CESIUM _ACCESS _TOKEN Use dark colors for code blocks <script> /* Use for API key authentication */ const accessToken = "YOUR_ACCESS_TOKEN"; // or /* Use for user authentication */ // const session = await arcgisRest.ArcGISIdentityManager.beginOAuth2({ // clientId: "YOUR_CLIENT_ID", // Your client ID from OAuth credentials // redirectUri: "YOUR_REDIRECT_URI", // The redirect URL registered in your OAuth credentials // portal: "YOUR_PORTAL_URL" // Your portal URL // }) // const accessToken = session.token; Cesium.ArcGisMapService.defaultAccessToken = accessToken; const cesiumAccessToken = "YOUR_CESIUM_ACCESS_TOKEN"; </script> -
Configure
Cesium.with the Cesium access token to validate the application.Ion.default Access Token Use dark colors for code blocks <script> /* Use for API key authentication */ const accessToken = "YOUR_ACCESS_TOKEN"; // or /* Use for user authentication */ // const session = await arcgisRest.ArcGISIdentityManager.beginOAuth2({ // clientId: "YOUR_CLIENT_ID", // Your client ID from OAuth credentials // redirectUri: "YOUR_REDIRECT_URI", // The redirect URL registered in your OAuth credentials // portal: "YOUR_PORTAL_URL" // Your portal URL // }) // const accessToken = session.token; Cesium.ArcGisMapService.defaultAccessToken = accessToken; const cesiumAccessToken = "YOUR_CESIUM_ACCESS_TOKEN"; Cesium.Ion.defaultAccessToken = cesiumAccessToken; </script>
Update the camera position
-
Change the camera position to
-122.4106, 37.7908, 200000to focus on San Francisco.Use dark colors for code blocks viewer.camera.flyTo({ destination: Cesium.Cartesian3.fromDegrees(-122.4106, 37.7908, 200000), });
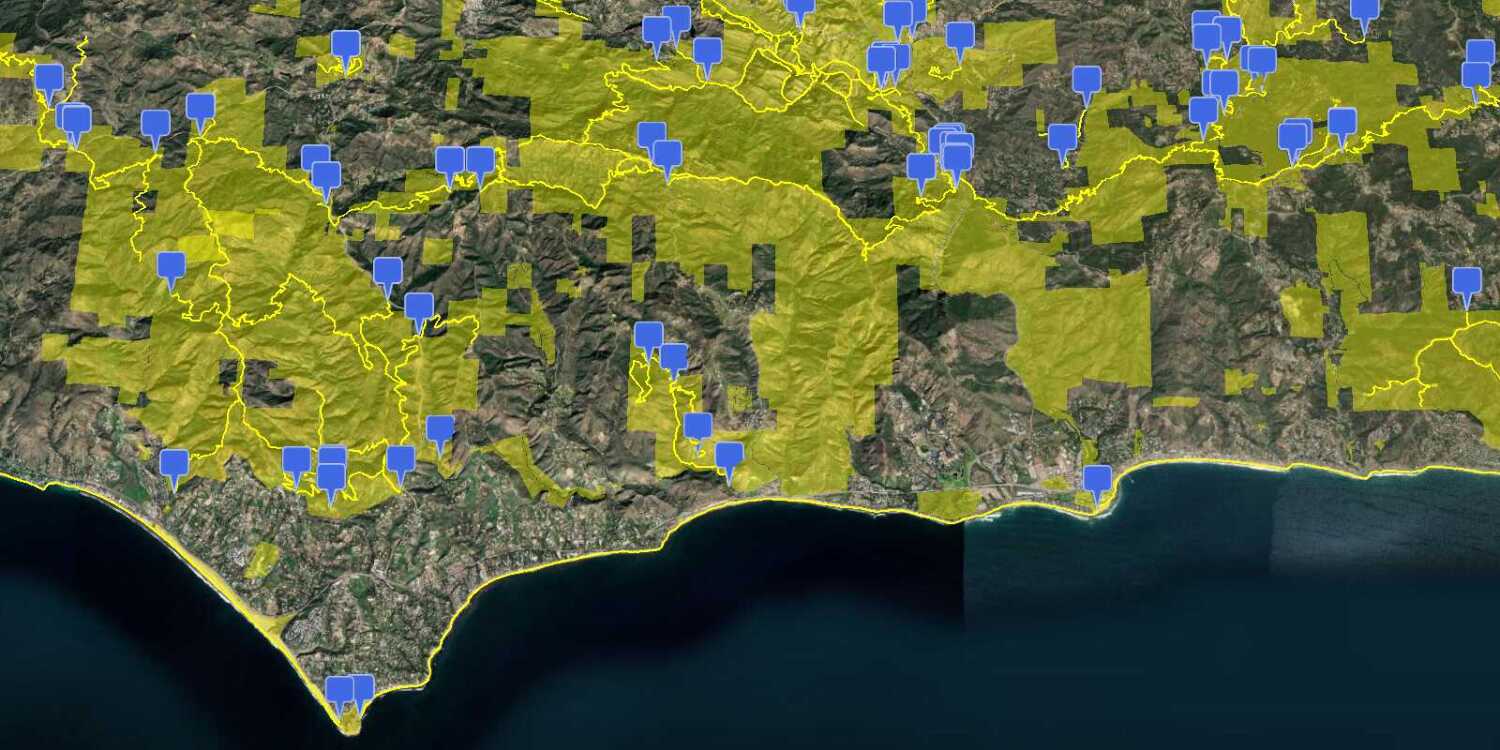
Add a terrain provider
To create accurate and realistic terrain in your CesiumJS scene, you need to use a geoid service. This service will allow the elevation of your base layer to align with the elevation values of Cesium World Terrain.
-
Initialize a terrain provider called
arcthat references the Terrain 3D. This terrain will provide global elevation surface for your basemap layer.Gis Terrain Use dark colors for code blocks const arcGisTerrain = new Cesium.ProviderViewModel({ name: "ArcGIS World Terrain", iconUrl: "https://www.arcgis.com/sharing/rest/content/items/58a541efc59545e6b7137f961d7de883/info/thumbnail/thumbnail1585609861151.png", creationFunction: () => { return Cesium.ArcGISTiledElevationTerrainProvider.fromUrl("https://elevation3d.arcgis.com/arcgis/rest/services/WorldElevation3D/Terrain3D/ImageServer") } }) viewModel.terrainProviderViewModels = [arcGisTerrain]; -
Add the data attribution for the elevation layer source.
- Go to the Terrain 3D item.
- Scroll down to the Credits (Attribution) section and copy its value.
- Create an
attributionproperty and paste the attribution value from the item.Use dark colors for code blocks const arcGisTerrain = new Cesium.ProviderViewModel({ name: "ArcGIS World Terrain", iconUrl: "https://www.arcgis.com/sharing/rest/content/items/58a541efc59545e6b7137f961d7de883/info/thumbnail/thumbnail1585609861151.png", creationFunction: () => { return Cesium.ArcGISTiledElevationTerrainProvider.fromUrl("https://elevation3d.arcgis.com/arcgis/rest/services/WorldElevation3D/Terrain3D/ImageServer") } }) viewModel.terrainProviderViewModels = [arcGisTerrain]; // Attribution text retrieved from https://www.arcgis.com/home/item.html?id=7029fb60158543ad845c7e1527af11e4 viewer.creditDisplay.addStaticCredit(new Cesium.Credit("Sources: Maxar, Airbus DS, USGS, NGA, NASA, CGIAR, GEBCO, N Robinson, NCEAS, NLS, OS, NMA, Geodatastyrelsen and the GIS User Community", false));
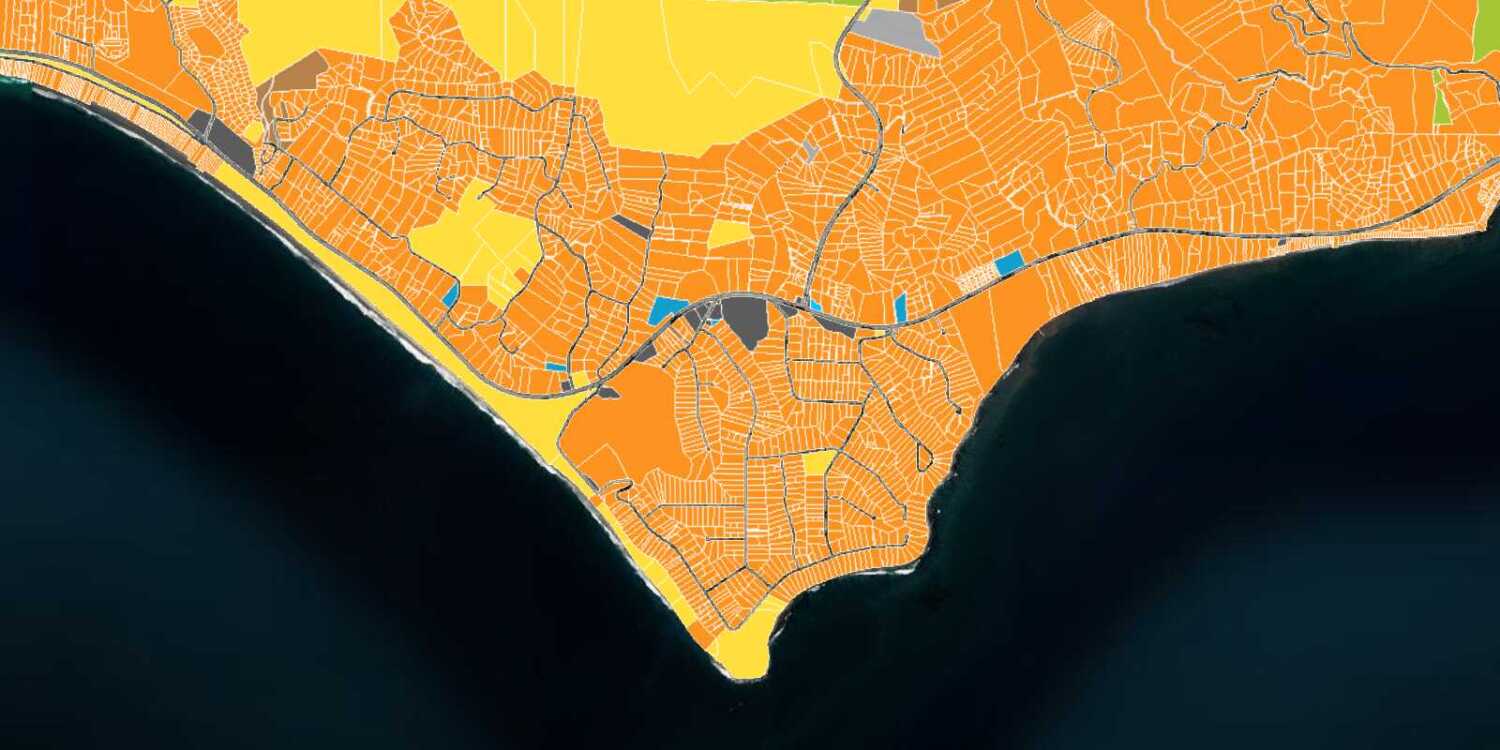
Change the imagery providers
CesiumJS includes a base by default that includes imagery layers from multiple providers. Customize this widget to include additional offerings from ArcGIS.
-
Inside
viewer, set thebaseproperty toLayer Picker true.Use dark colors for code blocks const viewer = new Cesium.Viewer("cesiumContainer", { baseLayer: Cesium.ImageryLayer.fromProviderAsync(arcGisImagery), terrain: Cesium.Terrain.fromWorldTerrain(), baseLayerPicker: true, timeline: false, animation: false, geocoder: false }); -
Access the
baseto manage the available base layer options.Layer Picker.view Model Use dark colors for code blocks const viewModel = viewer.baseLayerPicker.viewModel; -
Define a set of base layers you want to include in your base layer picker, e.g.
ArcGI,S World Imagery ArcGI, andS World Hillshade Esri World Ocean.Use dark colors for code blocks const imageryProviderNames = ["ArcGIS World Imagery", "ArcGIS World Hillshade", "Esri World Ocean"]; -
The
viewcontains all available basemaps by default. Use a for loop to filter and select only the desired basemaps.Model.imagery Provider View Models Use dark colors for code blocks const imageryProviderNames = ["ArcGIS World Imagery", "ArcGIS World Hillshade", "Esri World Ocean"]; const imageryProviders = []; for (imageryProvider of viewModel.imageryProviderViewModels) { if (imageryProviderNames.includes(imageryProvider.name)) { imageryProviders.push(imageryProvider); } } -
Replace the
viewwith the filtered list.Model.imagery Provider View Models Use dark colors for code blocks const imageryProviderNames = ["ArcGIS World Imagery", "ArcGIS World Hillshade", "Esri World Ocean"]; const imageryProviders = []; for (imageryProvider of viewModel.imageryProviderViewModels) { if (imageryProviderNames.includes(imageryProvider.name)) { imageryProviders.push(imageryProvider); } } viewModel.imageryProviderViewModels = imageryProviders;
Run the app
Run the app.
Open the base layer picker and ensure that only the specified basemaps are available for selection.What's next?
Learn how to use additional ArcGIS location services in these tutorials: