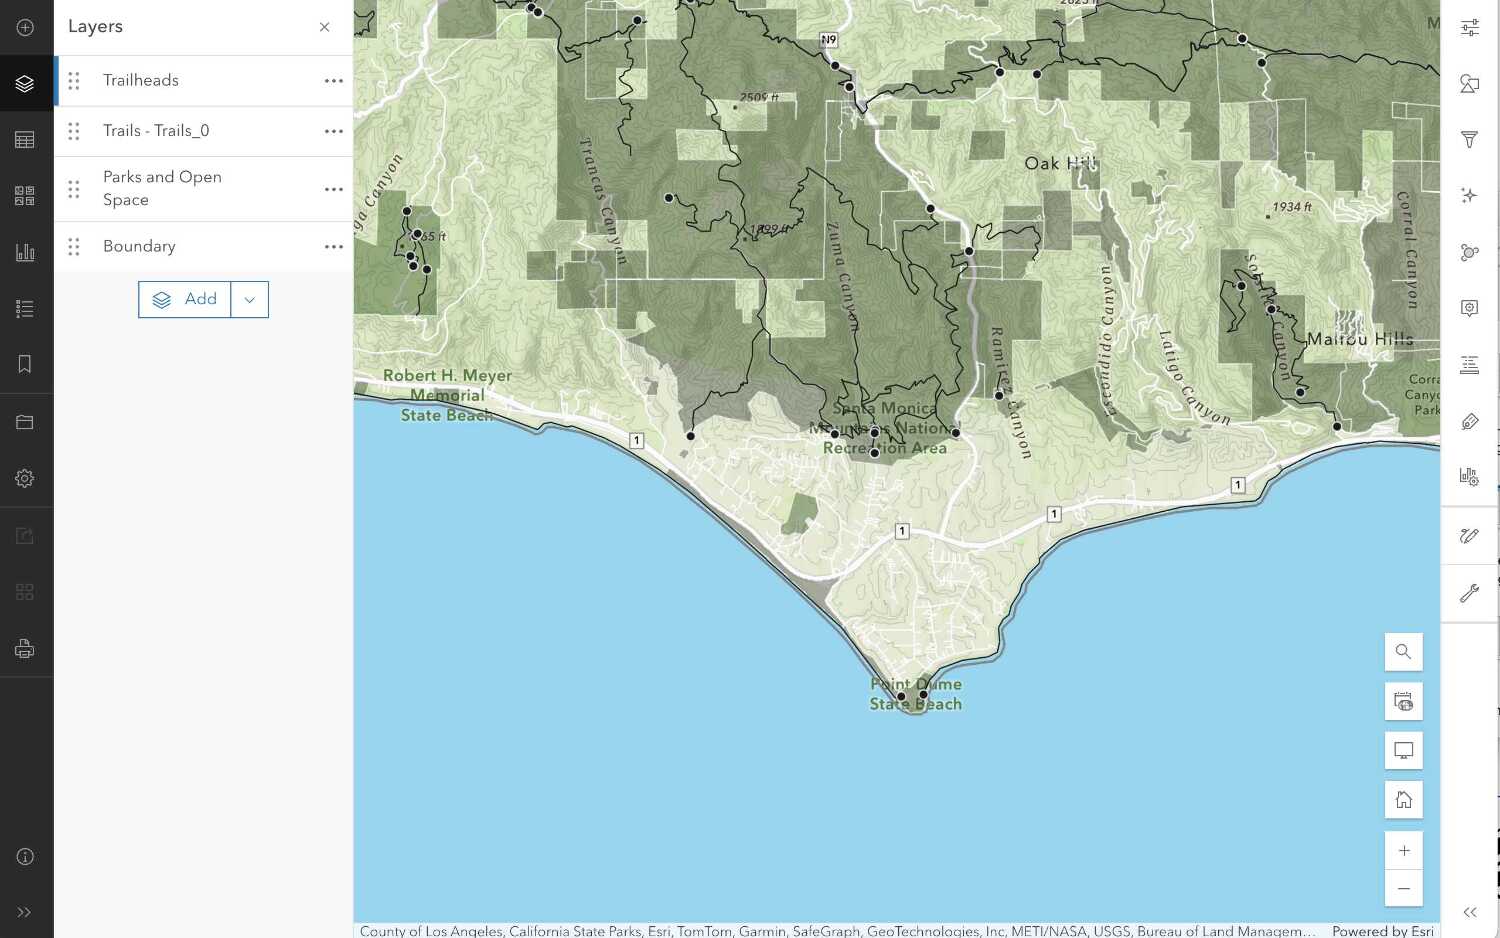
Learn how to use an ArcGIS Instant Apps template to create a web application.
ArcGIS Instant Apps allows you to quickly create a web app to display your web map or scene. You can select from a collection of pre-configured templates, make the necessary configurations to your selected template, and deploy your app in matter of minutes.
In this tutorial, you will:
-
Create your web app using the Basic template in ArcGIS Instant Apps.
-
Configure your web app.
-
Share your web app.
You can learn more about creating and styling a web map in the tutorials below.
Prerequisites
Steps
This tutorial uses the publicly available LA Parks and Trails scene.
Create a web app
Using the LA Parks and Trails scene, you can use ArcGIS Instant Apps to load it.
-
In the Content tab of your organization, click Create app > Instant Apps.
-
In the Create tab, click Choose button for the "Basic" template.
-
Click Create app. For this tutorial, name the app
Santa Monica Trailsand add your desired tags.
Configure your web app
With your app created, you can now configure the app by adding the LA Parks and Trails scene.
-
Click on Step 1. Map > Select a map or scene.
-
Click on the My content dropdown > ArcGIS Online.
-
In the Search bar, type the following:
Lpublished by esri_devlabs.A Parks and Trails Scene (unstyled) -
Click on Select map.
-
Click on Next and enable Header to show the name of your web app.
-
At the bottom, click Publish > Confirm to deploy your app.
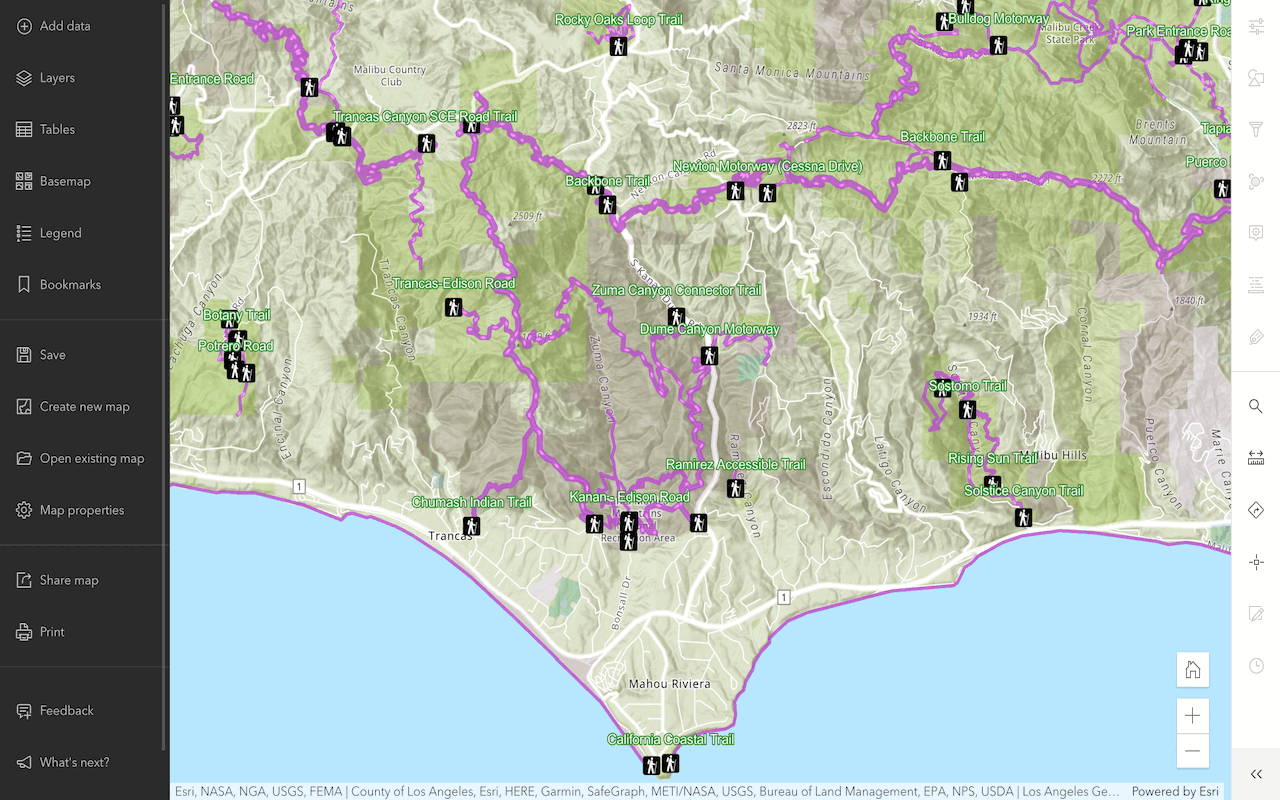
Your app should look something like this. You can return to the configuration page of your app to add more components like Search or Screenshot widgets. Additionally, you can also customize the layout and manage the positions of your widgets.
Share your web app
Once your app is published, you can configure who can access your app. By default, the sharing level for your app is set to only you having access to it.
-
Navigate to the item page of your web app.
-
Click Share to launch the "Share" dialog.
-
Select the sharing level needed for your audience to access your app.


