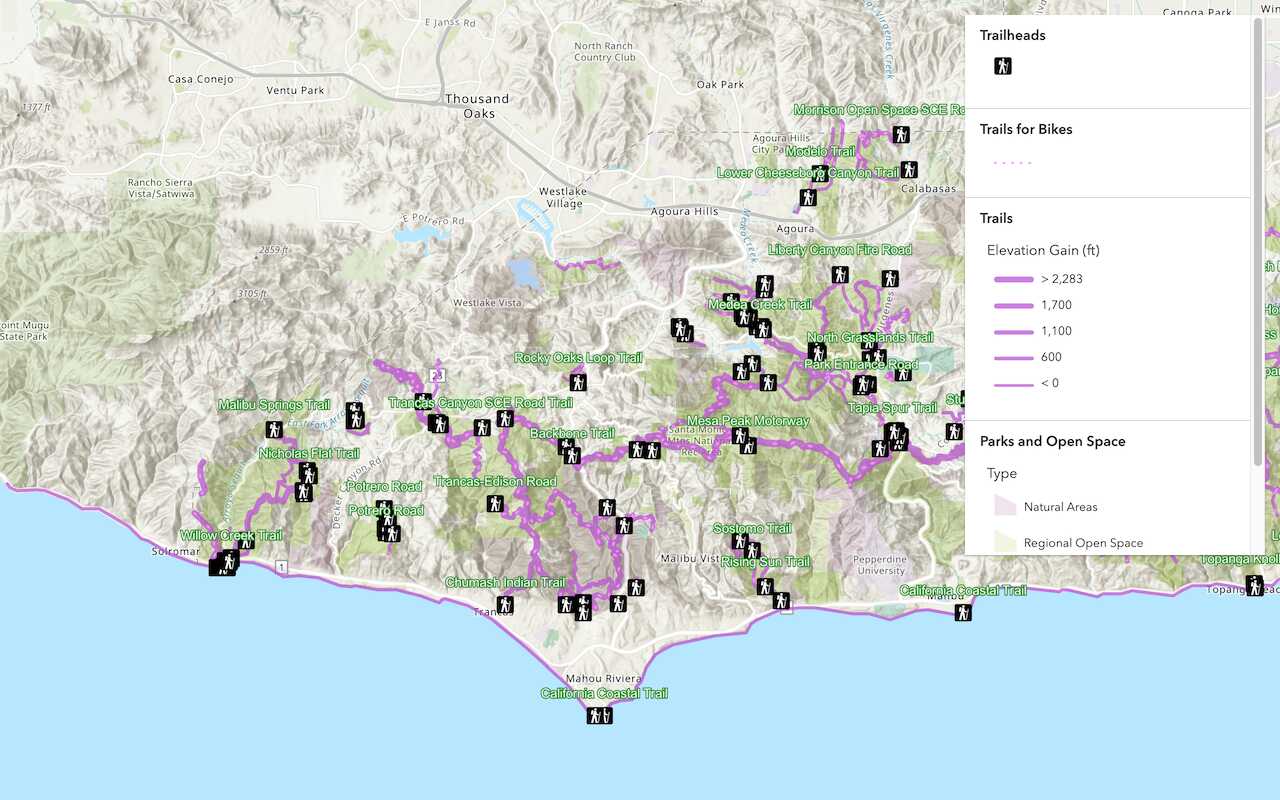
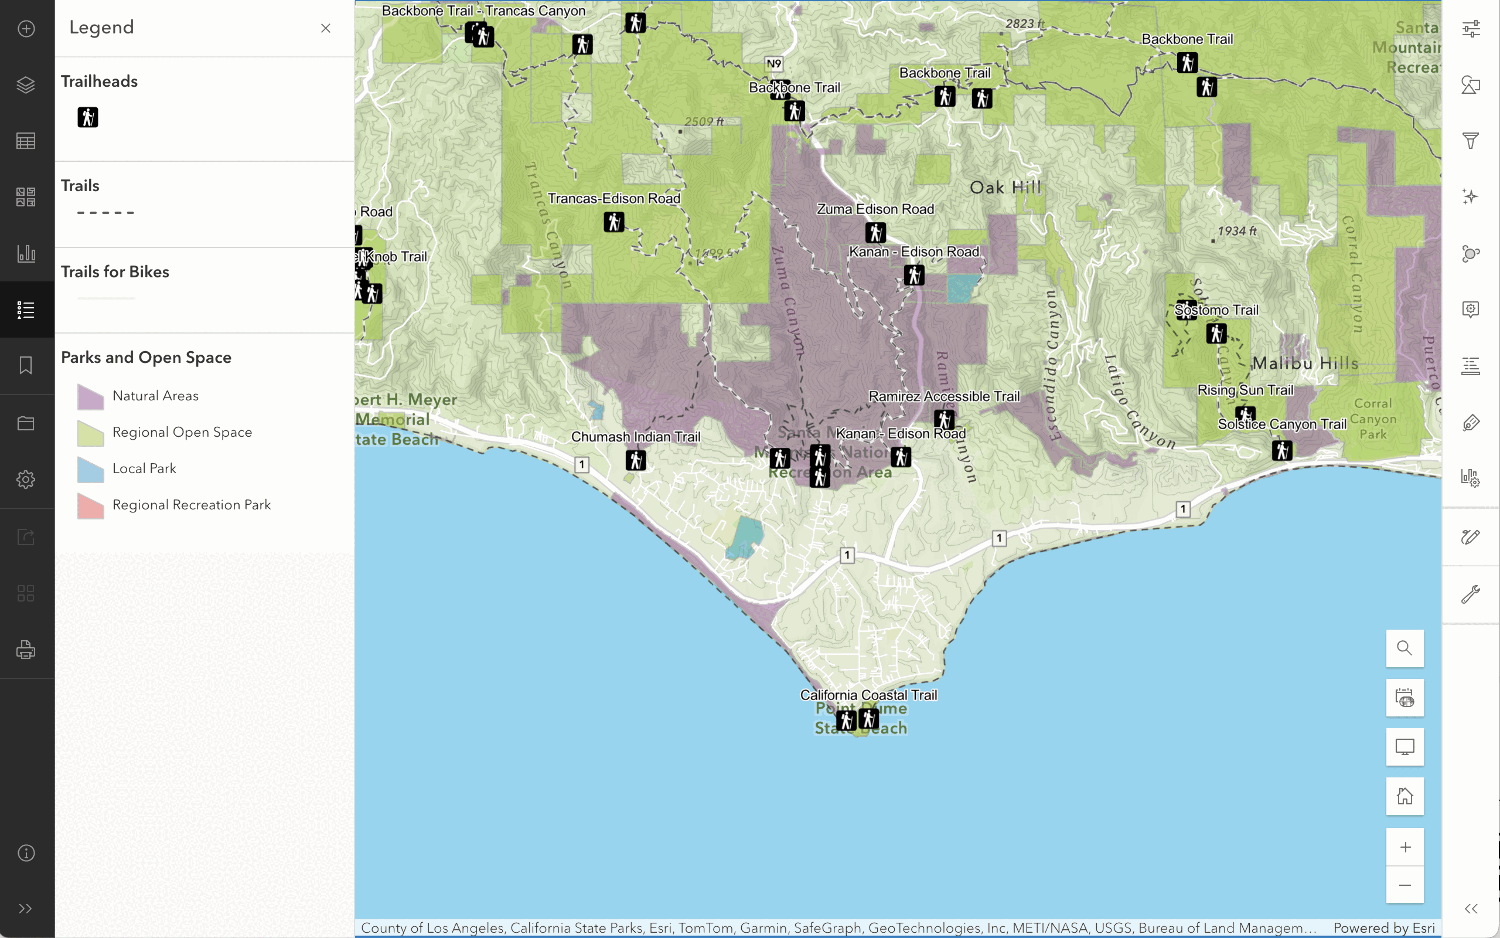
What is a web map?
A web map is an item in a portal that contains the properties and settings for a map. The item includes properties such as the initial map extent, basemap, data layers, and all of the styling settings. To create and save a web map you use Map Viewer or ArcGIS Pro. These tools allow you to interactively design and configure a map. After creating a web map, you can use it to display the map in custom application. This type of application is known as a map app using web maps.
You use a web map when you want to:
- Create a map that you can share with other users and applications.
- Interactively design and style layers in a map.
- Configure popups for data layers in a map.
- Display a map in an application built with ArcGIS Maps SDKs.
- Display a map using low-code/no-code app builders.
- Securely store and access a map in a portal.
- Remotely configure a map at any time to change your application.
How to use a web map
The general workflow to use a web map in a custom application is:
1. Create
To create a new web map, you can use Map Viewer or ArcGIS Pro. These tools allow you to design and configure a map interactively and then save it in a portal.
Some of the key types of configurations you can make include following:
- Initial extent: Set the starting location and zoom level for the map.
- Basemap: Set the basemap style such as streets, navigation, light gray, or satellite imagery.
- Data layers: Add hosted layers to display features on the basemap.
- Style data layers: Set the symbol color and renderers used to style hosted layers.
- Style popups: Set the presentation of the data and information when users click on data layers in the map.
To access Map Viewer and ArcGIS Pro you need an ArcGIS account with the appropriate user type, role, and permissions. Learn more about creating web maps with these tools in ArcGIS Online > Create and ArcGIS Pro > Share.
2. Manage
After configuring a web map, you use Map Viewer or ArcGIS Pro to save and share the web map in a portal. To save a web map as an item, you need to provide meta data such as the title, folder, categories, tags, and summary. When it is saved, the item is assigned a unique item ID. The final step is to set the sharing level for the web map item. The sharing level determines which ArcGIS users and applications can access the web map. The sharing level can be set to owner (private), group, organization, or everyone (public). To learn more about managing items and sharing levels, go to Content and data services > Manage content > Sharing.
3. Access
After you create and save a web map, you can access the item with a custom application built with ArcGIS Maps SDKs. To do so, you need the portal URL and item id for the web map. With these, you can access the web map's preconfigured settings and display the map. The web map defines the initial state of the map when an application starts. If you need to remotely update the map in your application, you can use Map Viewer or ArcGIS Pro to edit and save the web map while it is referenced. The changes will be reflected in your application the next time it is loaded.
Example code to access a web map:
const webmap = new WebMap({
portalItem: {
id: "1531b5d82e674a50adcf2eaf95156bc7" // Replace with your web map ID
}
});
Code examples
Display a web map with a pin
This example shows how to create a web map with Map Viewer and display it in a custom app. The web map is configured with a light gray basemap centered and zoomed to New York City. It also contains a pin (sketch symbol).
Create a web map
- Sign in to your portal and click Map.
- In Map Viewer, use Basemap to change the basemap to Light Gray Canvas.
- Move the map and zoom to New York City.
- Use Add > Create sketch layer to add a pin to the map. The web map should look like New York (web map with a pin).
Manage a web map
- In Map Viewer, Save the web map.
- Share the web map with the appropriate sharing level.
Access a web map
- Find the web map item ID or use
1531b5d82e674a50adcf2eaf95156bc7. - Write code to create a map.
- Load and display the web map.
When the web map is loaded by the application, it should look the same as the web map created with Map Viewer.
const webmap = new WebMap({
portalItem: {
id: "1531b5d82e674a50adcf2eaf95156bc7" // Replace with your web map ID
}
});
Display a web map with a data layer
This example shows how to create a web map with Map Viewer and display it in a custom app. The web map is configured with a light gray basemap centered and zoomed to New York City. It also includes a USA Structures (hosted feature layer) that is saved with the web map. The layer has a formatted popup that displays building structure information when you click on the map.
Create a web map
- Sign in to your portal and click Map.
- In Map Viewer, use Basemap to change the basemap to Light Gray Canvas.
- Move the map and zoom to New York City.
- Use Add > Browse layers > Living Atlas > "USA Structures" and add the layer to the map. The web map should look like New York (web map with a layer).
Manage a web map
- In Map Viewer, Save the web map.
- Share the web map with the appropriate sharing level.
Access a web map
- Find the web map item ID or use
9d5bfb5340734021bf88041f8854a9f5. - Write code to create a map.
- Load and display the web map.
When the web map is loaded by the application, it should look the same as the web map created with Map Viewer.
const webmap = new WebMap({
portalItem: {
id: "9d5bfb5340734021bf88041f8854a9f5" // Replace with your web map ID
}
});
Tutorials

Display a web map
Create and display a map from a web map.
