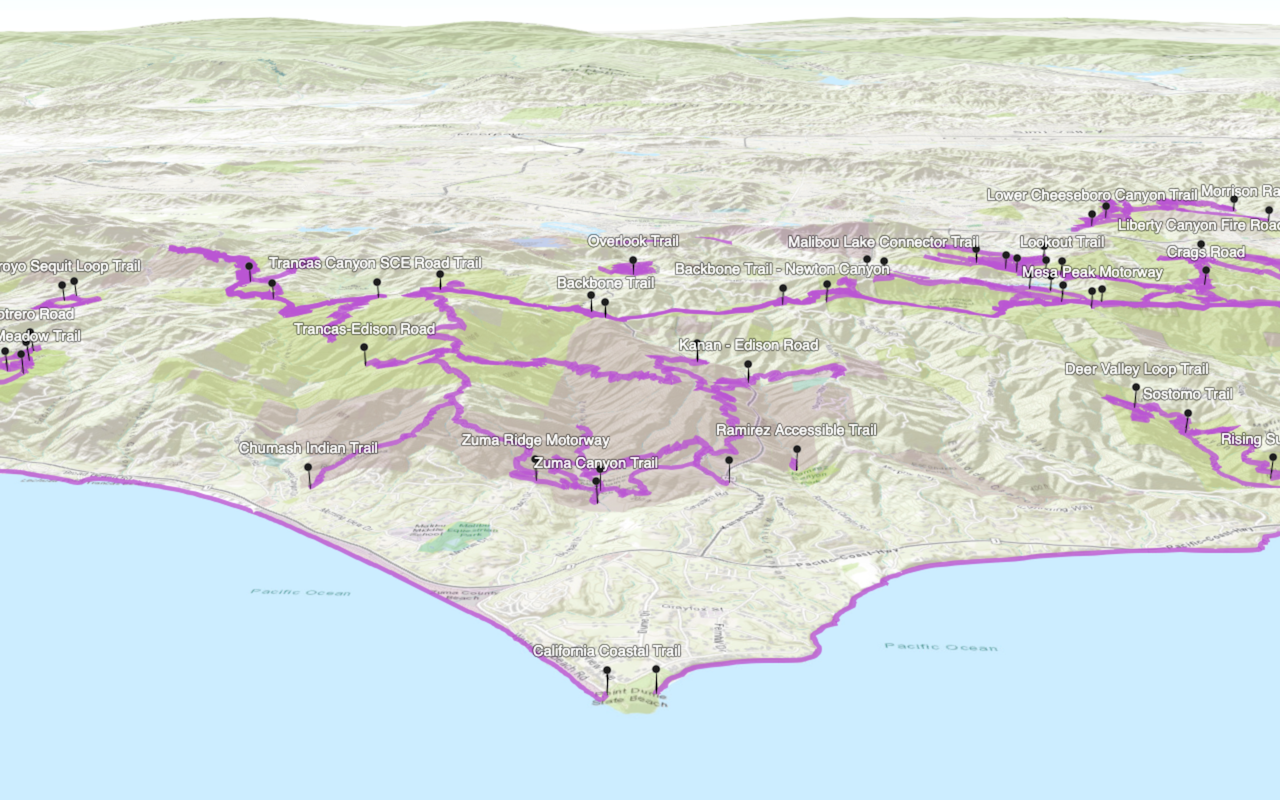
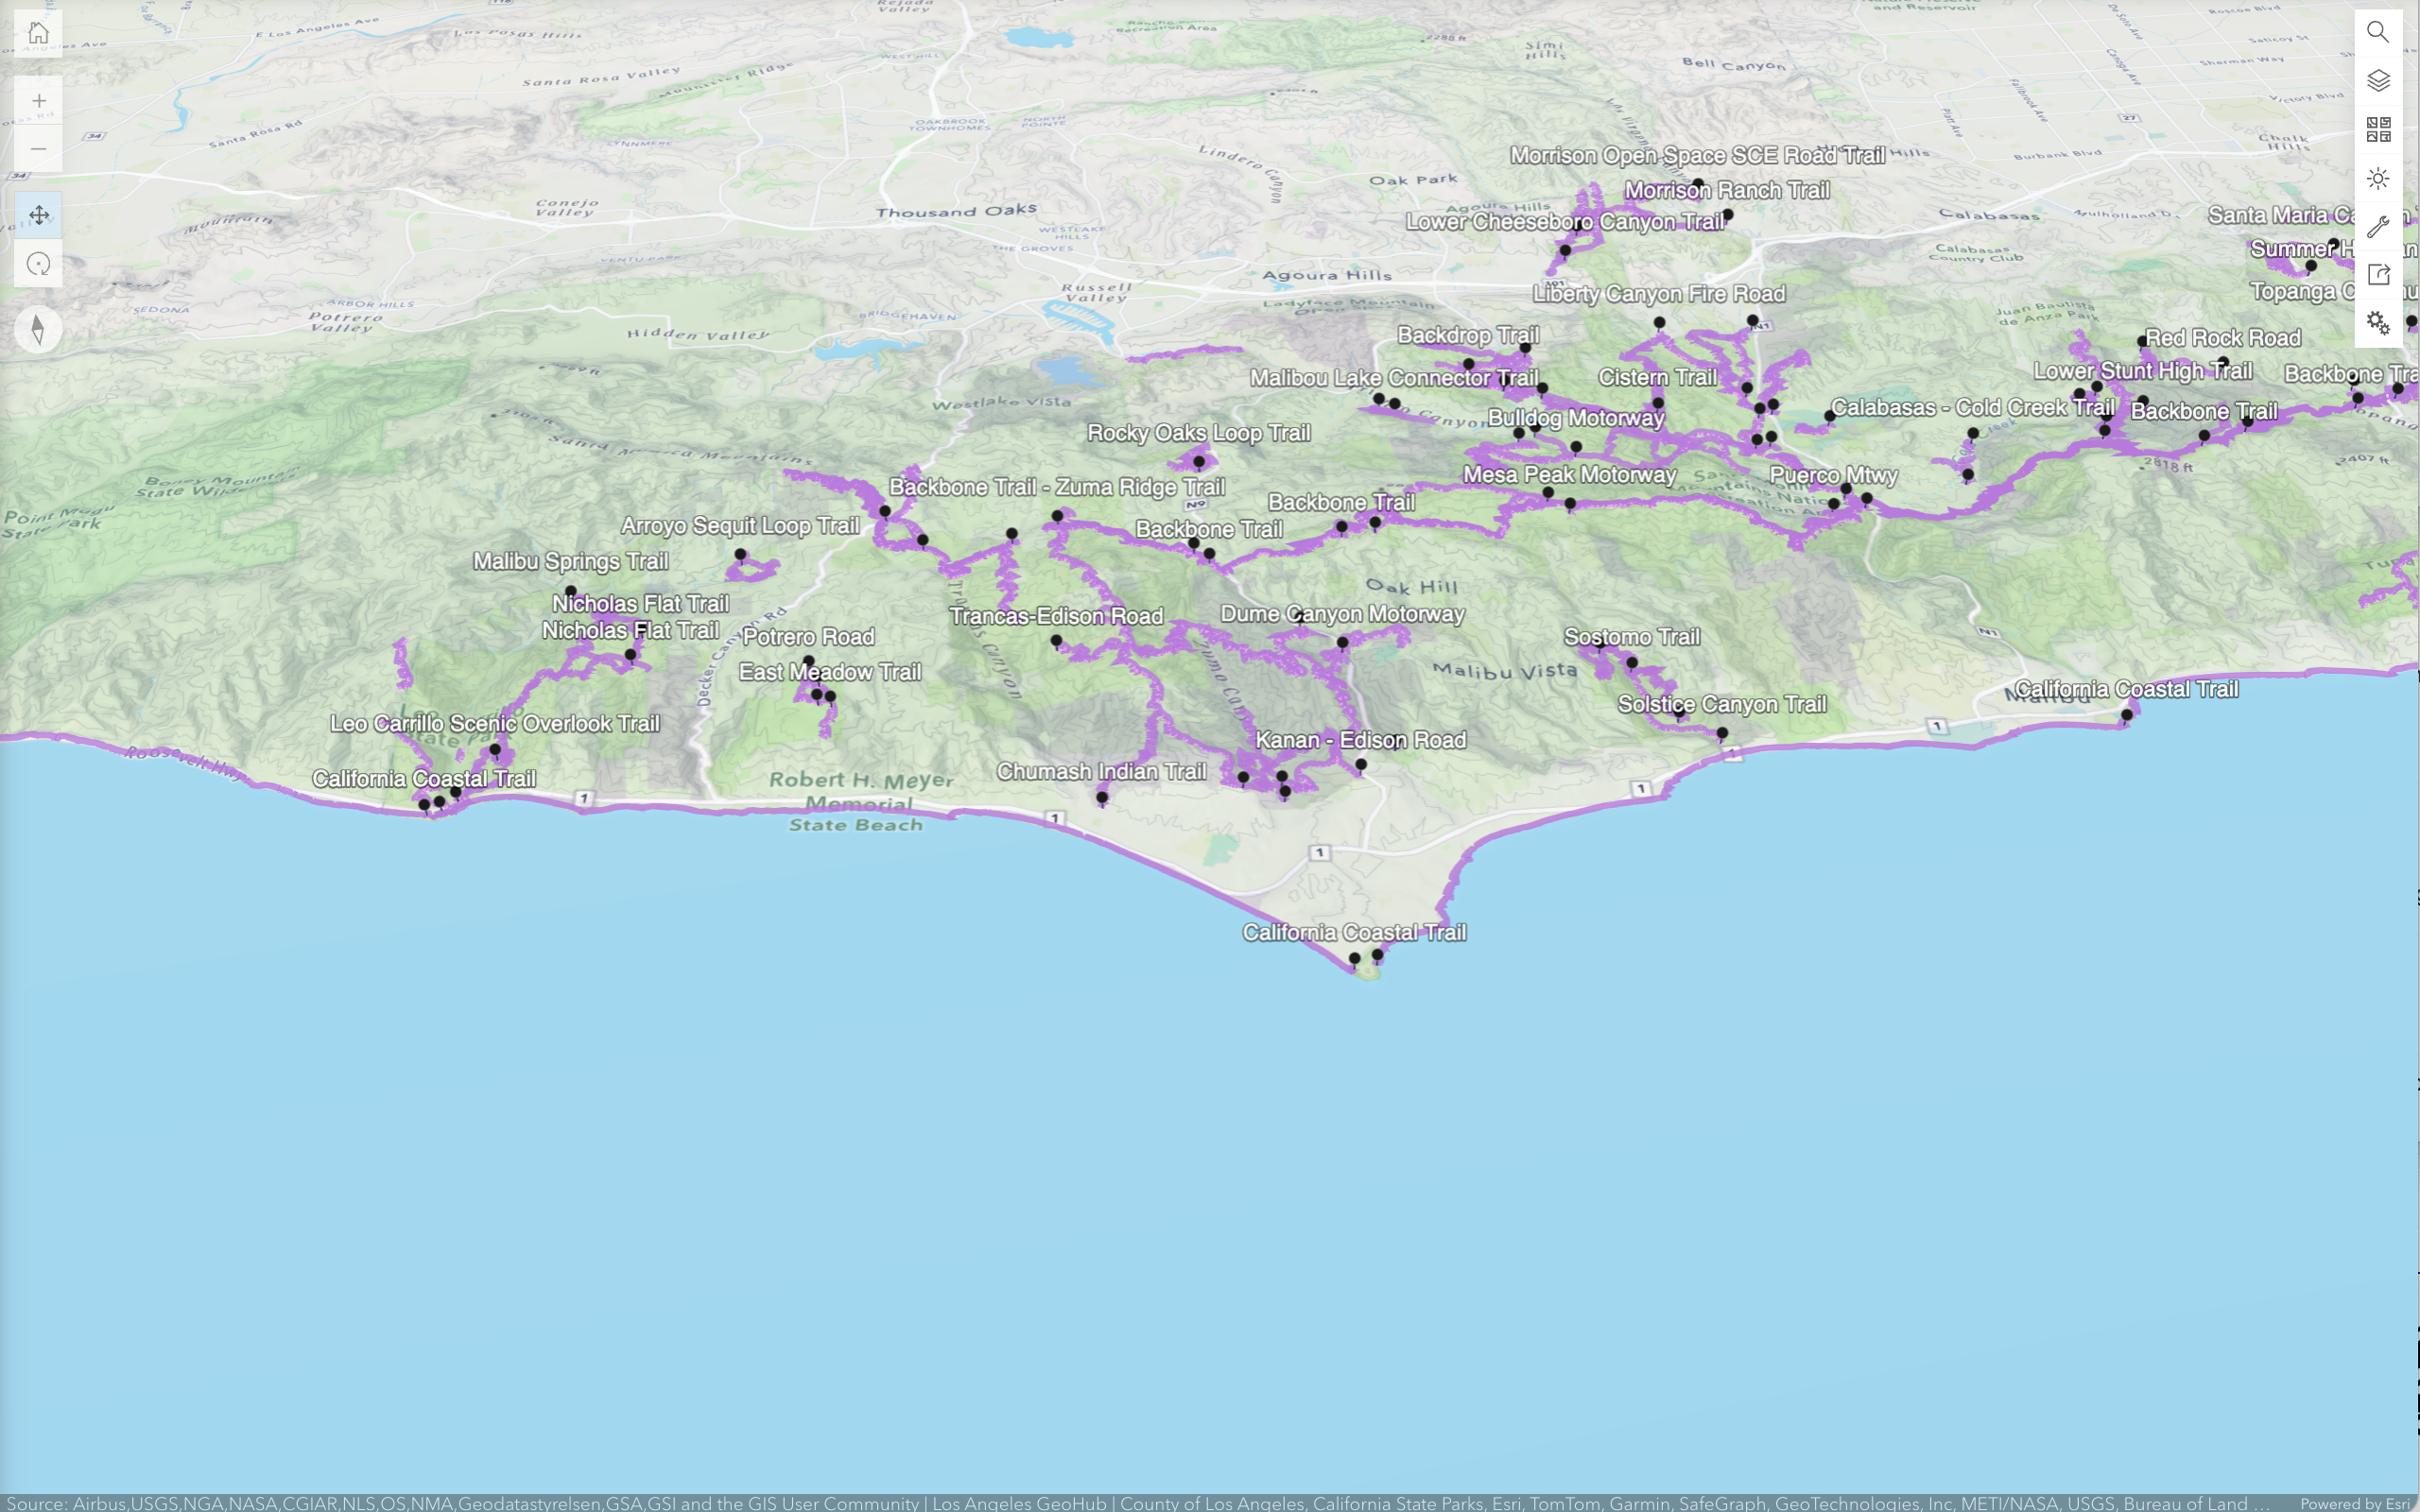
What is a web scene?
A web scene is an item in a portal that contains the properties and settings for a scene. The item includes properties such as the initial map extent, basemap, data layers, and all of the styling settings. To create and save a web scene you use Scene Viewer or ArcGIS Pro. These tools allow you to interactively design and configure a scene. After creating a web scene, you can use it to display the scene in custom application. This type of application is known as a map app using web maps.
You use a web scene when you want to:
- Create a scene that you can share with other users and applications.
- Interactively design and style layers in a scene.
- Configure popups for data layers in a scene.
- Display a map in an application built with ArcGIS Maps SDKs.
- Display a map using low-code/no-code app builders.
- Securely store and access a scene in a portal.
- Remotely configure a scene at any time to change your application.
How to use a web scene
The general workflow to use a web scene in a custom application is:
1. Create
To create a new web scene, you can use Scene Viewer or ArcGIS Pro. These tools allow you to design and configure a scene interactively and then save it in a portal.
Some of the key types of configurations you can make include following:
- Initial extent: Set the starting location and zoom level for the scene.
- Basemap: Set the basemap style such as streets, navigation, light gray, or satellite imagery.
- Data layers: Add hosted layers to display features on the basemap.
- Style data layers: Set the symbol color and renderers used to style hosted layers.
- Style popups: Set the presentation of the data and information when users click on data layers in the scene.
To access Scene Viewer and ArcGIS Pro you need an ArcGIS account with the appropriate user type, role, and permissions. Learn more about creating web scenes with these tools in ArcGIS Online > Create and ArcGIS Pro > Share.
2. Manage
After configuring a web scene, you use Scene Viewer or ArcGIS Pro to save and share the web scene in a portal. To save a web scene as an item, you need to provide meta data such as the title, folder, categories, tags, and summary. When it is saved, the item is assigned a unique item ID. The final step is to set the sharing level for the web scene item. The sharing level determines which ArcGIS users and applications can access the web scene. The sharing level can be set to owner (private), group, organization, or everyone (public). To learn more about managing items and sharing levels, go to Content and data services > Manage content > Sharing.
3. Access
After you create and save a web scene, you can access the item with a custom application built with ArcGIS Maps SDKs. To do so, you need the portal URL and item id for the web scene. With these, you can access the web scene's preconfigured settings and display the scene. The web scene defines the initial state of the scene when an application starts. If you need to remotely update the scene in your application, you can use Scene Viewer or ArcGIS Pro to edit and save the web scene while it is referenced. The changes will be reflected in your application the next time it is loaded.
Example code to access a web scene:
const webscene = new WebScene({
portalItem: {
portal: {
url: "www.arcgis.com" // Portal
},
id: "60c97b287c5c42a68a11fbbf87e07e2c" // Web scene item ID
}
});Code examples
Display a web scene
This example shows you how to create a web scene with Scene Viewer and display it in a custom application. The web scene is configured with the Navigation scene and is zoomed to San Francisco.
Create a web scene
- Sign in to your portal and click Scene.
- In Scene Viewer, click New Scene in the modal.
- Click New Scene.
- In the left toolbar, click + > Browse layers > ArcGIS Online.
- In the search box, type
Navigation (for Developers)> Add. - In the search box, type
Open> Add.Street Map 3 D Buildings
- In the search box, type
- In the right toolbar, click the Basemap > No basemap.
- In the right toolbar, click the search icon and type
New York City. - In the left toolbar, use the tools to drag, zoom, and pan the scene. The web scene should look like New York (web scene).
Manage a web scene
- In Scene Viewer, Save the web scene.
- Share the web scene with the appropriate sharing level.
Access a web scene
- Find the web scene item ID or use
443d5d8c520c416e8d6d948b55f679d6. - Write code to create a scene.
- Load and display the web scene.
When the web scene is loaded by the application, it should look the same as the web scene created with Scene Viewer.
const webscene = new WebScene({
portalItem: {
id: "443d5d8c520c416e8d6d948b55f679d6"
}
});
Display a web scene with a data layer
This example shows you how to create a web scene with Scene Viewer and display it in a custom application. The web scene is configured with a navigation basemap centered and zoomed to New York City. It also includes the Alternative fuel stations feature layer.
Create a web scene
- Sign in to your portal and click Scene.
- In Scene Viewer, click New Scene in the modal.
- In the left toolbar, click + > Browse layers > ArcGIS Online.
- In the search box, type
Navigation (for Developers)> Add.
- In the search box, type
- In the right toolbar, click the Basemap > No basemap.
- In the right toolbar, click the search icon and type
New York City - Use Add > Browse layers > Living Atlas > "Alternative fuel stations" and add the layer to the scene.
- Click the layer icon to adjust the drawing style to display features as either 2D markers or 3D objects.
- In the left toolbar, use the tools to drag, zoom, and pan the scene.
The web scene should look like Web scene (alternative fuel stations)
Manage a web scene
- In Scene Viewer, Save the web scene.
- Share the web scene with the appropriate sharing level.
Access a web scene
- Find the web scene item ID or use
9769ed8d91b240caa36c46ea0ddbac72. - Write code to create a scene.
- Load and display the web scene.
When the web scene is loaded by the application, it should look the same as the web scene created with Scene Viewer.
esriConfig.apiKey = "YOUR_ACCESS_TOKEN";
const webscene = new WebScene({
portalItem: {
id: "9769ed8d91b240caa36c46ea0ddbac72"
}
});
const view = new SceneView({
container: "viewDiv",
map: webscene
});
Tutorials

Display a web scene
Create and display a scene from a web scene.
