Learn how to use the Map Viewer to create an offline-enabled web map for your offline app.
An offline-enabled web map is a web map created with the Map Viewer, stored in ArcGIS, and then enabled for offline use in offline apps. The Map Viewer allows you to interactively style and configure maps by setting the basemap layer, data layers, layer styles, pop-up settings, and layer visibility ranges. To use the web map in an offline application, you can either download an offline map area from the offline map (ahead-of-time method) or request an area within the web map to be packaged as an offline map (on-demand method).
In this tutorial, you use the Map Viewer to create and save a web map using the Santa Monica parcels hosted feature layer. You will then use the ArcGIS portal to enable it for offline use.
Prerequisites
You need an ArcGIS Online or an ArcGIS Enterprise account to create and save web maps in Map Viewer.
Steps
Set the basemap layer
To create a web map with the Map Viewer, start by setting the basemap layer. Use the Navigation vector tile basemap layer.
-
Open the Map Viewer and sign into your ArcGIS account.
-
In the left-panel, click Layers > Add.
- Click the My content dropdown and select ArcGIS Online.
- In the search box, type World Navigation Map (for Developers).
- Click on the resulting Tile Layer from Esri Vector Maps, then click Use as basemap.
-
In the left-panel, click Layers to close the window.
Set focus to an area of interest
To specify the viewpoint of the map to an area of interest, use the magnifier icon and set the map properties to preserve map scale.
-
In the bottom right panel, click the magnifier icon.
-
Type in
Santa Monicain the search field and hit enter. This will set your map focus to an area of interest, which, in this case, is the city of Santa Monica, California. -
In the left panel, click Map properties.
-
Under Map view, toggle on the Preserve map scale. This will ensure that the map focus stays on the city of Santa Monica, California, even after you close the web map.
Add data layer
To display data in your web map, you can add the Santa Monica parcels feature layer hosted in your portal that has been offline-enabled. If you choose to use your own hosted data layer, make sure you enable the layer for offline use.
- In the left panel, click + Add > Add layer from URL.
- Copy and paste the URL
https.://services3.arcgis.com/ G Vgb Jbqm8h XASV Yi/arcgis/rest/services/ Santa _Monica _public _parcels/ Feature Server - Click Add to map.
Save the web map
Now that you have a web map, you need to save it to your portal.
- In the left panel, click Save > Save as. At minimum, you need to provide a title and tags for your web map.
By default, your web map sharing level is set to Owner. To access the offline map in your application, you need an access token with the appropriate privileges.
Enable web map for offline use
-
In your web browser, find the item ID at the end of the URL for the web map you just saved.
- For example:
8ab76e9c5352400d87ca3315db9ba08e
- For example:
-
In a new browser tab, copy and paste the following URL and insert your item ID. This will return the item page for your web map, where you can configure it for offline use.
https://www.arcgis.com/home/item.html?id= <ITEM _ID > - For example: https://www.arcgis.com/home/item.html?id=8ab76e9c5352400d87ca3315db9ba08e
-
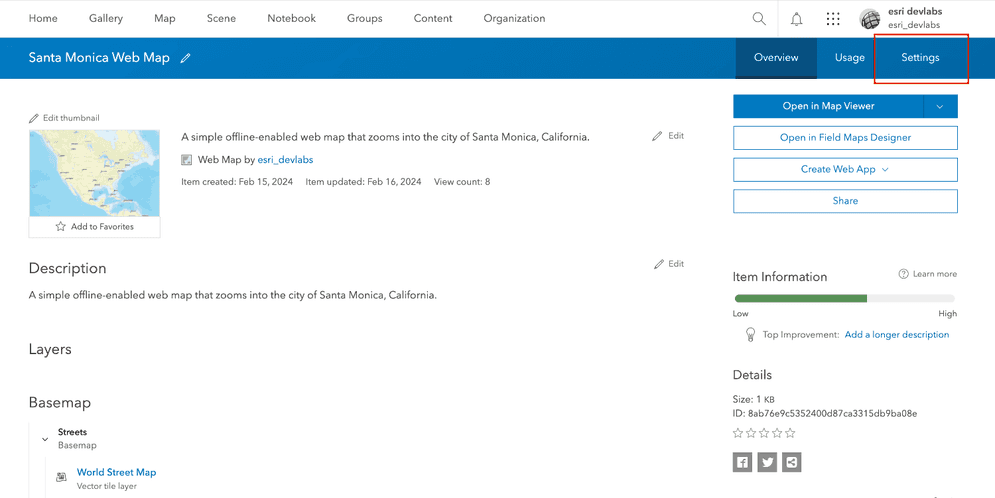
Click Settings on the top bar of the item page.
-
Scroll down to the Offline menu.

-
If you don't see the Offline enabled icon at the top right corner, click Check Compatibility and turn on Offline.
-
Optionally, you can also manage advanced offline settings for your web map by clicking Options. These settings allow you to choose what data or updates mobile devices get and use a tile package for your offline basemap.
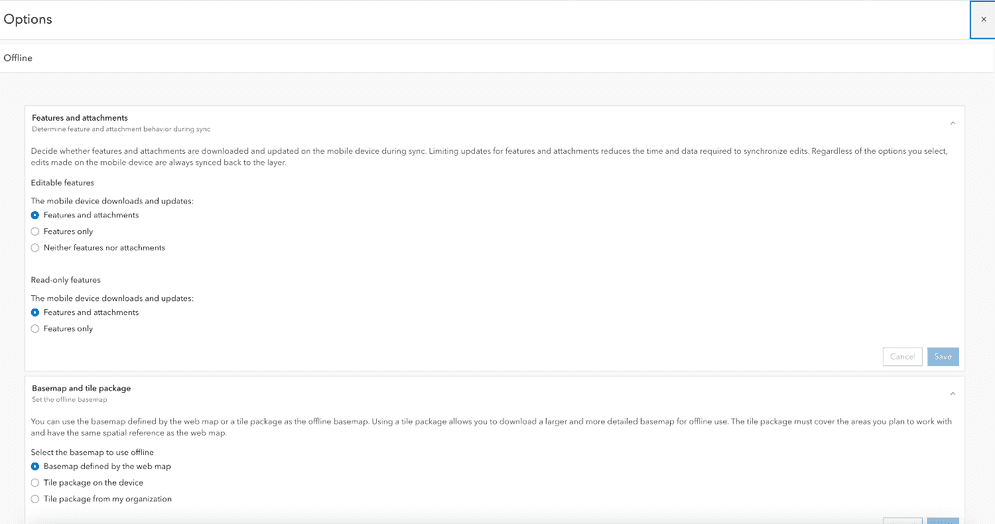
Under Features and attachments, you can configure download behaviors for both editable and read-only features. Adjusting how attachments and features are delivered can reduce the time it takes to synchronize edits, especially in areas of poor connectivity, as well as the amount of cellular data used.
Under Basemap and tile package, you can choose which basemap you want to use on your map. If you choose to use a local tile package, you will provide the filename of the package on your device. If you choose to use a tile package from your organization, you will browse a tile package from your ArcGIS organization.
-
Click Save. Your web map is enabled for offline use now.
What's next?
Learn how to use the offline-enabled web map to create an offline map area or to use in an offline application.
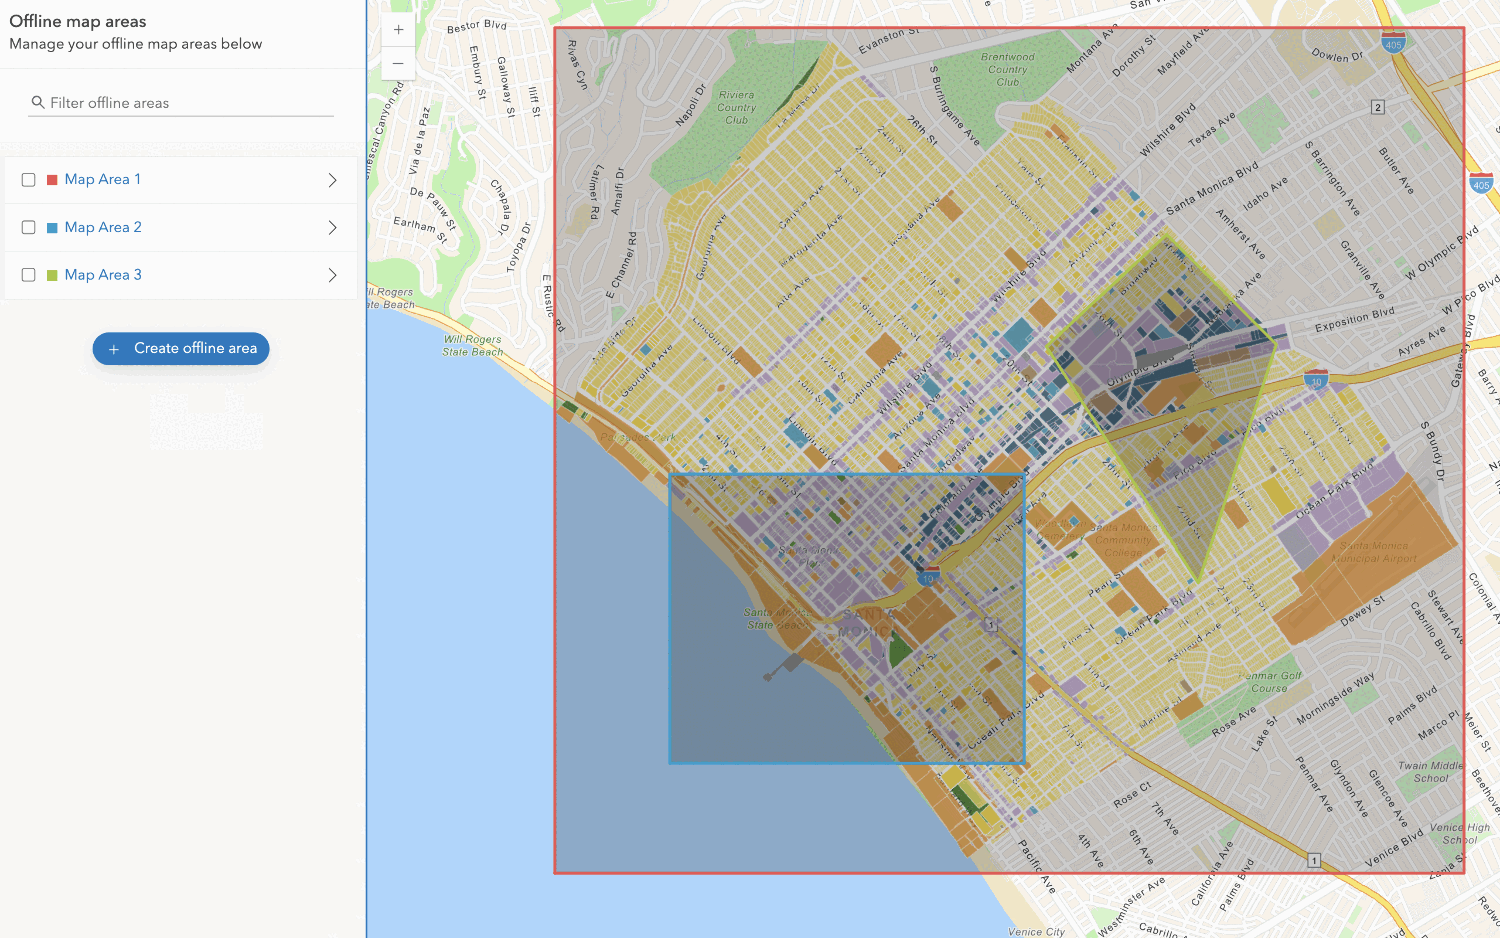
Create an offline map area
Use your portal to create an offline map area from an offline-enabled web map.
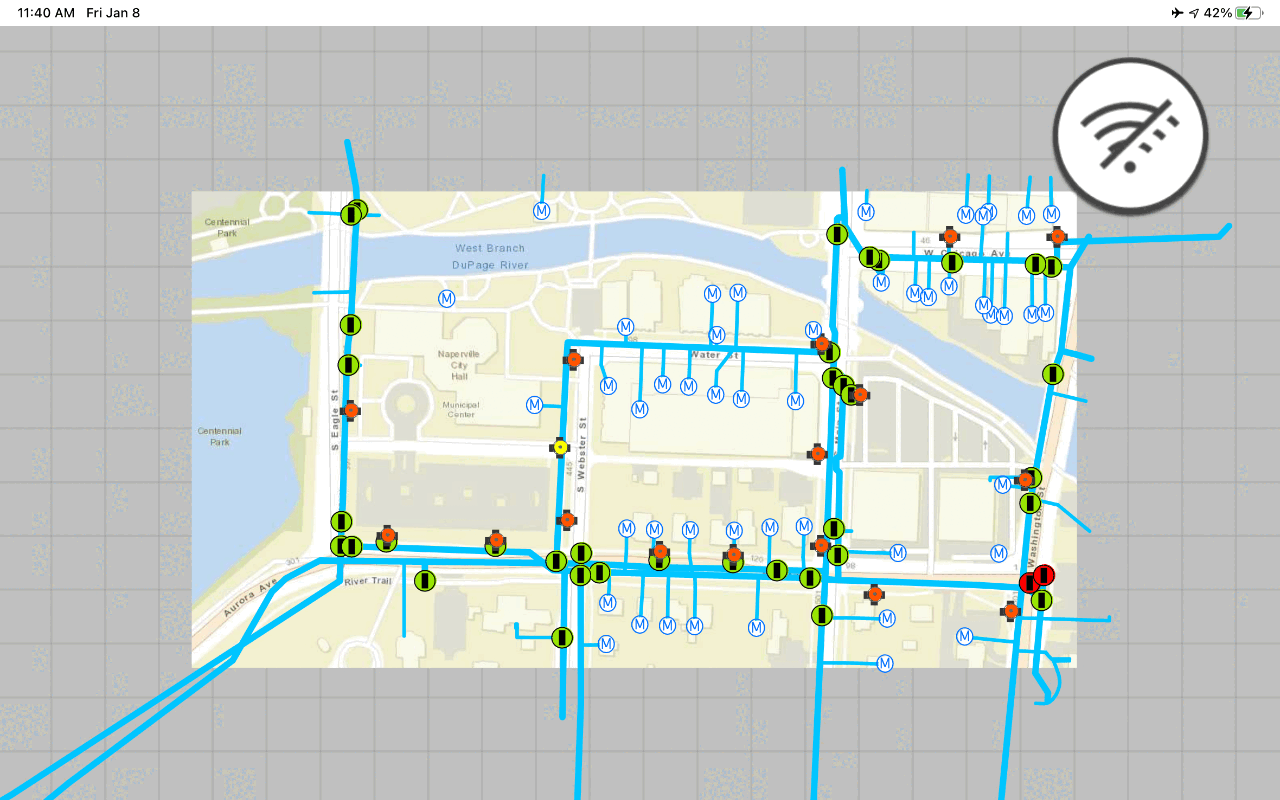
Display an offline map on demand
Download and display an offline map for a custom area of a web map stored in ArcGIS.