Learn how to use ArcGIS.com and scripting APIs to publish a vector tile layer.
To create a vector tile layer, you first import data to create a hosted feature service and then publish it as a hosted vector tile layer. This workflow is helpful when you need to render large datasets on the client. Using a vector tile layer can significantly improve display performance of the data in a map.
In this tutorial, you use ArcGIS portal or scripting APIs to convert a hosted feature layer to a hosted vector tile layer using the Santa Monica Mountains Parcels dataset, which contains a large amount of polygon features that represent property parcels.
Prerequisites
You need an ArcGIS Location Platform, ArcGIS Online, or ArcGIS Enterprise account to create, manage and access hosted layers.
Steps
Download the data
Use the Santa Monica Mountains Parcels dataset as the basis for this tutorial. However, you can also use your own feature layer created in either the Import data as a feature layer or Create a new feature layer tutorials.
- Download the Santa Monica Mountains Parcels dataset. Do not unzip this file, you will upload it as is.
Create a feature layer
Import the downloaded Shapefile to create a hosted feature layer.
-
Sign into your account.
-
Click Content > Add Item > Upload from computer.
-
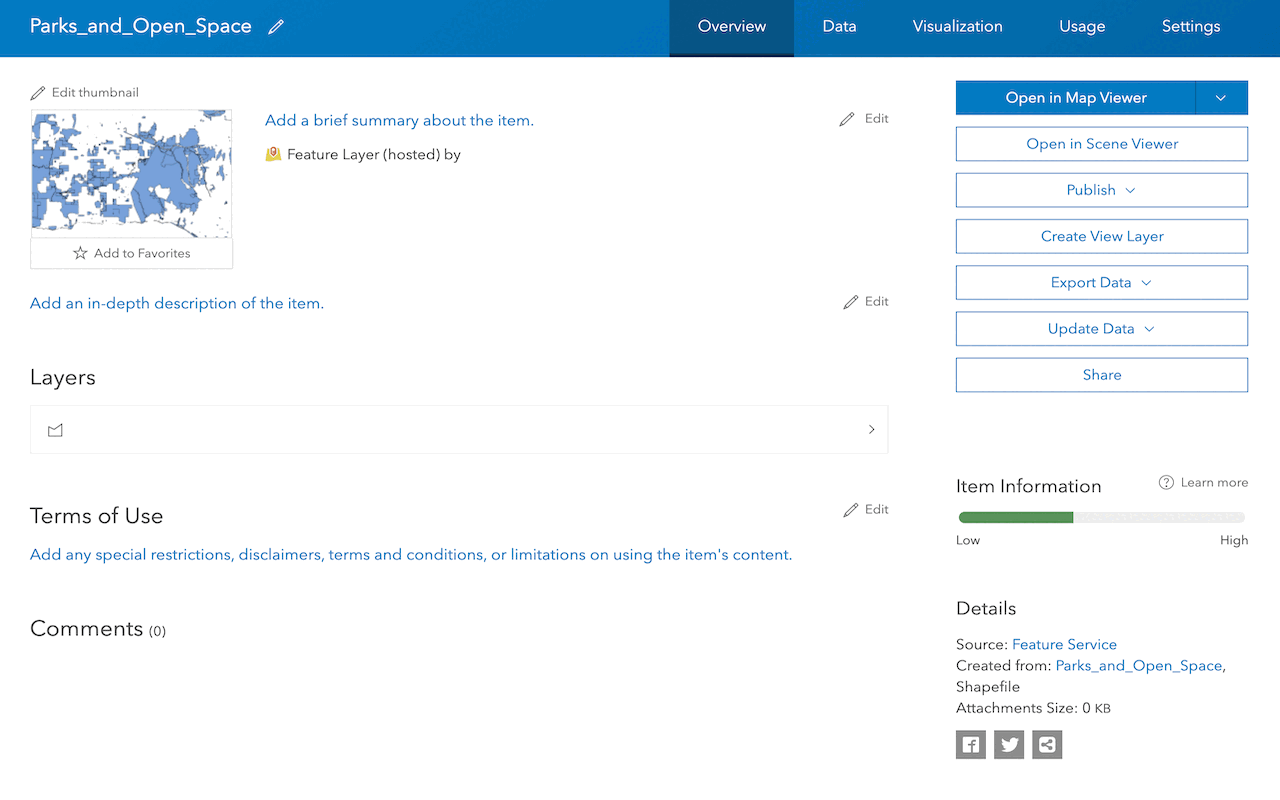
Upload the Santa_Monica_Mountains_Parcels.zip Shapefile. Wait for the upload to complete. When it completes, you will be directed to the item page of the new feature layer.
- Import libraries.
- Provide authentication.
- Create a portal item.
- Publish portal item.
- Handle the results.
// publish parameters
// https://developers.arcgis.com/rest/users-groups-and-items/publish-item.htm#ESRI_SECTION1_1016F32E313240D38E8CF741BDBC0BE8
const publishParams = {
name: 'Santa Monica tree data',
maxRecordCount: 2000,
hasStaticData: true,
layerInfo: { capabilities: 'Query' },
};
// create item
const zipItem = await createItem({
authentication: auth,
item: {
title: 'Santa Monica tree data',
description: 'Santa Monica tree data',
tags: 'santa, monica, tree, data, tutorial',
type: 'Shapefile',
},
file: f,
});
// execute publish operation
const publishedService = await request(publishURL, {
authentication: auth,
params: {
itemid: zipItem.id,
filetype: 'shapefile',
publishParameters: publishParams,
},
});
// handle results
console.log('New service created: ');
publishedService.services.forEach((s) => {
console.log(`\tid: ${s.serviceItemId} \n\turl:${s.serviceurl}`);
});
Style the feature layer
Before publishing a vector tile layer, it is recommended to style the feature layer. When you style the feature layer, the styles will be applied to the vector tile layer when it's published. You can also associate attributes with the vector tile layer that is published.
-
Go back to the item page > Visualization.
-
In the left panel, click the Change style icon.
-
Under Choose an attribute to show select: UseType.
-
Under Select a drawing style > Types(Unique symbols) > Options.
-
Click Symbols to select a color ramp to display different colors for each type of parcel.
-
Click Outline and set the following:
- Hex code:
#1.A1 A1 A - Uncheck Adjust outline automatically.
- Transparency:
5%. - Line Width:
1px.
- Hex code:
-
Click OK
-
Set the Overall Transparency to
50%> OK > Done. -
Click Save to save the style for your layer.
- Import libraries.
- Provide authentication.
- Retrieve feature layer properties.
- Define a new renderer.
- Update feature layer.
- Handle results.
// get layer properties
const layerAdminInfo = await getServiceAdminInfo(featureLayerURL, auth);
// update the renderer
layerAdminInfo.drawingInfo.renderer = newRenderer;
// reset edit date
layerAdminInfo.editingInfo.lastEditDate = null;
// updateDefinition endpoint
const updateURL = `${adminURL}/updateDefinition`;
// execute updateDefinition operation
const results = await request(updateURL, {
authentication: auth,
params: {
updateDefinition: layerAdminInfo,
},
});
console.log(results);
Publish a vector tile layer
-
Go back to the item page of the feature layer.
-
On the right-side of the page, click Publish > Vector Tile layer.
-
Click Select attributes and select UseType and Roll_LandV.
-
At minimum, enter a Title and Tags for your vector tile layer. Click OK.
Once you click OK, you will be directed to the item page for the new vector tile layer. Wait for the the cache to build.
-
In the item page, click Share > Everyone (public).
- Import libraries.
- Reference feature layer.
- Define publish parameters.
- Execute publish operation.
- Handle results.
// execute publish operation
const publishedService = await request(publishURL, {
authentication: auth,
params: {
itemid: "<YOUR ITEM ID>",
outputType: "vectorTiles",
filetype: "featureService",
publishParameters: vectorTileParams,
},
})
// handle results
console.log("New service created: ")
publishedService.services.forEach(s => {
console.log(`\tid: ${s.serviceItemId} \n\turl:${s.serviceurl}`)
})
View the vector tile layer
- In the item page, click Open in Map Viewer to view the vector tile layer.
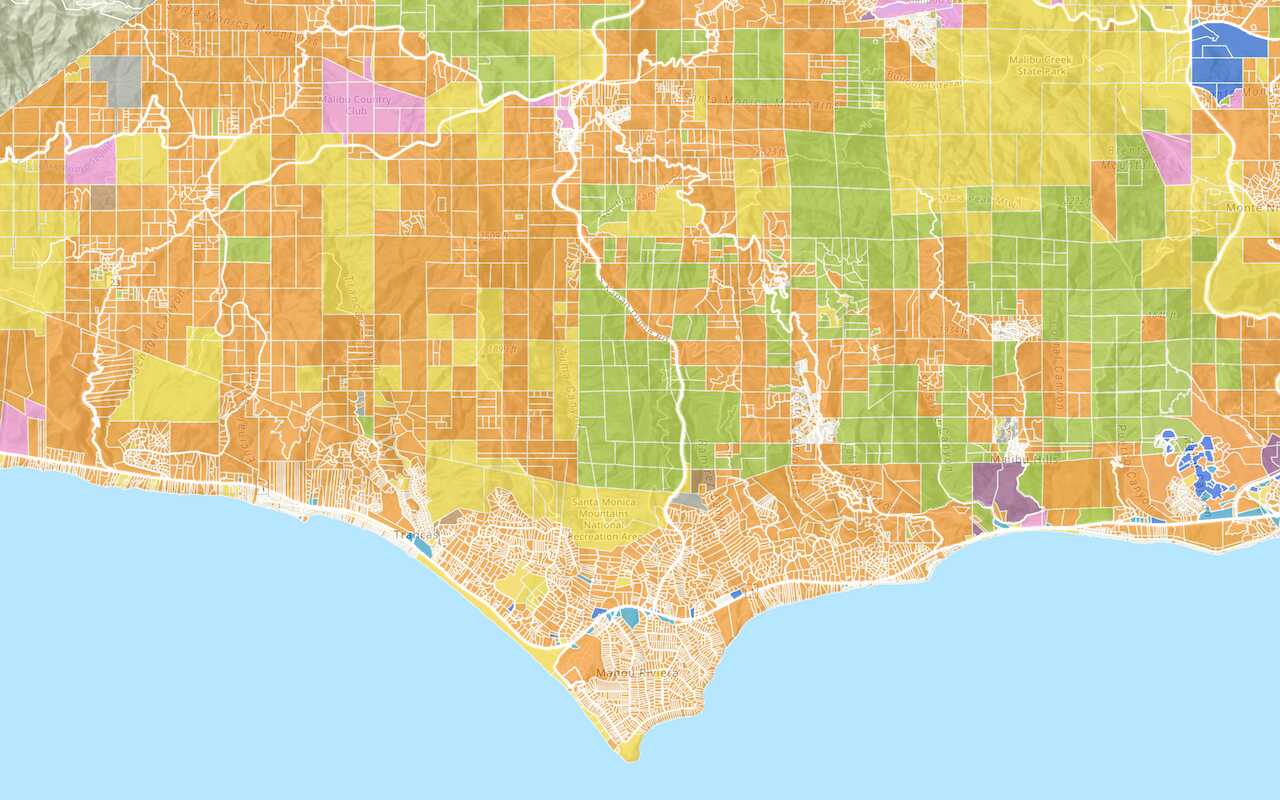
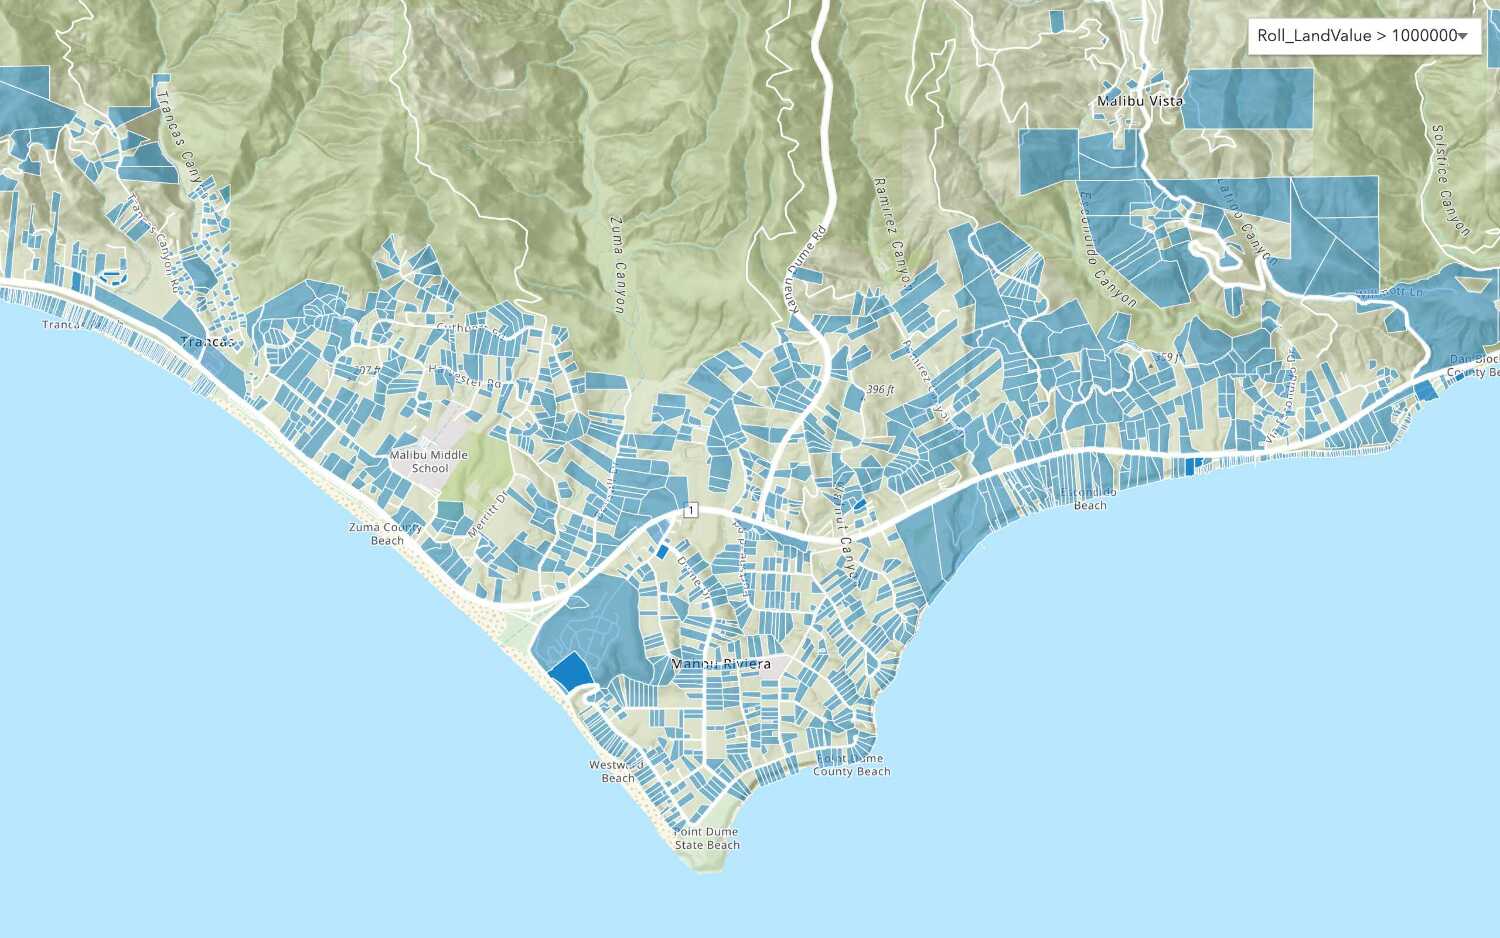
Your vector tile layer should look something like this.
Find the URL endpoint and style definition
The item for a vector tile layer defines the service properties and its styles.
-
In the item page, scroll down the page and click View to view the vector tile layer metadata and its service URL. To access the vector tile data in an application, use the URL+
tile/{z}/{y}/{x}.pbf. For example:Use dark colors for code blocks Copy https://vectortileservices3.arcgis.com/<YOUR_ORG>/arcgis/rest/services/<YOUR_VECTOR_TILE>/VectorTileServer/tile/{z}/{y}/{x}.pbf -
Go back to the item page. To view the style, click View style. The style will look something like this:
{
"version":8,
"sprite":"../sprites/sprite",
"glyphs":"../fonts/{fontstack}/{range}.pbf",
"sources":{
"esri":{
"type":"vector",
"url":"../../"
}
},
"layers":[
{
"id":"Santa_Monica_Mountains_Parcels_Styled/Residential",
"type":"fill",
"source":"esri",
"source-layer":"Santa_Monica_Mountains_Parcels_Styled",
"filter":[
"==",
"_symbol",
0
],
}With the vector tile layer published, you can now access the layer using the {z}/{y}/{x}.pbf path. Or, you can access the style with the service URL+root.json. For example:
https://vectortileservices3.arcgis.com/<YOUR_ORG>/arcgis/rest/services/<YOUR_VECTOR_TILE>/VectorTileServer/resources/styles/root.jsonWhat's next?
Learn how to use additional tools, APIs, and location services in these tutorials:
Define a new feature layer
Use data management tools to define and create a new empty feature layer in a feature service.

Import data to create a feature layer
Use data management tools to import files and create a feature layer in a feature service.
Manage a feature layer
Use a hosted feature layer item to set the properties and settings of a feature layer in a feature service.
