Sharing and collaborating on content is an important process of working in ArcGIS. As requirements change, you may need to transfer ownership of items like maps, apps, and layers to other members in your organization. The ownership transfer process allows you to hand off content to the appropriate members, ensuring they have access to the resources they need. Using the portal service, you can re-assign a single item or a large volume of content.
Item ownership
Some points to consider when transferring ownership of items:
- Organization members with administrative privilege to reassign content can transfer ownership of their items to other members in the organization.
- When ownership of an item is transferred with one or more groups, the new owner must be a member of all groups with which the item is shared.
- Changing a hosted layer ownership changes the file's ownership and that of its dependent hosted feature layer views. It does not affect the ownership of the maps, scenes, or apps in which the layer is used.
Why change item ownership
You change item ownership to:
- Increase collaboration among members by ensuring members have access to the necessary data and tools to work effectively.
- Promote knowledge sharing in the organization.
- Optimize resources in the organization by avoiding duplication of efforts.
- Maintain control over content and enabling appropriate access and sharing among authorized users.
How to change item ownership
The general steps of transferring item ownership:
1. Access your content
Sign in to your portal and ensure that you have administrative privileges to manage content within your organization.
- ArcGIS portal (ArcGIS Location Platform or ArcGIS Online)
- ArcGIS Enterprise portal (ArcGIS Enterprise)
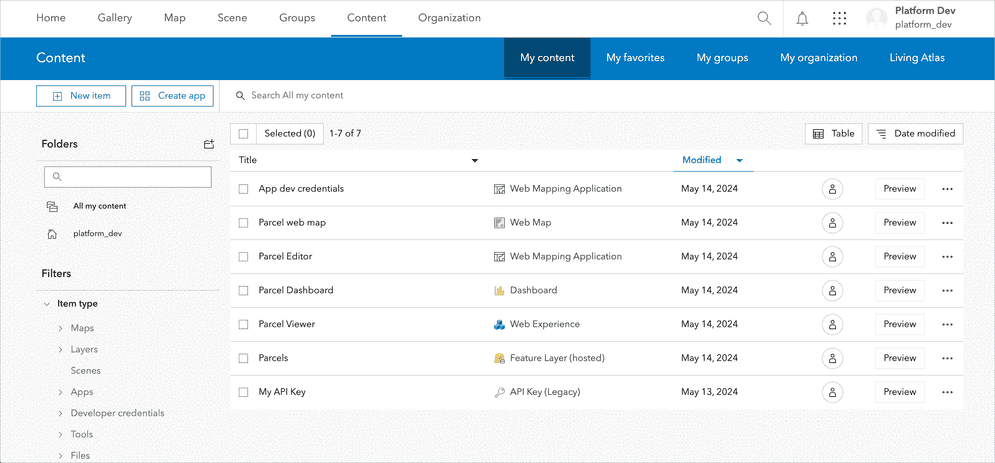
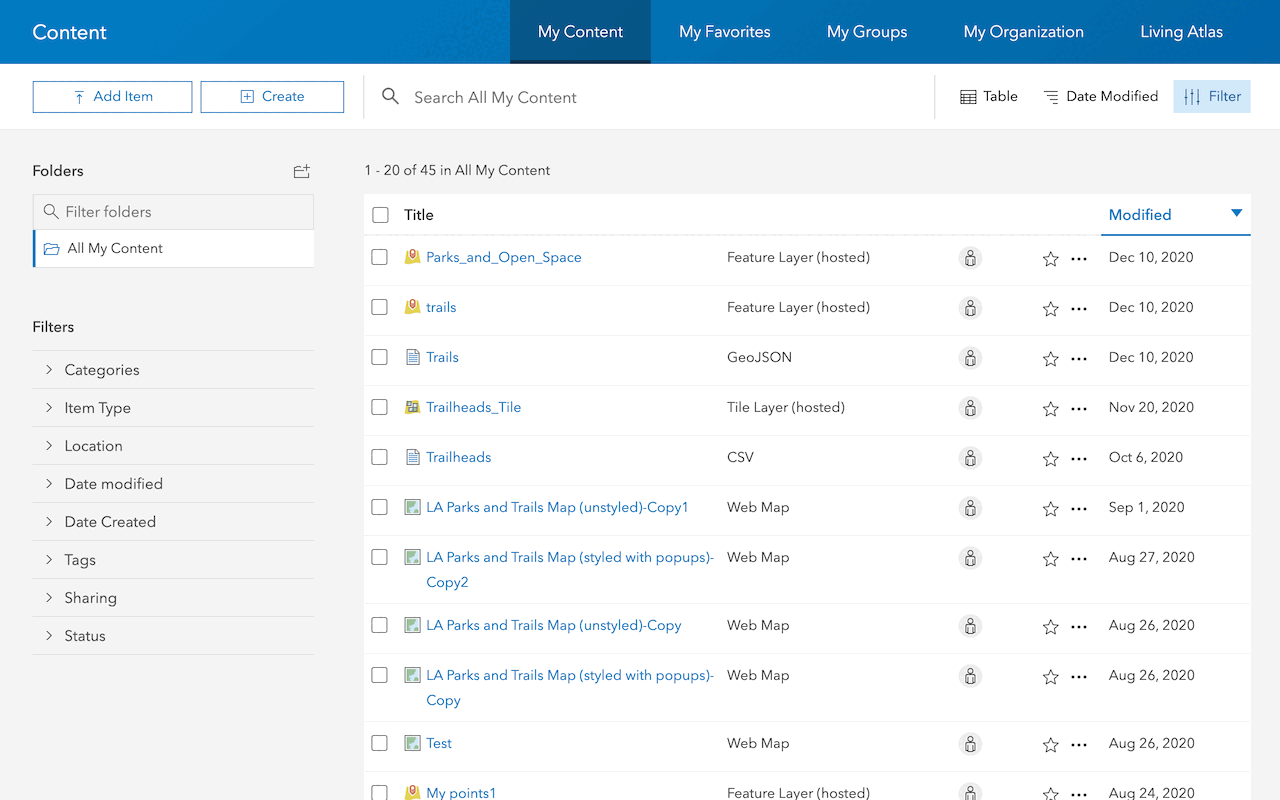
Go to the Content tab, where you can view all the content available within your organization.
2. Select the items
To find and select an item, you can follow one of these methods:
- Use the search bar at the top of the page to enter keywords related to the item you are looking for.
- Browse through your content by clicking on the Content tab on the top navigation bar.
- Filter your content by type, owner, or other criteria to locate the specific item more efficiently.
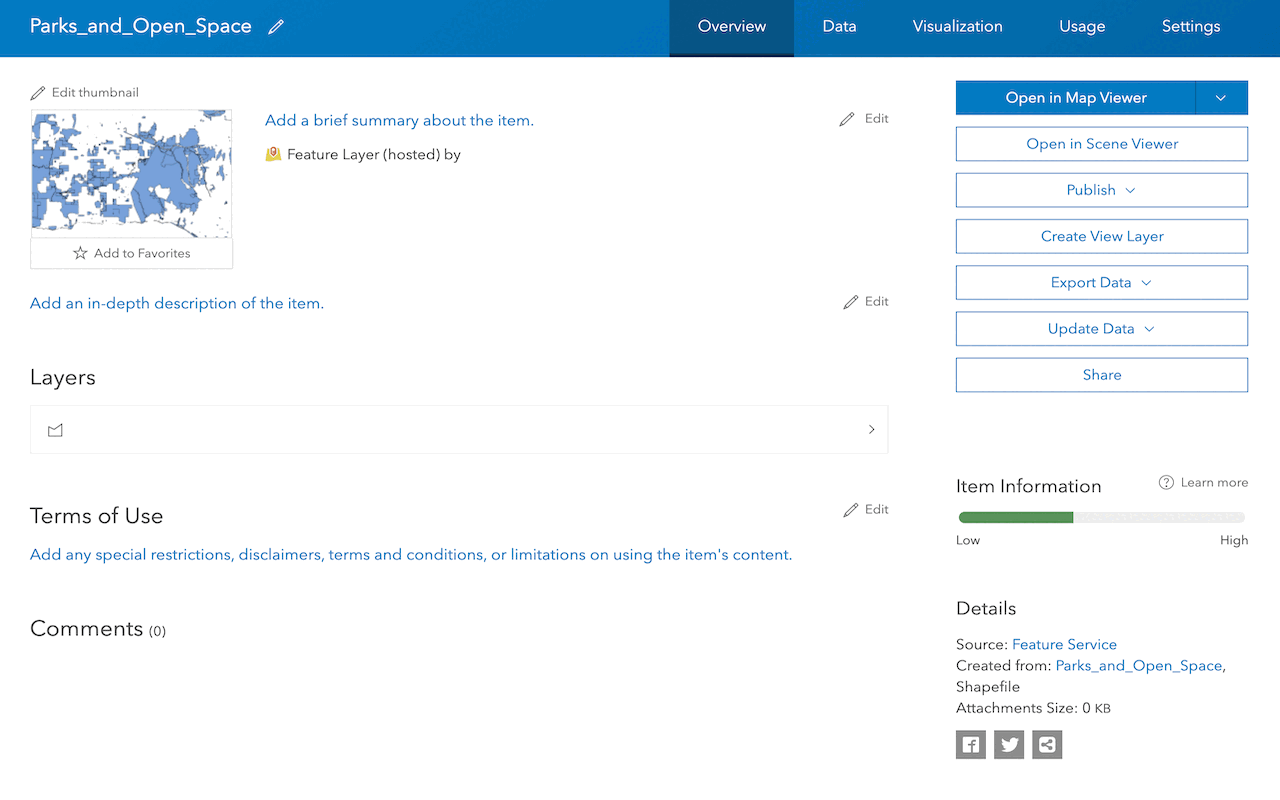
Once you find the item, click on it to open its details page, where you can view its properties and perform various actions.
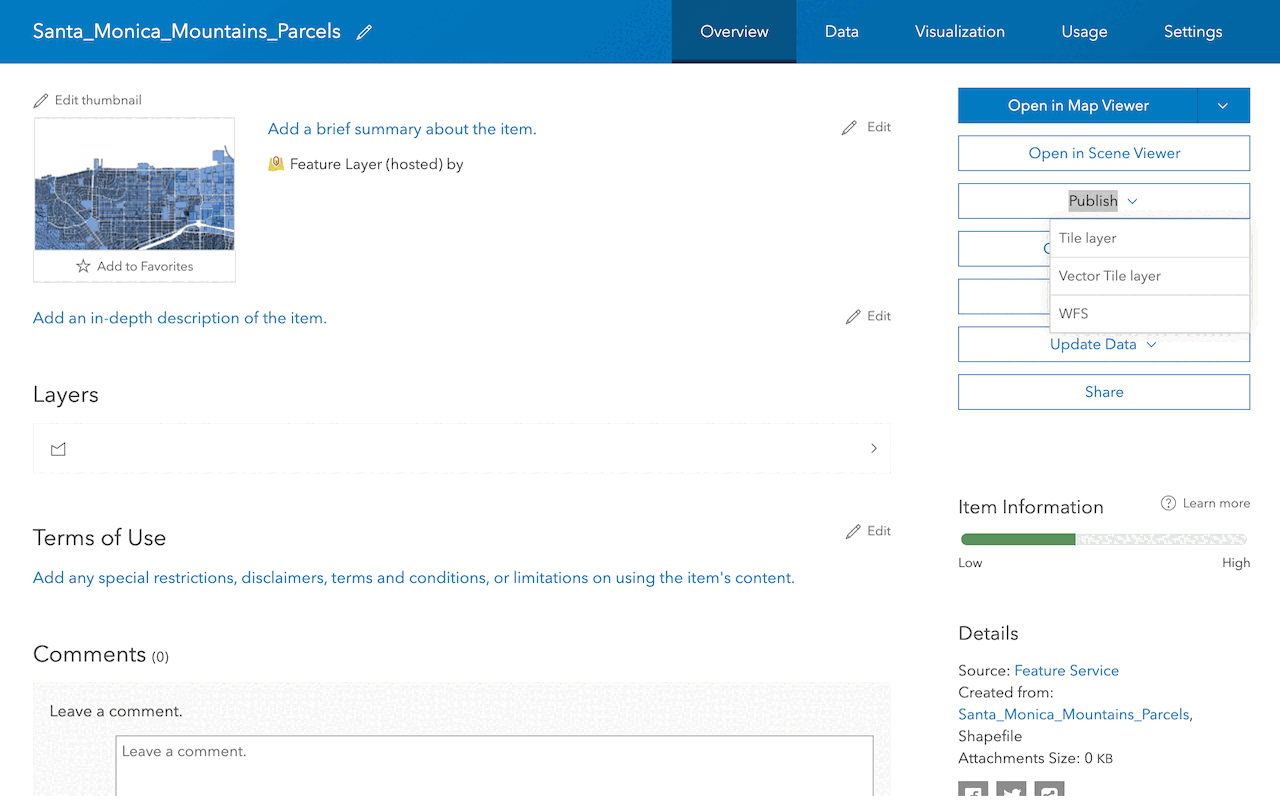
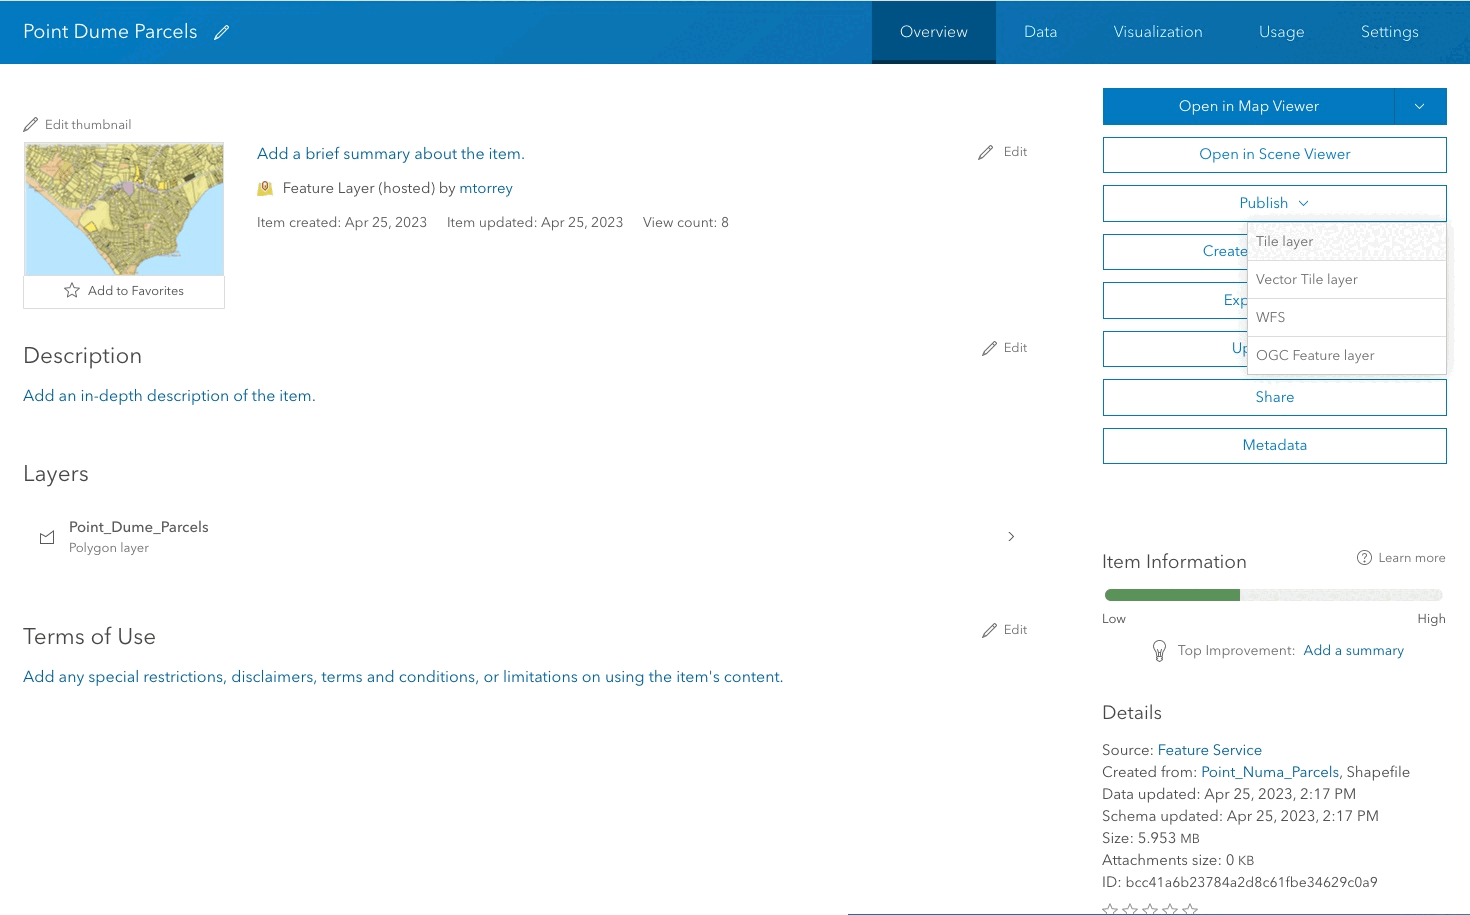
3. Transfer the item
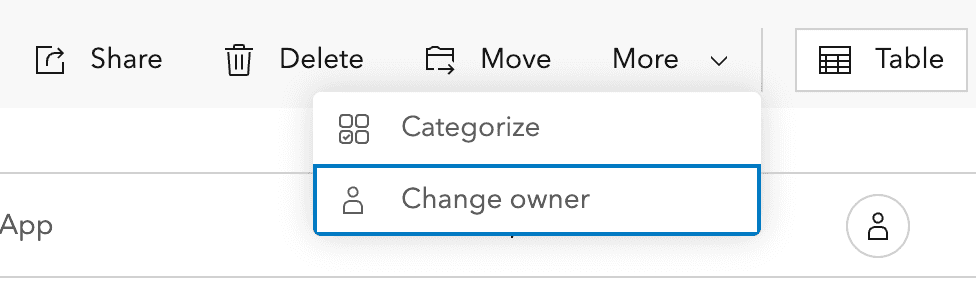 Change owner menu item allowing the transfer of ownership in selected items.
Follow the prompts or options provided within the ArcGIS portal interface to initiate the transfer process. Confirm the transfer action, ensuring that you are transferring the correct content to the intended recipient.
4. Verify transfer
After the transfer is complete:
- Verify that the content has been successfully transferred to the designated member's account.
- Communicate with both the sender and the recipient to ensure they are aware of the transfer and have access to the transferred content.
Code examples
Transfer items to another member
Below is an example script that demonstrates how to transfer item ownership to another member in an organization in ArcGIS Online:
# Share the item with the recipient user
item.share(everyone=False, org=False, groups="", allow_members=[recipient_username])
# Reassign ownership of the item to the recipient user
item.reassign_to(recipient_username)
Verify item ownership was transferred
Below is an example script that demonstrates how to verify that items have been transferred to the recipient member in ArcGIS Online:
# Get the transferred item
item = gis.content.get(item_id)
# Check if the recipient user has access to the item
if item['owner'] == recipient_username:
print(f"Item {item.title} ({item_id}) successfully transferred to {recipient_username}.")
else:
print(f"Item {item.title} ({item_id}) failed to transfer to {recipient_username}.")
failed_items.append(item_id)
Tutorials
Import data to create a feature layer
Use data management tools to import files and create a feature layer in a feature service.
Define a new feature layer
Use data management tools to define and create a new empty feature layer in a feature service.
Manage a feature layer
Use a hosted feature layer item to set the properties and settings of a feature layer in a feature service.
Create a vector tile service
Use data management tools to create a new vector tile service from a feature service.
Create a map tile service
Use ArcGIS Online or scripting APIs to publish a map tile service.
Services
Feature service
Add, update, delete, and query feature data.
Vector tile service
Store and access vector tile data.
Map tile service
Store and access map tile data.
Image service
Store and access imagery and raster data.
API support
Use data management tools or Client APIs to create, manage, and access data services. The table below outlines the level of support for each API.
- 1. Use portal class and direct REST API requests
- 2. Access via ArcGIS REST JS
- 3. Requires manually setting styles for renderers