Portal in ArcGIS provides tools to move items between different locations in your organization. You can move items between folders, groups, and even between different portal accounts. This allows you to organize your content and share it with the appropriate users or groups.
Why move items?
Moving items enables users to better organize, share, and manage their content.
You can move items in portal to:
- Organize content into folders to help users keep related items together making them easier to find and manage.
- Change ownership of an item by moving an item to a different folder.
- Transfer an item to another account or share it with different groups.
- Consolidate items for specific projects or workflows.
- Migrate content between different organizations or between ArcGIS Online and ArcGIS Enterprise.
How to move items
The general steps of moving items:
1. Access your content
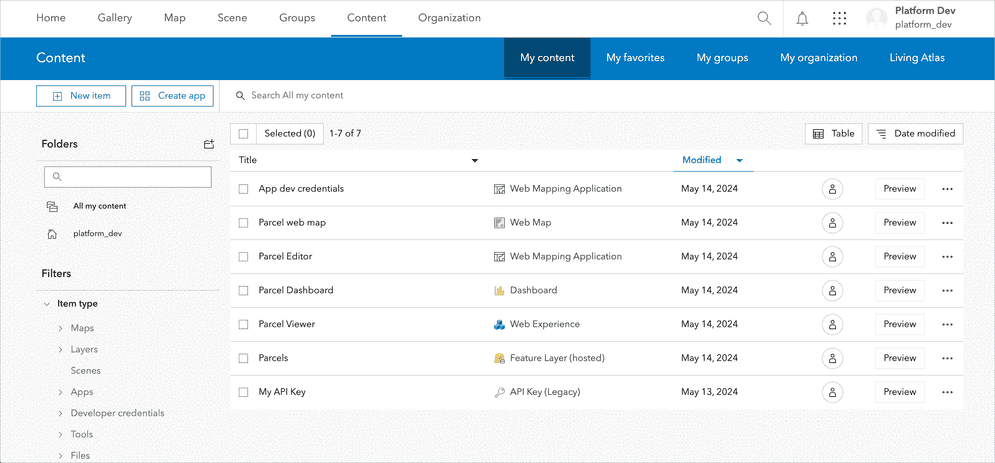
Sign in to your portal and ensure that you have administrative privileges to manage content within your organization.
- ArcGIS portal (ArcGIS Location Platform or ArcGIS Online)
- ArcGIS Enterprise portal (ArcGIS Enterprise)
Go to the Content tab, where you can view all the content available within your organization.
2. Select items
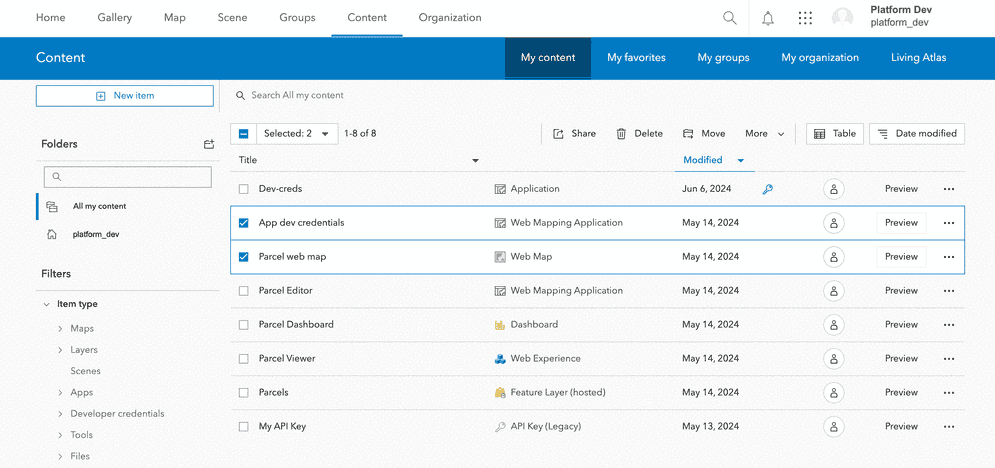
To find and select an item, you can follow one of these methods:
- Use the search bar at the top of the page to enter keywords related to the item you are looking for.
- Browse through your content by clicking on the Content tab on the top navigation bar.
- Filter your content by type, owner, or other criteria to locate the specific item more efficiently.
Once you find the item, click on it to open its details page, where you can view its properties and perform various actions.
3. Move items
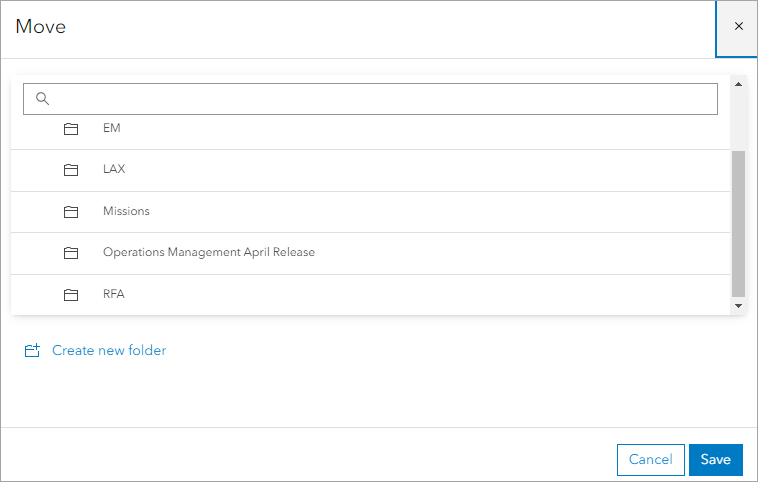
Follow these steps to move items in your organization:
- Click Move. Depending on the permissions you have, you may need to share the item with the desired group or organization.
- Select the destination folder. You may need appropriate permissions to move items to certain groups or organizations.
Code examples
Move an item to designated folder
Below is an example script that demonstrates how to move items to a designated folder in portal:
item_id = "item_id_here"
source_folder = "source_folder_name_here"
destination_folder = "destination_folder_name_here"
try:
# Get the item
item = gis.content.get(item_id)
# Move the item to the destination folder
item.move(destination_folder)
Move an item from one group to another
Below is an example script that demonstrates how to move an item from one group to another in portal:
item_id = "itemid_to_move"
source_group_id = "source_group_id"
destination_group_id = "destination_group_id"
# Get the item
item = gis.content.get(item_id)
# Get source and destination groups
source_group = gis.groups.get(source_group_id)
destination_group = gis.groups.get(destination_group_id)
# Reassign the item to the destination group
item.reassign_to(destination_group)
Move an item from one organization to another
Below is an example script that demonstrates how to move an item from one organization to another in portal:
item_id_to_move = "item_id"
# Destination folder (optional)
destination_folder = "Destination Folder"
# Authenticate to both source and target GIS
source_gis = GIS(source_url, source_username, source_password)
target_gis = GIS(target_url, target_username, target_password)
# Move the item
try:
# Get the item from the source GIS
item = source_gis.content.get(item_id)
# Create a copy of the item in the target GIS
copied_item = item.copy(target_gis)
# Move the copied item to the specified folder in the target GIS
if destination_folder:
copied_item.move(destination_folder)
Tutorials
Import data to create a feature layer
Use data management tools to import files and create a feature layer in a feature service.

Define a new feature layer
Use data management tools to define and create a new empty feature layer in a feature service.
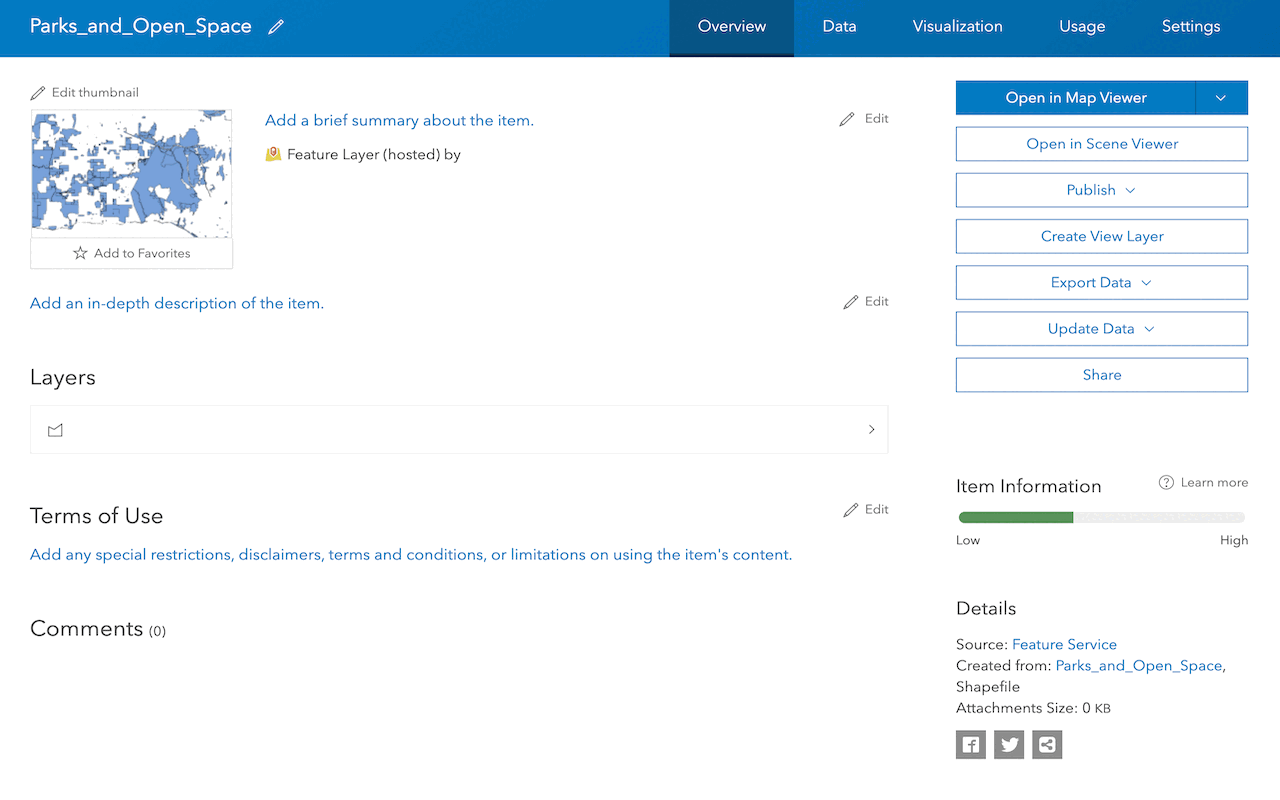
Manage a feature layer
Use a hosted feature layer item to set the properties and settings of a feature layer in a feature service.
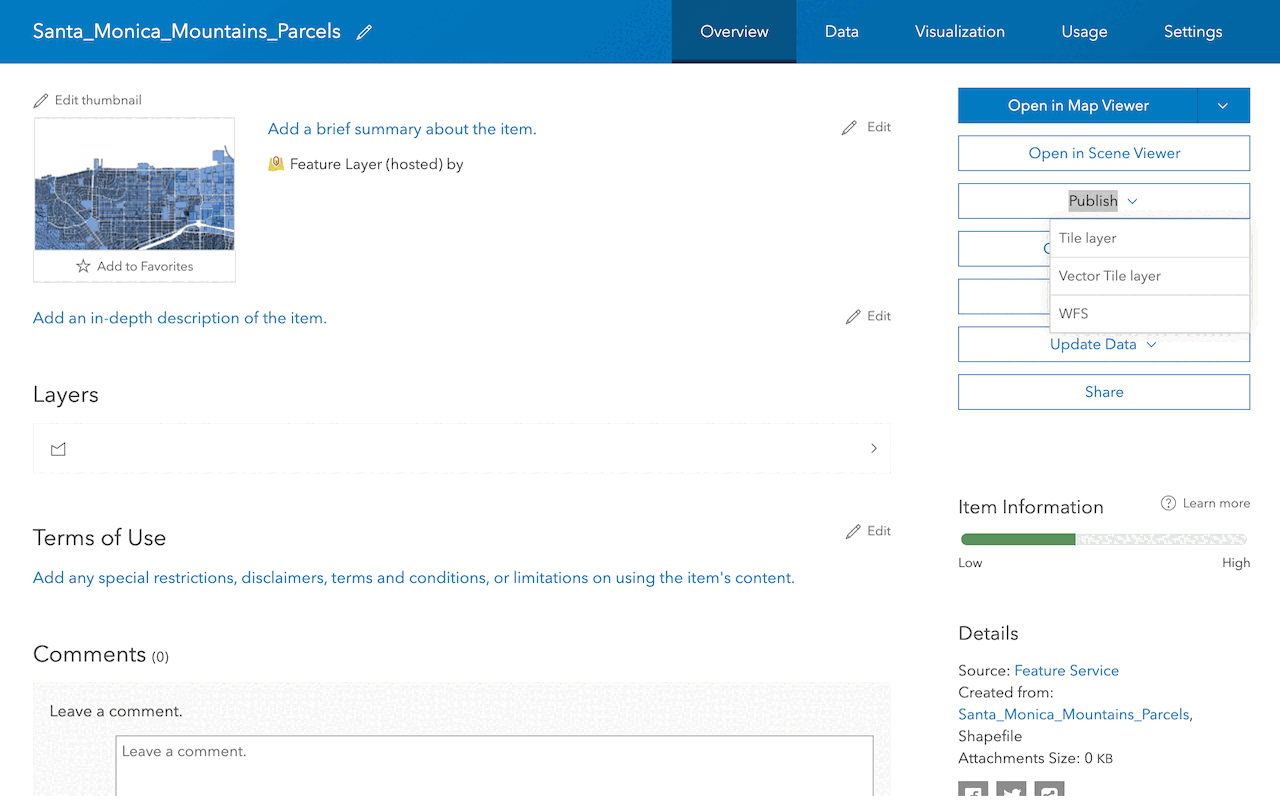
Create a vector tile service
Use data management tools to create a new vector tile service from a feature service.
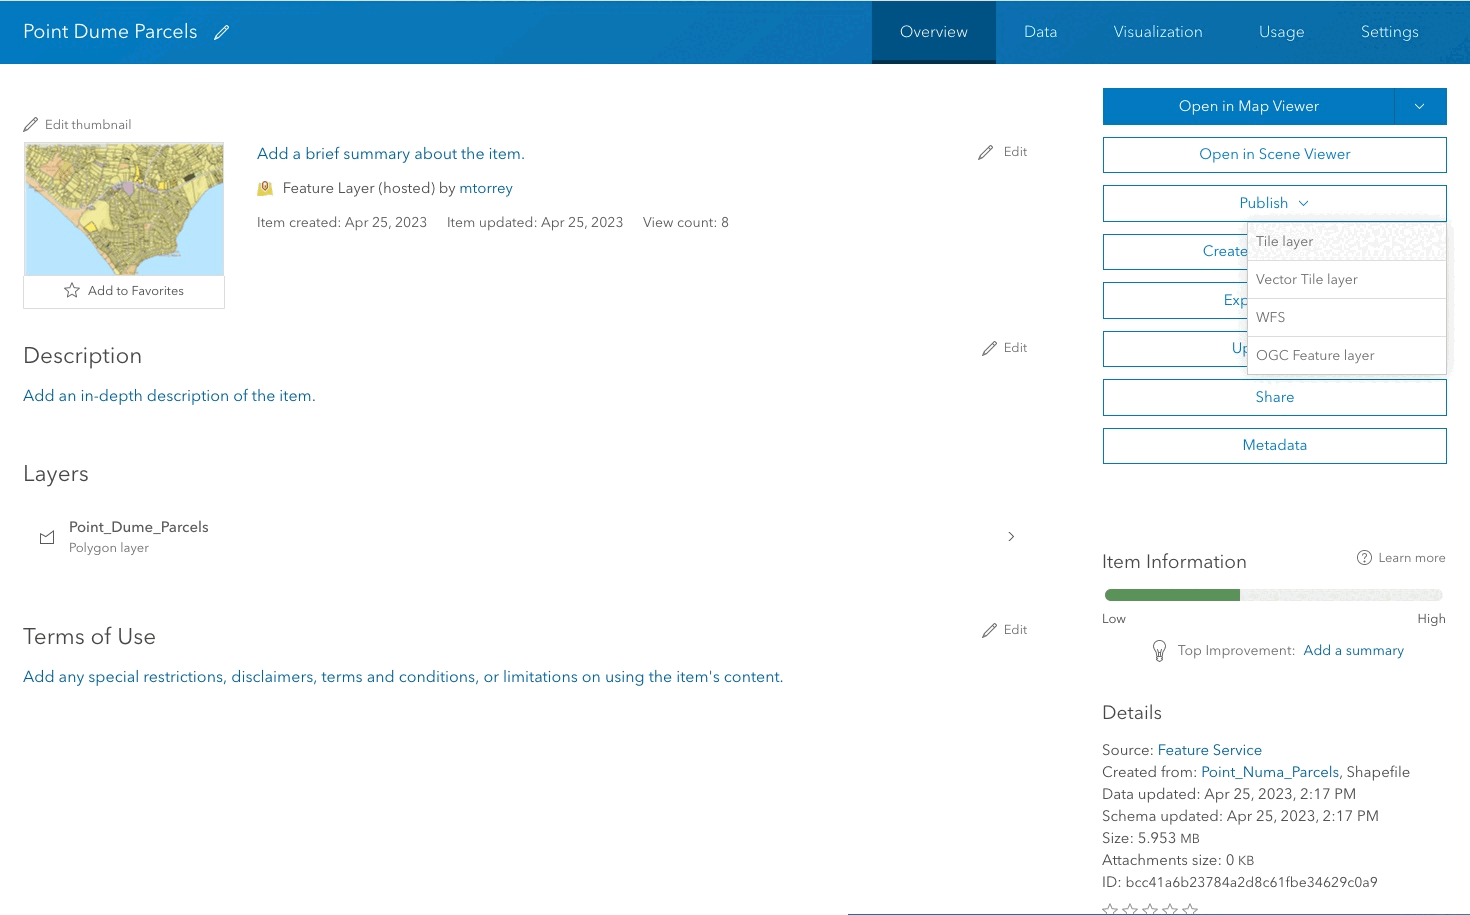
Create a map tile service
Use ArcGIS Online or scripting APIs to publish a map tile service.
Services
Feature service
Add, update, delete, and query feature data.
Vector tile service
Store and access vector tile data.
Map tile service
Store and access map tile data.
Image service
Store and access imagery and raster data.
API support
Use data management tools or Client APIs to create, manage, and access data services. The table below outlines the level of support for each API.
- 1. Use portal class and direct REST API requests
- 2. Access via ArcGIS REST JS
- 3. Requires manually setting styles for renderers