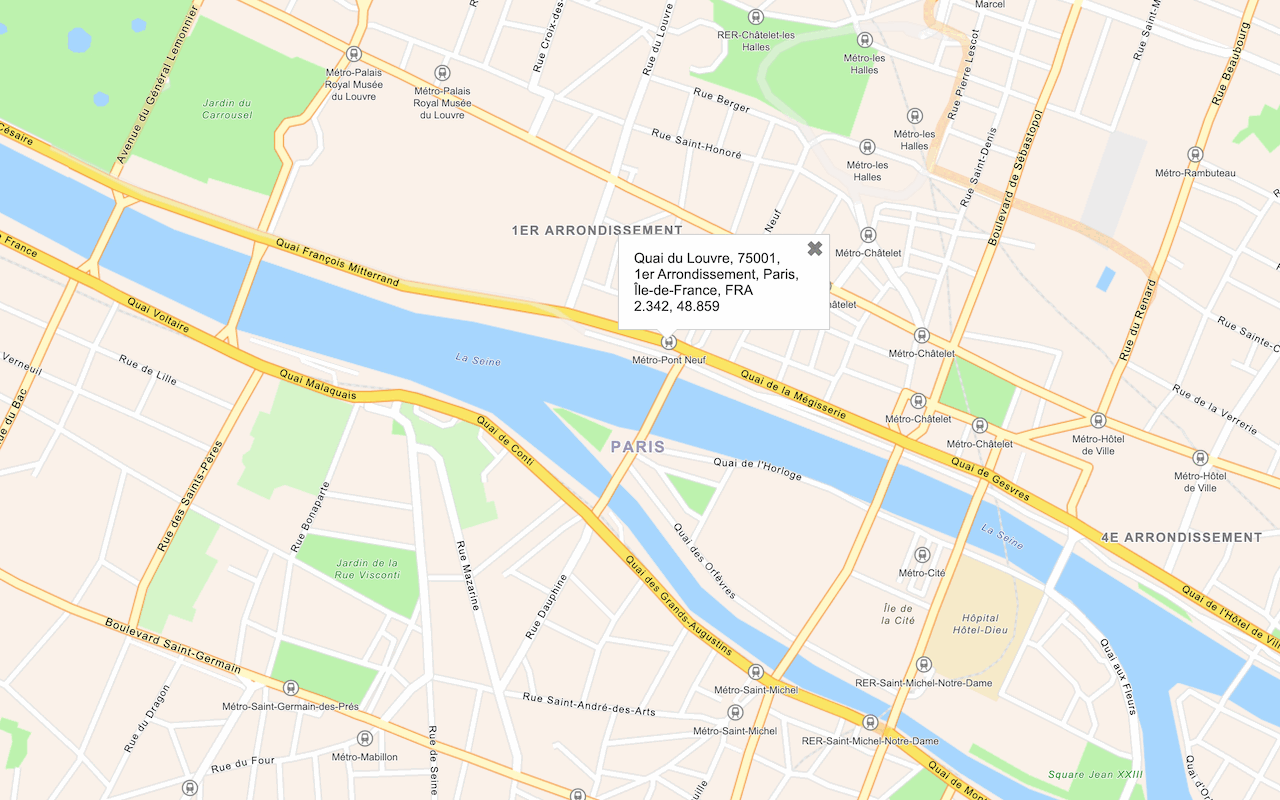
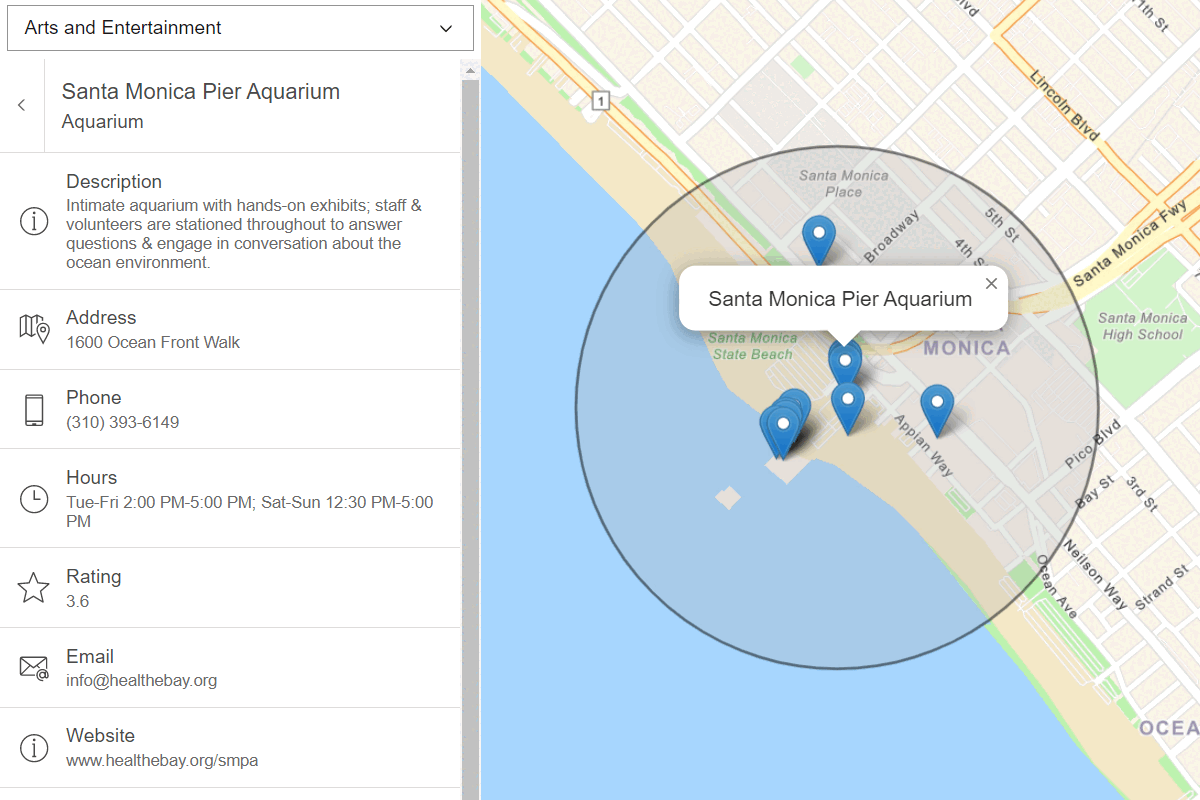
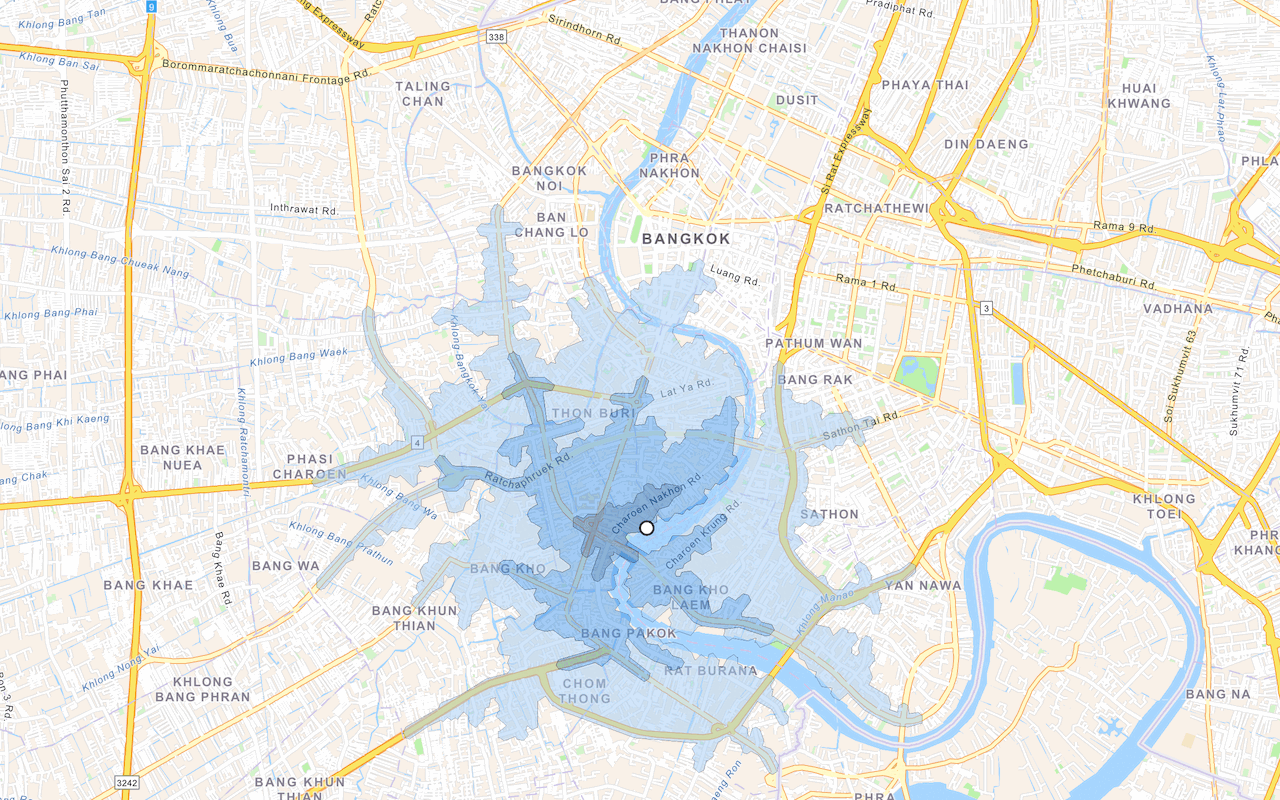
Learn how to find a route with the route service.
Routing is the process of finding the path from an origin to a destination in a street network. You can use the route service to find routes, get driving directions, calculate drive times, and solve complicated, multiple vehicle routing problems. To create a route, you typically define a set of stops (origin and one or more destinations) and use the service to find a route with directions. You can also use a number of additional parameters such as barriers and mode of travel to refine the results.
In this tutorial, you define an origin and destination by clicking on the map. These values are used to get a route and directions from the route service. The directions are also displayed on the map.
Prerequisites
An ArcGIS Location Platform or ArcGIS Online account.
Steps
Get the starter app
Select a type of authentication below and follow the steps to create a new application.
Set up authentication
Create developer credentials in your portal for the type of authentication you selected.
Set developer credentials
Use the API key or OAuth developer credentials so your application can access location services.
Add references to ArcGIS REST JS
-
Reference the
routingandrequestpackages from ArcGIS REST JS.Use dark colors for code blocks <!-- Load Leaflet from CDN --> <link rel="stylesheet" href="https://unpkg.com/leaflet@1.9.4/dist/leaflet.css" crossorigin="" /> <script src="https://unpkg.com/leaflet@1.9.4/dist/leaflet.js" crossorigin=""></script> <!-- Load Esri Leaflet from CDN --> <script src="https://unpkg.com/esri-leaflet@3.0.14/dist/esri-leaflet.js"></script> <script src="https://unpkg.com/esri-leaflet-vector@4.2.7/dist/esri-leaflet-vector.js"></script> <!-- Load ArcGIS REST JS from CDN --> <script src="https://unpkg.com/@esri/arcgis-rest-request@4/dist/bundled/request.umd.js"></script> <script src="https://unpkg.com/@esri/arcgis-rest-routing@4/dist/bundled/routing.umd.js"></script>
Update the map
A navigation basemap layer is typically used in geocoding and routing applications. Update the basemap layer to use arcgis/navigation.
-
Update the basemap enumeration and change the map view to center on location
[-79.3832,43.6532], Toronto.Use dark colors for code blocks /* Use for API key authentication */ const accessToken = "YOUR_ACCESS_TOKEN"; // or /* Use for user authentication */ // const session = await arcgisRest.ArcGISIdentityManager.beginOAuth2({ // clientId: "YOUR_CLIENT_ID", // Your client ID from OAuth credentials // redirectUri: "YOUR_REDIRECT_URI", // The redirect URL registered in your OAuth credentials // portal: "YOUR_PORTAL_URL" // Your portal URL // }) // const accessToken = session.token; const basemapEnum = "arcgis/navigation"; const map = L.map("map", { minZoom: 2 }) map.setView([43.6532, -79.3832], 12); // Toronto L.esri.Vector.vectorBasemapLayer(basemapEnum, { token: accessToken }).addTo(map);
Add layer groups
To display a route, you need a start point, end point, and a connecting route line.
-
Add a separate
Layerfor the start point, end point, and route line.Group Use dark colors for code blocks L.esri.Vector.vectorBasemapLayer(basemapEnum, { token: accessToken }).addTo(map); const startLayerGroup = L.layerGroup().addTo(map); const endLayerGroup = L.layerGroup().addTo(map); const routeLines = L.layerGroup().addTo(map);
Set start and end points
Use an event handler to set the start (origin) and end (destination) points. The first click will set the start for the route and the second click will set the end. Subsequent clicks will start a new route.
-
Create a
currentvariable with its initial value set toStep start. DeclarestartandCoords endvariables that will be used within the click handler.Coords Use dark colors for code blocks const startLayerGroup = L.layerGroup().addTo(map); const endLayerGroup = L.layerGroup().addTo(map); const routeLines = L.layerGroup().addTo(map); let currentStep = "start"; let startCoords, endCoords; -
Add a
clickhandler to the map. Store theLatof the clicked location in aLng coordinatesvariable.Use dark colors for code blocks let currentStep = "start"; let startCoords, endCoords; map.on("click", (e) => { const coordinates = [e.latlng.lng, e.latlng.lat]; }); -
Create a conditional statement that sets the
currentas eitherStep startorend. If a new start point is set, call theclearmethod to remove the previous route from eachLayers layer.Group Use dark colors for code blocks map.on("click", (e) => { const coordinates = [e.latlng.lng, e.latlng.lat]; if (currentStep === "start") { startLayerGroup.clearLayers(); endLayerGroup.clearLayers(); routeLines.clearLayers(); currentStep = "end"; } else { currentStep = "start"; } }); -
Add a
MarkertostartandLayer Group endto display the locations of theLayer Group startandCoords end.Coords Use dark colors for code blocks map.on("click", (e) => { const coordinates = [e.latlng.lng, e.latlng.lat]; if (currentStep === "start") { startLayerGroup.clearLayers(); endLayerGroup.clearLayers(); routeLines.clearLayers(); L.marker(e.latlng).addTo(startLayerGroup); startCoords = coordinates; currentStep = "end"; } else { L.marker(e.latlng).addTo(endLayerGroup); endCoords = coordinates; currentStep = "start"; } }); -
Run your app. You should be able to click in two places to set markers for the start and end.
Get the route
To find the route, you use ArcGIS REST JS to call the solve function to access the routing service.
-
Above the click handler, create a function called
update. Inside, create a newRoute Apito access the routing service. CallKey Manager solvewith the two sets of coordinates as aRoute stopsarray.Use dark colors for code blocks let currentStep = "start"; let startCoords, endCoords; function updateRoute() { // Create the arcgis-rest-js authentication object to use later. const authentication = arcgisRest.ApiKeyManager.fromKey(accessToken); // make the API request arcgisRest .solveRoute({ stops: [startCoords, endCoords], endpoint: "https://route-api.arcgis.com/arcgis/rest/services/World/Route/NAServer/Route_World/solve", authentication }) } map.on("click", (e) => { const coordinates = [e.latlng.lng, e.latlng.lat]; if (currentStep === "start") { startLayerGroup.clearLayers(); endLayerGroup.clearLayers(); routeLines.clearLayers(); L.marker(e.latlng).addTo(startLayerGroup); startCoords = coordinates; currentStep = "end"; } else { L.marker(e.latlng).addTo(endLayerGroup); endCoords = coordinates; currentStep = "start"; } }); -
Create a response handler that clears any previous route and adds a
Geolayer with the new route displayed in theJSON routelayer.Lines Use dark colors for code blocks function updateRoute() { // Create the arcgis-rest-js authentication object to use later. const authentication = arcgisRest.ApiKeyManager.fromKey(accessToken); // make the API request arcgisRest .solveRoute({ stops: [startCoords, endCoords], endpoint: "https://route-api.arcgis.com/arcgis/rest/services/World/Route/NAServer/Route_World/solve", authentication }) .then((response) => { routeLines.clearLayers(); L.geoJSON(response.routes.geoJson).addTo(routeLines); }) } -
Add an error handler. Inside, show an alert and log a message.
Use dark colors for code blocks function updateRoute() { // Create the arcgis-rest-js authentication object to use later. const authentication = arcgisRest.ApiKeyManager.fromKey(accessToken); // make the API request arcgisRest .solveRoute({ stops: [startCoords, endCoords], endpoint: "https://route-api.arcgis.com/arcgis/rest/services/World/Route/NAServer/Route_World/solve", authentication }) .then((response) => { routeLines.clearLayers(); L.geoJSON(response.routes.geoJson).addTo(routeLines); }) .catch((error) => { console.error(error); alert("There was a problem using the route service. See the console for details."); }); } -
Update the click event handler to call
updateonce the start and end coordinates are set.Route Use dark colors for code blocks map.on("click", (e) => { const coordinates = [e.latlng.lng, e.latlng.lat]; if (currentStep === "start") { startLayerGroup.clearLayers(); endLayerGroup.clearLayers(); routeLines.clearLayers(); L.marker(e.latlng).addTo(startLayerGroup); startCoords = coordinates; currentStep = "end"; } else { L.marker(e.latlng).addTo(endLayerGroup); endCoords = coordinates; currentStep = "start"; } if (startCoords && endCoords) { updateRoute(); } }); -
Run your app. You should be able to set start and end points and view a route line plotted between them.
Show directions
The data returned from the routing service contains directions information. To display it, you can create a styled <div element and populate it with the directions retrieved from the response.
-
Create a
<divelement with an id of> directions.Use dark colors for code blocks L.esri.Vector.vectorBasemapLayer(basemapEnum, { token: accessToken }).addTo(map); const directions = document.createElement("div"); directions.id = "directions"; directions.innerHTML = "Click on the map to create a start and end for the route."; document.body.appendChild(directions); const startLayerGroup = L.layerGroup().addTo(map); const endLayerGroup = L.layerGroup().addTo(map); -
In the
updatefunction, set theRoute() innerwith the directions from the response. Clear theHTML startandCoords end.Coords Use dark colors for code blocks function updateRoute() { // Create the arcgis-rest-js authentication object to use later. const authentication = arcgisRest.ApiKeyManager.fromKey(accessToken); // make the API request arcgisRest .solveRoute({ stops: [startCoords, endCoords], endpoint: "https://route-api.arcgis.com/arcgis/rest/services/World/Route/NAServer/Route_World/solve", authentication }) .then((response) => { routeLines.clearLayers(); L.geoJSON(response.routes.geoJson).addTo(routeLines); const directionsHTML = response.directions[0].features.map((f) => f.attributes.text).join("<br/>"); directions.innerHTML = directionsHTML; startCoords = null; endCoords = null; }) .catch((error) => { console.error(error); alert("There was a problem using the route service. See the console for details."); }); }
Run the app
Run the app.
When the map displays, you should be able to click on it once to create an origin point and again to create a destination point. The routing service should then display the resulting route and turn-by-turn directions.What's next?
Learn how to use additional ArcGIS location services in these tutorials:


