Learn how to create and display a map with a basemap layer.
A map contains layers of geographic data. A map contains a basemap layer and, optionally, one or more data layers. You can display a specific area of a map by using a map view and setting the location and zoom level.
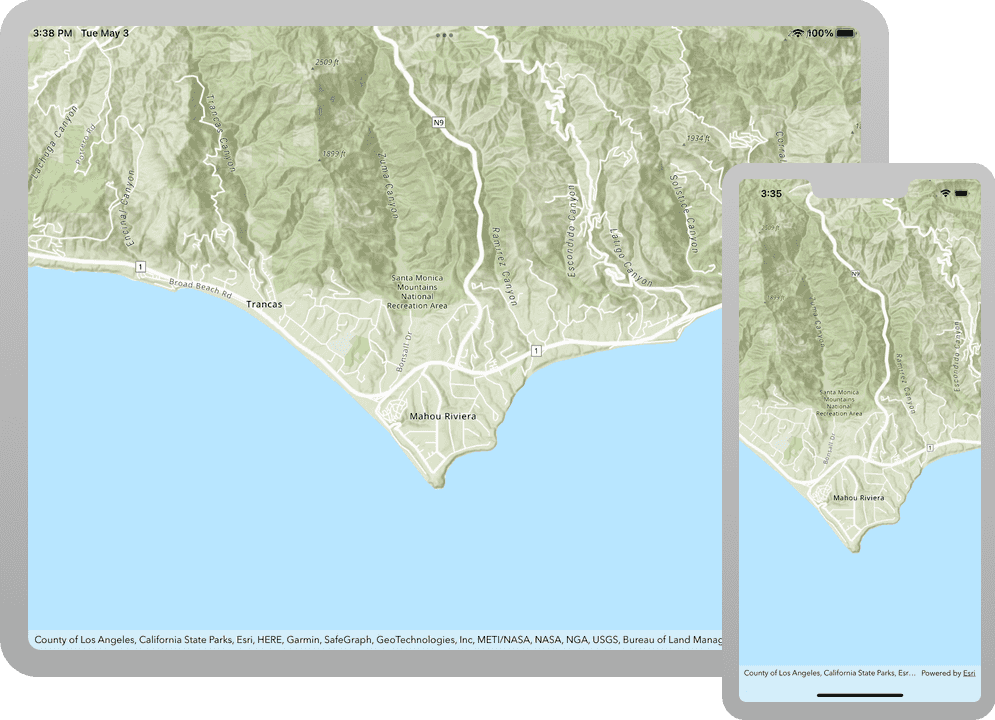
In this tutorial, you create and display a map of the Santa Monica Mountains in California using the topographic basemap layer.
The map and code will be used as the starting point for other 2D tutorials.
Prerequisites
Before starting this tutorial:
-
You need an ArcGIS Location Platform or ArcGIS Online account.
-
Your system meets the system requirements.
Steps
Create a new Xcode project
Use Xcode to create a single view iOS app and configure it to reference the API.
-
Open Xcode. In the menu bar, click File > New > Project > iOS > Single View App > Next.
- In the Choose options window, set the following properties:
- Product Name:
<your app name> - Language: Swift
- User interface: Storyboard
- Organization Identifier:
<your organization>
- Product Name:
- Uncheck all other options.
- Click Next > Create.
- In the Choose options window, set the following properties:
-
Add a reference to the API by following the instructions in Get the API - Configure a project.
-
If you downloaded the solution, get an access token and set the API key.
An API Key gives your app access to secure resources used in this tutorial.
-
Go to the Create an API key tutorial to obtain a new API key access token using your ArcGIS Location Platform or ArcGIS Online account. Ensure that the following privilege is enabled: Location services > Basemaps > Basemap styles service. Copy the access token as it will be used in the next step.
-
In Xcode, in the Project Navigator, click AppDelegate.swift.
-
In the editor, set the
APIproperty on theKey AGSwith your access token.ArcGIS Runtime Environment AppDelegate.swiftUse dark colors for code blocks func application(_ application: UIApplication, didFinishLaunchingWithOptions launchOptions: [UIApplication.LaunchOptionsKey: Any]?) -> Bool { AGSArcGISRuntimeEnvironment.apiKey = "YOUR_ACCESS_TOKEN" return true }
-
Add a map view to the UI
A map view is a UI component that displays a map. It also handles user interactions with the map, including navigating with touch gestures. Use Xcode and the storyboard editor to add a map view to the UI and connect it to the view controller source code. Set the map view size to fill the entire iPhone display.
-
In the Project Navigator, click ViewController.swift.
-
In the editor, add an
importstatement to reference the API and add an@namedIB Outlet mapand of typeView AGS. This will provide a reference to the map view that you will create in the storyboard.Map View ViewController.swiftUse dark colors for code blocks 16 17 19 20 21 23 24 25 26 27 28 29Add line. Add line. import UIKit import ArcGIS class ViewController: UIViewController { @IBOutlet weak var mapView: AGSMapView! override func viewDidLoad() { super.viewDidLoad() } }AGSis a subclass ofMap View UI.View -
In the Project Navigator, click Main.storyboard to open the storyboard editor.
-
In the menu, click View > Show Library to display the object library.
-
In the object library browser:
- Type
uiviewor scroll down to find View. - Drag and drop a new view on to the storyboard's main view.
- Type
-
At the bottom right of the storyboard editor, click Add New Constraints. In the panel:
- Type
0for the top, right, bottom, and left constraints. - Click Add 4 Constraints.
The new view expands to fill the display.
- Type
-
In the menu, click View > Inspectors > Show Identity Inspector. In the Inspectors panel, set Custom Class > Class to
AGS.Map View This sets the type of the new view to
AGS.Map View -
In the storyboard editor, right click on the yellow View Controller icon to display the Connections panel. Drag the mapView outlet connector to the new
AGSview on the storyboard.Map View This connects the
AGSin the storyboard to theMap View mapoutlet created earlier in theView Viewclass.Controller
Add a map
Use the map view to display a map centered on the Santa Monica Mountains in California. The map will contain a topographic basemap layer.
-
In Xcode, in the Project Navigator, click ViewController.swift.
-
In the editor, define a private method named
setup. InMap() setupcreate anMap() AGS.Map ViewController.swiftUse dark colors for code blocks 20 21 22 23 39 40 41 42 43 44 45Add line. Add line. Add line. Add line. Add line. Add line. Add line. Add line. Add line. Add line. Add line. Add line. Add line. Add line. Add line. class ViewController: UIViewController { @IBOutlet weak var mapView: AGSMapView! private func setupMap() { let map = AGSMap( basemapStyle: .arcGISTopographic ) mapView.setViewpoint( AGSViewpoint( latitude: 34.02700, longitude: -118.80500, scale: 72_000 ) ) } override func viewDidLoad() { super.viewDidLoad() } } -
Set the
mapproperty of themapoutlet to the newView AGS.Map ViewController.swiftUse dark colors for code blocks 24 25 26 27 28 29 31 32 33 34 35 36 37 38 39 40Add line. private func setupMap() { let map = AGSMap( basemapStyle: .arcGISTopographic ) mapView.map = map mapView.setViewpoint( AGSViewpoint( latitude: 34.02700, longitude: -118.80500, scale: 72_000 ) ) } -
In the
View'sController viewmethod, callDid Load setuponce the view has loaded.Map() ViewController.swiftUse dark colors for code blocks 42 43 44 46 47Add line. override func viewDidLoad() { super.viewDidLoad() setupMap() }
Get an access token
You need an access token to use the location services used in this tutorial.
-
Go to the Create an API key tutorial to obtain an access token using your ArcGIS Location Platform or ArcGIS Online account.
-
Ensure that the following privilege is enabled: Location services > Basemaps > Basemap styles service.
-
Copy the access token as it will be used in the next step.
To learn more about other ways to get an access token, go to Types of authentication.
Set your API key
-
In the Project Navigator, click AppDelegate.swift.
-
In the editor, add an
importstatement to reference the API and in theApp'sDelegate application(method, set the_:did Finish Launching With Options :) apiproperty on theKey AGSwith your access token.ArcGIS Runtime Environment AppDelegate.swiftUse dark colors for code blocks 16 17 19 20 21 22 23 24 25 26 27 29 30 31 32 33Add line. Add line. import UIKit import ArcGIS @UIApplicationMain class AppDelegate: UIResponder, UIApplicationDelegate { var window: UIWindow? func application(_ application: UIApplication, didFinishLaunchingWithOptions launchOptions: [UIApplication.LaunchOptionsKey: Any]?) -> Bool { AGSArcGISRuntimeEnvironment.apiKey = "YOUR_ACCESS_TOKEN" return true } } -
Press Command + R to run the app.
If you are using the Xcode simulator your system must meet these minimum requirements: macOS Big Sur 11.3, Xcode 13, iOS 13. If you are using a physical device, then refer to the system requirements.
You should see a map with the topographic basemap layer centered on the Santa Monica Mountains in California. Pinch, drag, and double-tap the map view to explore the map.
What's next?
Learn how to use additional API features, ArcGIS location services, and ArcGIS tools in these tutorials: