As an administrator of your GIS, you can configure the appearance of the portal website to make it home for your users. The UX class of the admin sub module can be used to customize the look and feel of your portal website by setting the name, description, logo, background image, banner image, default basemap, extent etc.
You can use the UX class on organizations hosted on ArcGIS Online or ArcGIS Enterprise. To note here, the GIS connection can be created by using username/password, e.g. gis = GIS("portalname.domain.com/webadaptor", "username", "password"), or through an existing profile.
from arcgis.gis import GIS
gis = GIS(profile="your_ent_admin_profile")
When you install ArcGIS Enterprise or create a new organization on ArcGIS Online, it would look similar to the image shown below:

The rest of this guide walks you through customizing this GIS. As an example, this guide chooses to customize this GIS for Public Works Department of the city of Los Angeles.
Setting name and description
Use the name and description to both query and set them on the GIS.
gis.admin.ux.name'ArcGIS Enterprise'
gis.admin.ux.description'<br>'
gis.admin.ux.description_visibilityFalse
To set new name and description, simply set these properties
gis.admin.ux.name = 'LA PWD GIS'
gis.admin.ux.description = 'Spatial information portal for the Public Works Department of the city of Los Angeles'
gis.admin.ux.description_visibility = True
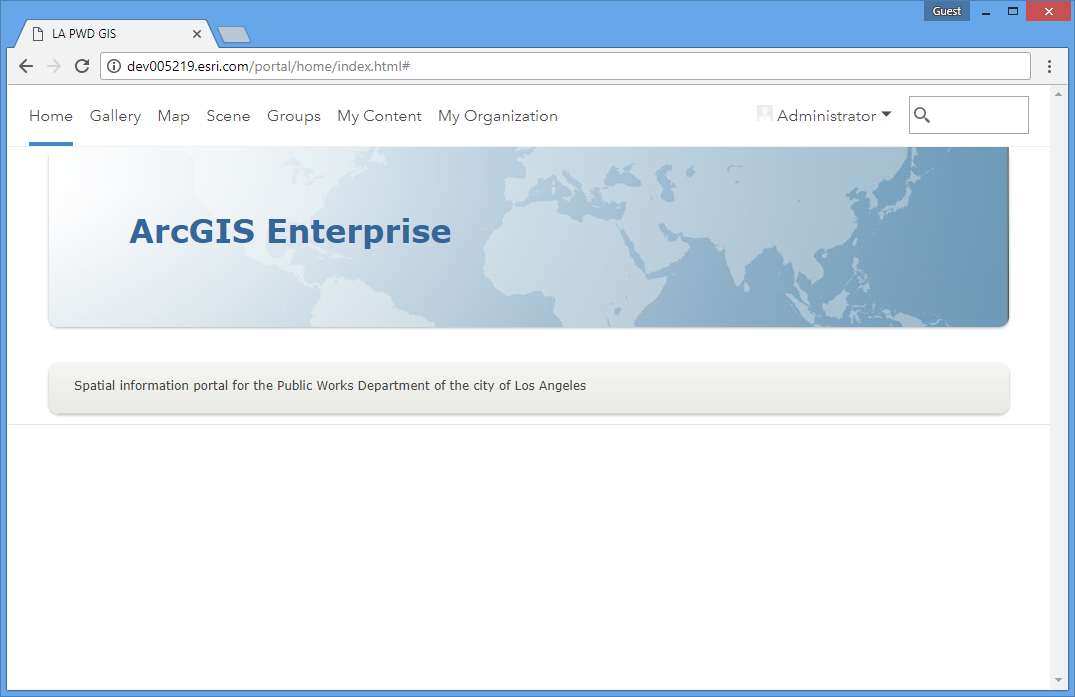
Once the name and description is set, the portal website looks like below:

Note: The name of the GIS shows up in the browser tab name. Description shows up in the gray bar. To update the large 'ArcGIS Enterprise' text, you need to update the banner image as shown below:
Setting logo, banner and background images
To set the logo, banner and background images, call the set_logo(), set_banner() and set_background() methods. Your GIS might come with a set of built-in images. You can use one of those or upload your own. If using a built-in banner, valid values are banner-1, banner-2, banner-3, banner-4, banner-5 and set the is_built_in to True. The example below uploads a custom banner and background file from disk.
Python 3.4 introduced a new standard library for dealing with files and paths called pathlib — and it’s making things simpler in representing directories and files via absolute or relative paths across different operating systems.
from pathlib import Path

filename = Path('staticimg/background.jpg')
if filename.exists():
    print(gis.admin.ux.set_background(background_file=filename))
else:
    print("file not exists!")
True
filename = Path('staticimg/banner.png')
if filename.exists():
    print(gis.admin.ux.set_banner(banner_file=filename))
else:
    print("file not exists!")
True
filename = Path('staticimg/logo.png')
if filename.exists():
    print(gis.admin.ux.set_logo(logo_file=filename))
else:
    print("file not exists!")
True
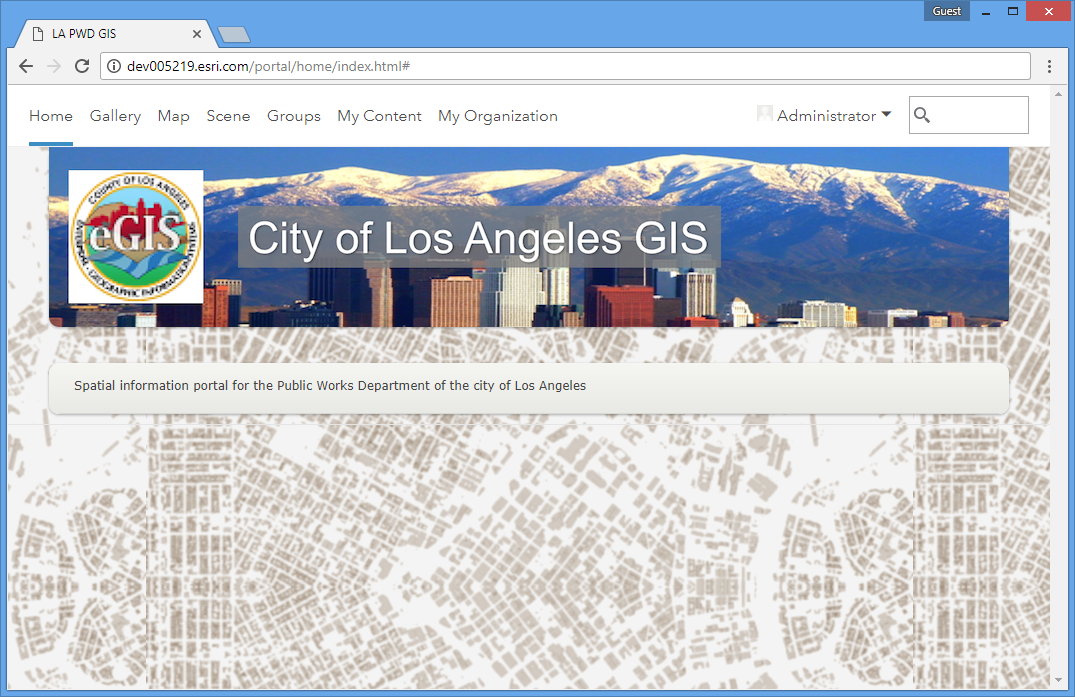
Refershing the portal website will render the new appearance:

Note: Refer the help on configuring home page to understand the dimensions of the images for best appearance. You can also pass custom HTML code while setting the banner. To learn more about that refer here.
Download existing customizations
You can download the current banner, logo, background values using the corresponding get methods
dirname = Path('staticimg/downloads')
if dirname.exists():
    print(gis.admin.ux.get_banner(download_path = dirname))
else:
    print("downloading folder not exists!")
staticimg\downloads\banner.jpg
Resetting customization
You can reset logo, banner and background by specifying None as the argument. Below, the custom background is reset and the built-in background is applied. The portal comes with just 1 default background, hence a name is not required to set it.
gis.admin.ux.set_background(background_file=None, is_built_in=False)True
gis.admin.ux.set_background(is_built_in=True)True
Setting featured content
You can designate the contents of a group to show up as featured content on the home page.
#get the list of groups in the GIS and select one of the groups
gis.groups.search()
[<Group title:"Basemaps" owner:admin>, <Group title:"Central Services" owner:admin>, <Group title:"Compliance" owner:admin>, <Group title:"Customer Service, Finance, Billing and Accounting" owner:admin>, <Group title:"Demographic Content" owner:admin>, <Group title:"Esri Boundary Layers" owner:esri_boundaries>, <Group title:"Esri Demographic Layers" owner:esri_demographics>, <Group title:"grp_Transport_PD_data_sharing" owner:admin>, <Group title:"Living Atlas" owner:esri_livingatlas>, <Group title:"Living Atlas Analysis Layers" owner:esri_livingatlas>, <Group title:"Navigator Maps" owner:esri_nav>, <Group title:"Traffic incident analysis" owner:admin>]
traffic_group = gis.groups.search()[-1]
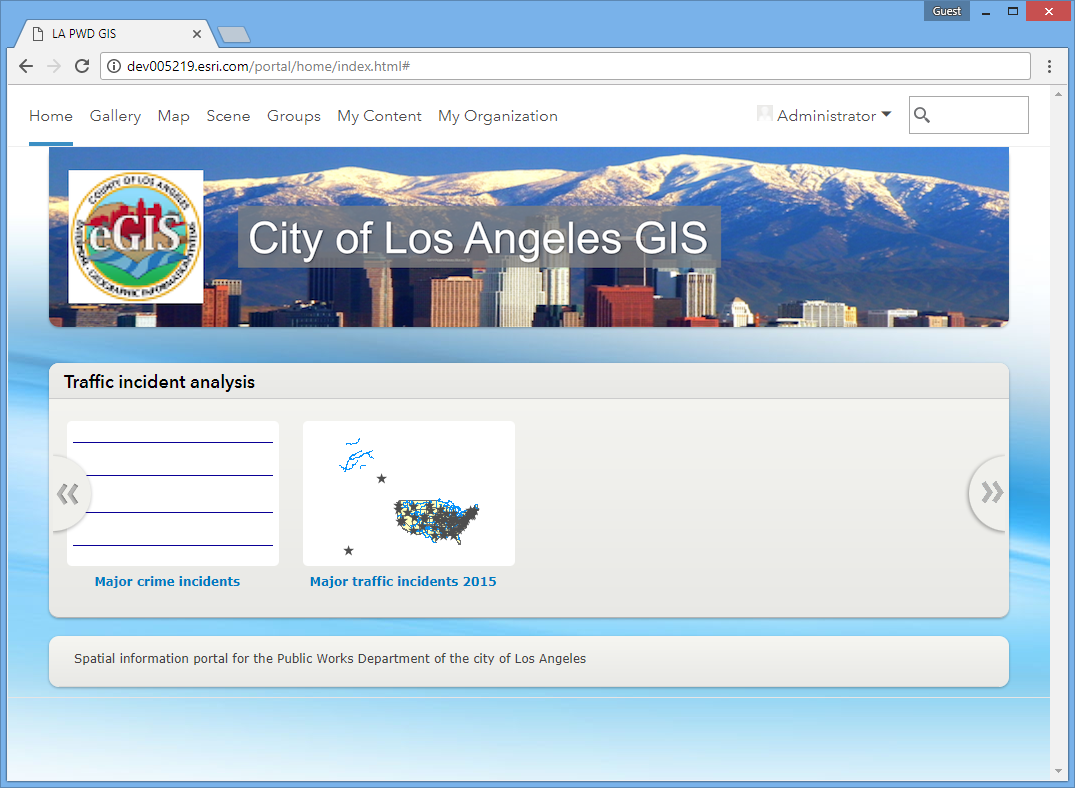
traffic_groupSet the Traffic incident analysis group as featured content.
gis.admin.ux.featured_content = {'group':traffic_group} The home page appears as above after the featured content is set.
