Saving a web map
Starting with the Python API version 1.3, you can save the map widget as a web map in your GIS. This process persists the basemaps, layers added (with or without your custom symbology, including smart mapping), pop-ups, extent, and graphics drawn (with or without custom symbols) as layers in your web map.
To save the map, call the save() method. This method creates and returns a new Web Map Item object. As parameters, you can specify all valid Item properties as shown below:
from arcgis.gis import GIS
from arcgis.map import Map
gis = GIS(profile="your_online_profile")
world_countries_item = gis.content.get('ac80670eb213440ea5899bbf92a04998')
world_countries_layer = world_countries_item.layers[0]
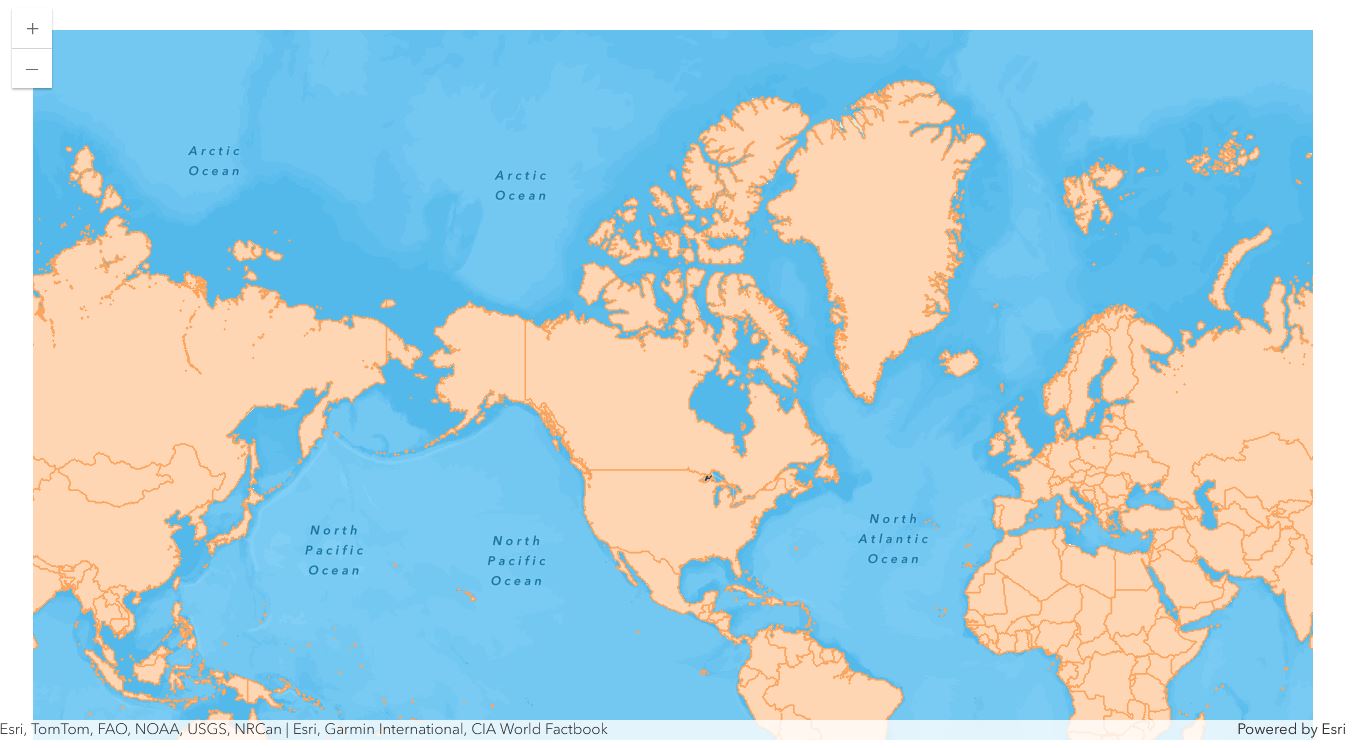
world_countries_layer<FeatureLayer url:"https://services.arcgis.com/P3ePLMYs2RVChkJx/arcgis/rest/services/World_Countries/FeatureServer/0">
map1 = gis.map("USA")
map1
map1.content.add(world_countries_layer)webmap_properties = {'title':'World Countries 2024-September',
'snippet': 'Jupyter notebook widget saved as a web map',
'tags':['automation', 'python']}
webmap_item = map1.save(webmap_properties, thumbnail=r".\webmap_thumbnail.PNG")
print(webmap_item)<Item title:"World Countries 2024-September" type:Web Map owner:arcgis_python>
Updating a web map
Similarly, if you created the Map object from an existing web map item, you can call the update() method to update it.
Note, the save() method always creates a new item with an updated web map definition, so this is a great way to create a copy of an existing web map. For instance, the cell below calls the save() method and creates a new web map item with the new set of layers, without disturbing the original web map item.
We can search for web maps just like any other item:
webmap_search = gis.content.search("Snow routes for first responders", item_type="Web Map", outside_org=True)
snow_routes_item = webmap_search[0]
snow_routes_itemYou can also create a Map object from an existing web map item by passing the web map item as the parameter to the constructor:
snow_routes_map = Map(snow_routes_item)
for layer in snow_routes_map.content.layers:
    print(layer.properties['name'])
Snow Routes Fire Stations Police Stations
You can update a web map by adding or removing layers. For instance, the cell below removes one of the layers from the web map and adds a different layer.
# remove the first - unclassed layer from the map
snow_routes_map.content.remove(1)
True
snow_routes_map.content.add(world_countries_layer, options={'title':'World Countries'})for layer in snow_routes_map.content.layers:
print(layer.properties['name'])Snow Routes Police Stations World_Countries
Next, let's add a layer to the existing map1 and update the web map item:
from arcgis.features import FeatureLayer
map1.content.add(FeatureLayer("https://services.arcgis.com/ue9rwulIoeLEI9bj/arcgis/rest/services/Snow_routes_for_first_responders_WFL1/FeatureServer/1"), )

for layer in map1.content.layers:
    print(layer)
<FeatureLayer url:"https://services.arcgis.com/P3ePLMYs2RVChkJx/arcgis/rest/services/World_Countries/FeatureServer/0"> <FeatureLayer url:"https://services.arcgis.com/ue9rwulIoeLEI9bj/arcgis/rest/services/Snow_routes_for_first_responders_WFL1/FeatureServer/1">
Using the save method will create a new web map item, while using the update method will make updates to the previous web map item:
update(item_properties=None, thumbnail=None, metadata=None)
The update method uses the following parameters:
    ---------------     --------------------------------------------------------------------
    item_properties     Optional dictionary. See table below for the keys and values.
    ---------------     --------------------------------------------------------------------
    thumbnail           Optional string. Either a path or URL to a thumbnail image.
    ---------------     --------------------------------------------------------------------
    metadata            Optional string. Either a path or URL to the metadata.
    ---------------     --------------------------------------------------------------------
The update method will update the Web Map item that was used to create the Map object. In addition, you are also able to update the item's other properties, thumbnail, and metadata. Please review the Scene.update() method within the Scene class to update a Scene item.
webmap_item_properties = {'title':'Fire Stations in Denver',
                          'snippet':'Map created using Python API showing fore stations in Denver against the world map',
                          'tags':['automation', 'safety', 'python']}

new_map_item = map1.update(item_properties = webmap_item_properties,
                           thumbnail='./webmap_thumbnail.png')
print(new_map_item)
True
# We can see from the output that the title is being updated:
print(webmap_item)
<Item title:"Fire Stations in Denver" type:Web Map owner:arcgis_python>
Export live map in a separate HTML file
Another new feature in 1.5.0 is the ability to export the current widget as a stand-alone HTML file. This added functionality provides a new workflow for creating standalone HTML maps that can be shared with anyone. All they need is a web browser!
The cell below will write the current widget to the file specified by a string path. Run the cell, find the file on your disk, and open it in your favorite web browser.
import os

file_dir = os.path.join(os.getcwd(), 'home')
if not os.path.isdir(file_dir):
    os.mkdir(file_dir)

file_path = os.path.join(file_dir, 'myWorldMap.html')

map1.export_to_html(file_path)
print("html saved as " + file_path)
html saved as D:\Projects\arcgis-python-api\guide\10-mapping-and-visualization\home\myWorldMap.html
Rendering Web Map items on a Map object
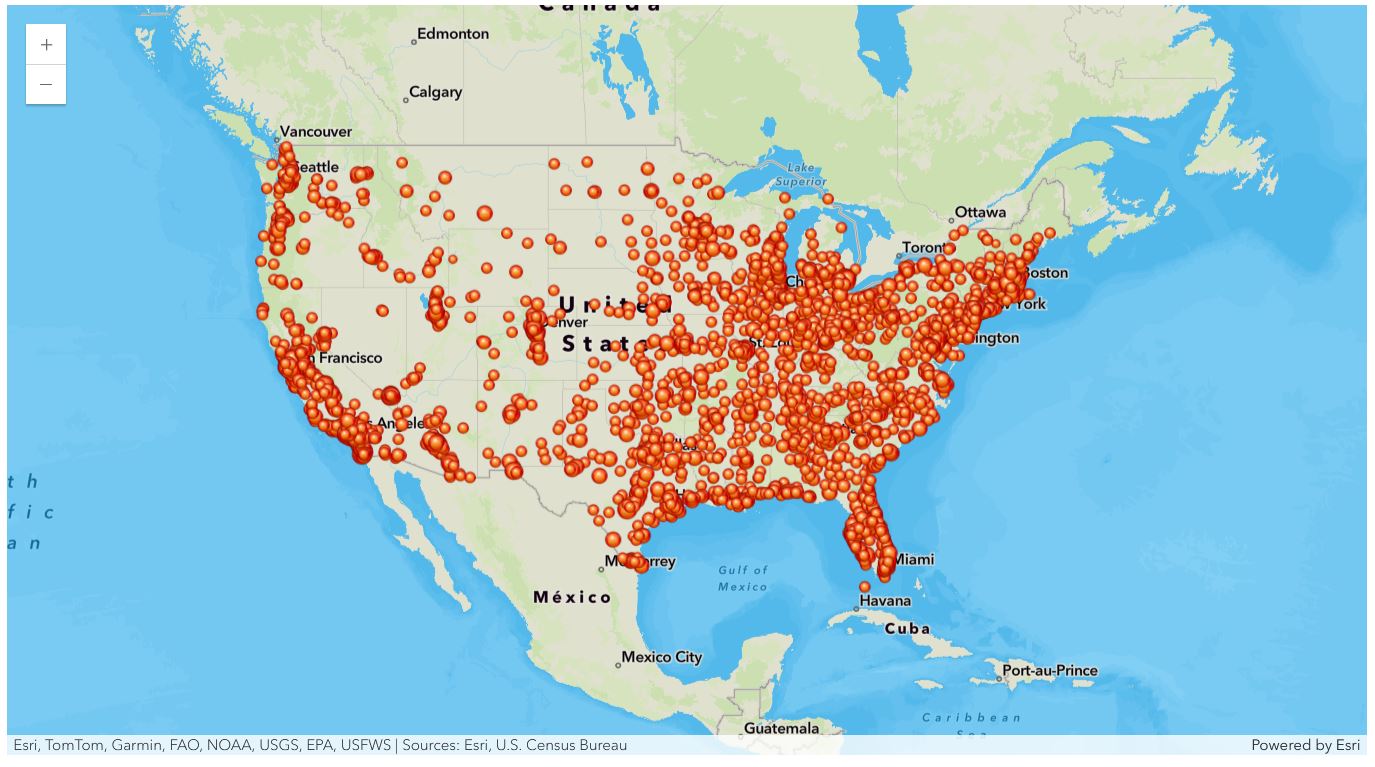
map2 = gis.map("USA")
map2
census_item = gis.content.get("85d0ca4ea1ca4b9abf0c51b9bd34de2e")
census_flayer = census_item.layers[0]map2.content.add(census_flayer)Conclusion
In Part 5 of this guide series, we observed how to consume web maps and web scenes and how to update them. During this process, the examples demonstrated how to modify the map widget using code, how to make copy of an existing item into your account, how to look for basemaps, and how to update layer properties within a web map.
