Proximity analysis tools help you answer one of the most common questions posed in spatial analysis: What is near what?
Proximity tools are available under the sub module use_proximity in the features module of the API. This section of the guide talks about using two tools from this module - create buffers and plan routes.
Create buffers
The Create Buffers tool creates areas around input point, line, or area features to a specified distance. Running this tool creates output polygon layers of a specified radius. This tool is often used with overlay analysis to answer questions such as: 'What falls within 5 mile radius of this school?' Refer here for more details on this tool.
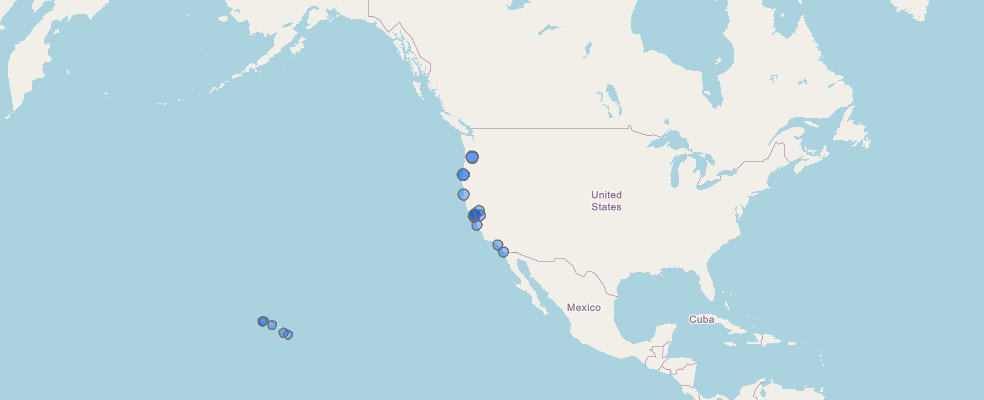
In the examaple below, let us create buffers of 50 mile radius around major ports along the West Coast of the USA.
# connect to GIS
from arcgis.gis import GIS
gis = GIS(profile="your_online_profile")
ports_item = gis.content.get("e0dae2efe40a414a9700bee3a35c846b")
ports_itemLet's render these ports on a map.
map1 = gis.map('USA')
map1
map1.center = [39, -98]
map1.zoom = 2map1.content.add(ports_item)Buffer a fixed distance
Access create_buffers from use_proximity sub module
from arcgis.features import use_proximity

#access the first layer in ports_item
ports_layer1 = ports_item.layers[0]
ports_buffer50 = use_proximity.create_buffers(ports_layer1, distances=[50], units = 'Miles', output_name='Buffers around ports')
ports_buffer50
{"cost": 0.021}
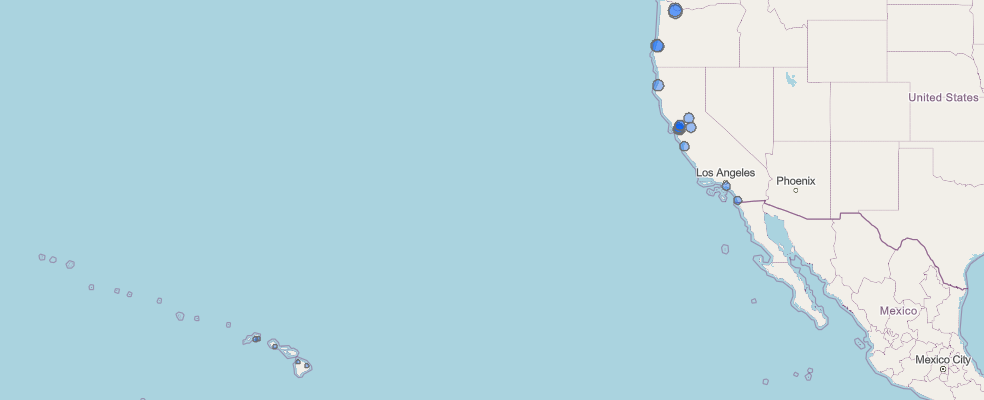
A buffer of 50 miles around each of these ports has been created.
type(ports_buffer50)arcgis.gis.Item
ports_buffer50 is a new Feature Collection Item in portal. If we didn't specify the output_name parameter while running the tool, ports_buffer50 would instead be an in-memory Feature Collection object and would not be saved as an item in the portal.
Let's add the result to a new map.
map2 = gis.map('USA')
map2
map2.zoom = 2
map2.center = [39, -98]map2.content.add(ports_buffer50.layers[0])Buffer based on a numerical field
Sometimes, it makes sense to vary the buffered distance by a field on the layer. For instance, when creating buffers around hazardous sites, you may want to vary the distance by the type or quantity of materials held in the facility.
Such kinds of buffers can be created by specifying a numerical field to the field parameter. Let us query all the fields on this layer and determine which can be used.
ports_layer1.properties.fields[{
"name": "country",
"type": "esriFieldTypeString",
"actualType": "nvarchar",
"alias": "country",
"sqlType": "sqlTypeNVarchar",
"length": 4000,
"nullable": true,
"editable": true,
"domain": null,
"defaultValue": null
},
{
"name": "globalid",
"type": "esriFieldTypeString",
"actualType": "nvarchar",
"alias": "globalid",
"sqlType": "sqlTypeNVarchar",
"length": 4000,
"nullable": true,
"editable": true,
"domain": null,
"defaultValue": null
},
{
"name": "harborsize",
"type": "esriFieldTypeString",
"actualType": "nvarchar",
"alias": "harborsize",
"sqlType": "sqlTypeNVarchar",
"length": 4000,
"nullable": true,
"editable": true,
"domain": null,
"defaultValue": null
},
{
"name": "label_position",
"type": "esriFieldTypeString",
"actualType": "nvarchar",
"alias": "label_position",
"sqlType": "sqlTypeNVarchar",
"length": 4000,
"nullable": true,
"editable": true,
"domain": null,
"defaultValue": null
},
{
"name": "latitude",
"type": "esriFieldTypeDouble",
"actualType": "float",
"alias": "latitude",
"sqlType": "sqlTypeFloat",
"nullable": true,
"editable": true,
"domain": null,
"defaultValue": null
},
{
"name": "longitude",
"type": "esriFieldTypeDouble",
"actualType": "float",
"alias": "longitude",
"sqlType": "sqlTypeFloat",
"nullable": true,
"editable": true,
"domain": null,
"defaultValue": null
},
{
"name": "port_name",
"type": "esriFieldTypeString",
"actualType": "nvarchar",
"alias": "port_name",
"sqlType": "sqlTypeNVarchar",
"length": 4000,
"nullable": true,
"editable": true,
"domain": null,
"defaultValue": null
},
{
"name": "short_form",
"type": "esriFieldTypeString",
"actualType": "nvarchar",
"alias": "short_form",
"sqlType": "sqlTypeNVarchar",
"length": 4000,
"nullable": true,
"editable": true,
"domain": null,
"defaultValue": null
},
{
"name": "geometry_x",
"type": "esriFieldTypeInteger",
"actualType": "int",
"alias": "geometry.x",
"sqlType": "sqlTypeInteger",
"nullable": true,
"editable": true,
"domain": null,
"defaultValue": null
},
{
"name": "geometry_y",
"type": "esriFieldTypeInteger",
"actualType": "int",
"alias": "geometry.y",
"sqlType": "sqlTypeInteger",
"nullable": true,
"editable": true,
"domain": null,
"defaultValue": null
},
{
"name": "ObjectId",
"type": "esriFieldTypeOID",
"actualType": "int",
"alias": "ObjectId",
"sqlType": "sqlTypeInteger",
"nullable": false,
"editable": false,
"domain": null,
"defaultValue": null
},
{
"name": "GlobalID_2",
"type": "esriFieldTypeGlobalID",
"alias": "GlobalID_2",
"sqlType": "sqlTypeOther",
"length": 38,
"nullable": false,
"editable": false,
"domain": null,
"defaultValue": "NEWID() WITH VALUES"
}]latitude seems to be a suitable field. We will now use this field while creating buffers.
ports_buffer_lat = use_proximity.create_buffers(ports_layer1,
                                                field='latitude',
                                                units='kilometers',
                                                output_name='ports_buffers_with_lat')
{"cost": 0.021}
ports_buffer_latWe will add this result to the map.
map3 = gis.map('USA')
map3
map3.zoom = 2
map3.center = [39, -98]map3.content.add(ports_buffer_lat.layers[0])Plan routes
Plan Routes determines how a fleet of vehicles can visit a set of stops in the least amount of time. The plan routes tool is versatile and can be used to plan either a simple route direction or plan the travel of a fleet of vehicles. To learn more about this tool visit the tool documentation.
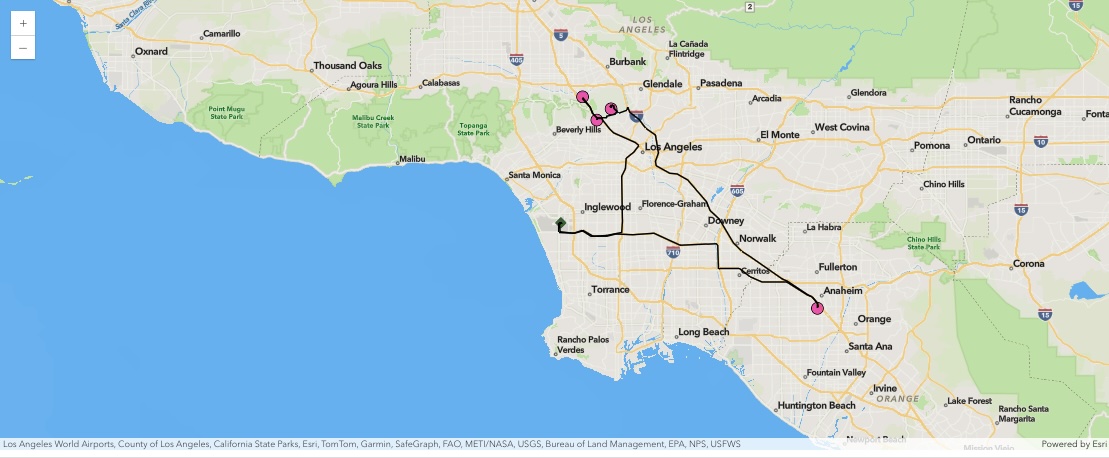
In the example below, we will observe how to plan a simple route for tourists when they visit major attractions in Los Angeles. Our stops would be Universal studios, Griffith observatory, Disneyland amusement park, Hollywood walk of fame and back to Los Angeles international airport.
At a minimum, the plan routes tool accepts a stop layer, start layer, route count, and the maximum number of stops per route.
# search for feature collections containing the attractions and destination.
stops_item = gis.content.search("LA_tourism_stops", "Feature Collection", max_items=1)[0]
airport_item = gis.content.search("LAX_airport", "Feature Collection", max_items=1)[0]
Now, let's add the attractions and destination to a map.
Let us extract the feature data from the items and assign them to two FeatureCollection variables to be used with the routes tool. The last layer in the item contains the actual features (within a FeatureSet) of the feature collection.
stops_fc = stops_item.layers[3]airport_fc = airport_item.layers[3]Let's map the locations.
map4 = gis.map("Los Angeles, California")
map4
map4.center = [33.9422, -118.4036]map4.zoom = 9stops_fset = stops_fc.query()airport_fset = airport_fc.query()map4.content.draw(stops_fset)from arcgis.map import symbols, renderers
new_sym = symbols.SimpleMarkerSymbolEsriSMS(
color=[74,103,65,255],
style=symbols.SimpleMarkerSymbolStyle.esri_sms_diamond
)
pt_render = renderers.SimpleRenderer(
symbol=new_sym
)map4.content.draw(
shape=airport_fset,
symbol = new_sym
)Routing options
In the tool below, route_count is 1, since there is just one vehicle carrying the tourists and all tourists need to visit all attractions. In other use cases, when there are multiple vehicles at disposal and not everyone needs to stop at all stops, this parameter can be increased. The max_stops_per_route similarly reflects the maximum work load a vehicle can take in a multiple vehicle scenario. The route_start_time parameter can be used to plan routes in advance and account for traffic at that time.
import time
route1 = use_proximity.plan_routes(stops_fc, route_count=1,
                                   max_stops_per_route=5,
                                   route_start_time = time.time(),
                                   start_layer = airport_fc)
route1
Travel mode not set, using default travel mode
Network elements with avoid-restrictions are traversed in the output (restriction attribute names: "Through Traffic Prohibited").
{"cost": 1.0}
{'routes_layer': <FeatureCollection>,
 'assigned_stops_layer': <FeatureCollection>}
We have successfully calculated the route- let's add it back to the map.
map4.content.draw(route1["routes_layer"].query())
