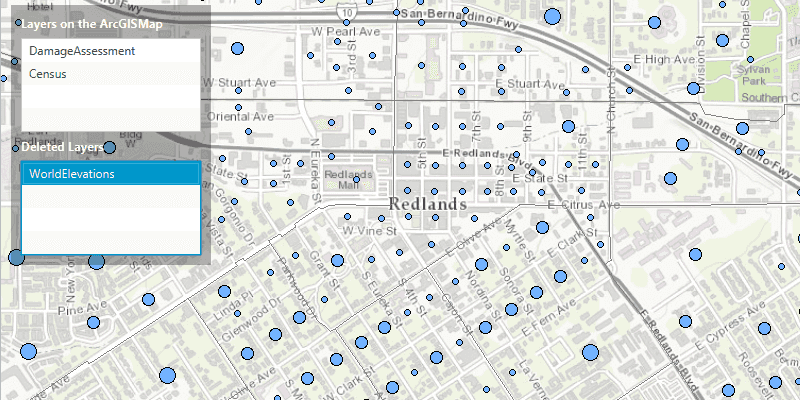
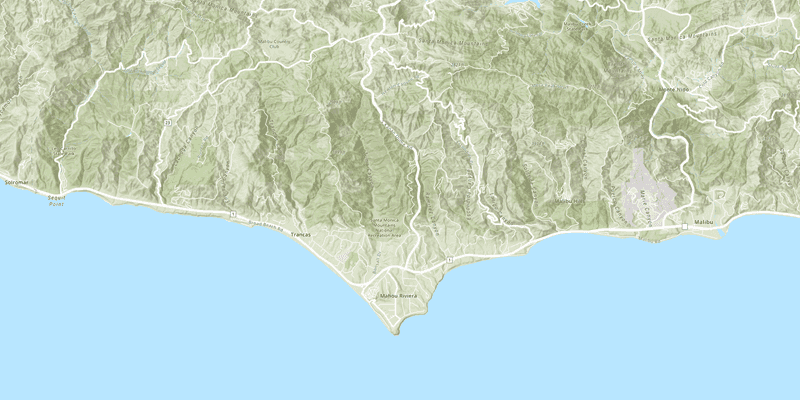
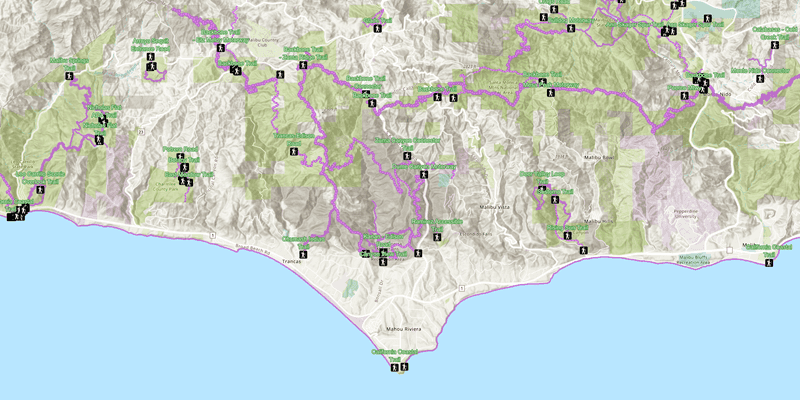
Maps and scenes provide interactive displays of geographic data that enable you to visualize and explore patterns, answer questions, and share insight. They can be opened, edited, and shared across the ArcGIS system and beyond. Maps are designed for interaction in two dimensions (2D) and scenes for interaction in three dimensions (3D). See Scenes (3D) in this guide for more information about working with scenes.
You can use a map to:
- Display a basemap layer such as streets or satellite imagery.
- Access and display data layers based on files or services, including data you have authored.
- Provide context for temporary points, lines, polygons, or text displayed as graphics.
- Inspect data layers and display information from attributes.
- Measure distance and explore spatial relationships between geometries.
- Save a collection of layers as a web map to be shared across ArcGIS.
How a map works
A map works together with a map view to display geographic content in two dimensions. A map contains a collection of layers including multiple data layers from online or local sources, and a basemap layer that gives geographic context. A map can also contain datasets that enable searches for addresses or place names, networks for solving routes, utility networks for tracing the flow of services such as water and electricity, and non-spatial tables. Maps can be created, displayed, edited, and saved using ArcGIS Runtime. Because the format is based on the ArcGIS web map standard, these maps can be shared uniformly across the ArcGIS system.
For offline workflows (when you don't have network connectivity), you can open a map stored in a mobile map package. Mobile map packages can be created using ArcGIS Pro, ArcGIS Enterprise, or ArcGIS Online. See Offline maps, scenes, and data for more information about implementing offline workflows with ArcGIS Runtime.
Map
A map contains a collection of layers displayed in the order in which they were added, with the most recently added layer being displayed above existing layers. You can use the map to change the display order of layers as well as to control which layers are visible, and expose this functionality with user interface controls such as lists, check boxes, or switches. A map also contains a collection of bookmarks, which, similar to a web browser bookmark, allow you to quickly navigate to a predefined area of the map.
You can open an existing map or create one entirely with code. To create a map, you typically first add a basemap layer and then one or more data layers.
ArcGISRuntimeEnvironment::setApiKey("YOUR_ACCESS_TOKEN");
Map* map = new Map(BasemapStyle::ArcGISNavigation, this);
You can also open a map stored in a portal (such as ArcGIS Online) using its URL.
const QUrl portal_url("https://www.arcgis.com/home/item.html?id=41281c51f9de45edaf1c8ed44bb10e30");
m_map = new Map(portal_url, this);
Layer
Each layer in a map references geographic data, either from an online service or from a local dataset. There are different types of of layers that can be added to a map, each designed to display a particular type of data. Some layers display images, such as satellite imagery or aerial photography, while others are composed of a collection of features to represent real-world entities using point, line, or polygon geometries. In addition to geometry, features have attributes that provide details about the entity it represents.
The
Layer
class is the base class for all types of layers used in ArcGIS Runtime. The type of layer you create depends on the type of data you want to display. For example, to display feature data you can create a
FeatureLayer
that references an online service (such as a feature service) or a supported local dataset.
Map_data_layers_example::Map_data_layers_example(QObject* parent /* = nullptr */):
QObject(parent),
m_map(new Map(BasemapStyle::ArcGISTopographic, this))
{
const QString accessToken = QStringLiteral("YOUR_ACCESS_TOKEN");
ArcGISRuntimeEnvironment::setApiKey(accessToken);
FeatureLayer* trailheadsLayer = new FeatureLayer(
new ServiceFeatureTable(QUrl("https://services3.arcgis.com/GVgbJbqm8hXASVYi/arcgis/rest/services/Trailheads_Styled/FeatureServer/0"), this),
this
);
FeatureLayer* trailsLayer = new FeatureLayer(
new ServiceFeatureTable(QUrl("https://services3.arcgis.com/GVgbJbqm8hXASVYi/arcgis/rest/services/Trails_Styled/FeatureServer/0"), this),
this
);
FeatureLayer* openSpacesLayer = new FeatureLayer(
new ServiceFeatureTable(QUrl("https://services3.arcgis.com/GVgbJbqm8hXASVYi/arcgis/rest/services/Parks_and_Open_Space_Styled/FeatureServer/0"), this),
this
);
m_map->operationalLayers()->append(trailheadsLayer);
m_map->operationalLayers()->append(trailsLayer);
m_map->operationalLayers()->append(openSpacesLayer);
}
MapView
A map view is a user-interface control that displays a single map in your app. It contains built-in functionality that allows the user to explore the map by zooming in and out, recentering the map display, or getting additional information about elements in the map. It also manages graphics in one or more collections of graphics overlays. The graphics managed by the map view always display above all layers displayed in the map.
A map view control also allows you to:
- Access data for data layers and graphics.
- Display the current location as a point on the map.
- Identify and select features at a specified location.
- Export an image of the current display.
- Rotate the map display.
- Apply a time extent to filter the display of features.
- Filter layer data using attribute and spatial criteria.
Display a map by adding it to a
MapView
control. Changes you make to the map, such as adding, removing, or reordering layers, will immediately be reflected in the map view display. The
Map::initialViewpoint()
property will determine the area of the map shown when the map loads. You can also use
MapView::setViewpointAnimated()
and
MapView::setViewpointRotation()
to programmatically change the map area or orientation shown in the display.
MapQuickView* mapView = new MapQuickView(map);
const Point center("-118.805", "34.027", spatialReference::wgs84());
mapView->setViewpoint(center, 72223.819286);Examples
Create and display a map
You can display a basic map by creating one with a basemap layer, setting its initial extent, and adding it to a map view. To learn how to add additional data, see the Layers topic.
Steps
-
Create a new
Map, passing aBasemapStyleinto the constructor.This code is created by Qt Creator when you create the project and select the Qt Quick C++ app template. You select the basemap style in the dropdown menu.
Use dark colors for code blocks Copy Display_a_map::Display_a_map(QObject* parent /* = nullptr */): QObject(parent), m_map(new Map(BasemapStyle::ArcGISTopographic, this)) -
Optionally, add one or more data layers to the map.
-
Assign the map to a
MapViewto render the map. -
Set the map view
Viewpointto focus on a specified area of the map.Use dark colors for code blocks Copy void Display_a_map::setupMap() { const Point center(-118.805, 34.027, SpatialReference::wgs84()); const Viewpoint viewpoint(center, 72223.819286); m_mapView->setViewpoint(viewpoint); } // Set the view. The setMapView function is created by Qt Creator when you // create the project and select the Qt Quick C++ app template. void Display_a_map::setMapView(MapQuickView* mapView) { if (!mapView || mapView == m_mapView) { return; } m_mapView = mapView; m_mapView->setMap(m_map); setupMap(); emit mapViewChanged(); }
You can also create and save a web map using ArcGIS Pro or the ArcGIS Online map viewer and open it in your ArcGIS Runtime app.
Display a web map
You can open a web map saved as an item in a portal, such as ArcGIS Online, using its item ID or URL. A portal item can be secured to only allow access for authorized users, in which case you must provide credentials for access. To learn how to access secured content, see Security and authentication.
Steps
-
Create a
Qand set it to the item ID for the item that stores the web map.String -
Create a
Qthat appends the item ID to the ArcGIS Online base URL.Url -
Create a new map, passing the
Qto the constructor.Url -
Set the map to a
MapViewto render the map.
const QUrl portal_url("https://www.arcgis.com/home/item.html?id=41281c51f9de45edaf1c8ed44bb10e30");
m_map = new Map(portal_url, this);
m_mapView->setMap(m_map);
Display a mobile map
This example displays a map from a mobile map package. You can create your own mobile map (or scene) packages using ArcGIS Pro, or download existing packages from ArcGIS Online. The Mahou Riviera Trails mobile map package, for example, shows points of interest in Mahou Riviera.
Steps
-
Create a
MobileMapPackageusing the path to a local .mmpk file. -
Use
connectto signal when the package is done loading. -
Load the mobile map package.
-
After the package loads, get the first map from the package using the
MobileMapPackage::maps()property. -
Display the map in a
MapView.Use dark colors for code blocks Copy MobileMapPackage* m_mobileMapPackage = new MobileMapPackage(QDir::homePath() + "/ArcGIS/Runtime/Data/mmpk/MahouRivieraTrails.mmpk", this); connect(m_mobileMapPackage, &MobileMapPackage::doneLoading, this, [this](Error) { m_mapView->setMap(m_mobileMapPackage->maps().at(0)); }); m_mobileMapPackage->load();
Use API key access tokens
An access token, provided by an API Key credential, can be used to authorize access to ArcGIS Online services and resources from your app, as well as to monitor access to those services. You can use a single access token for all requests made by your app, or assign individual access tokens for any classes that implements
Tutorials
Samples
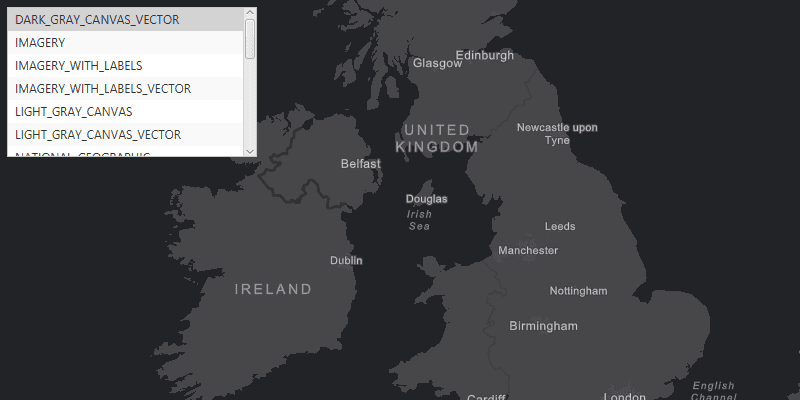
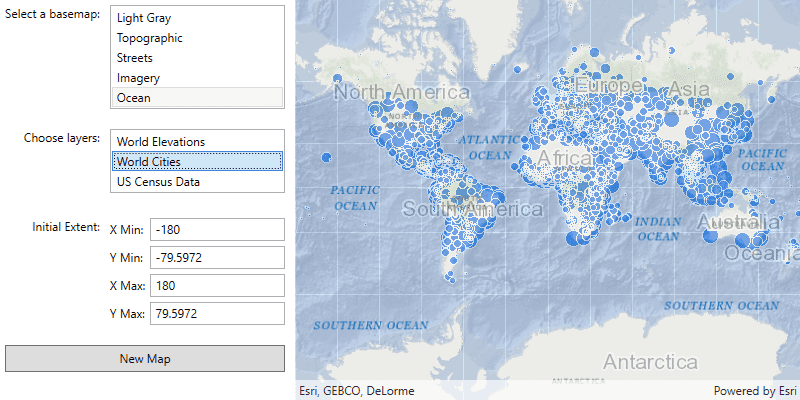
Change basemap
Create and save a map
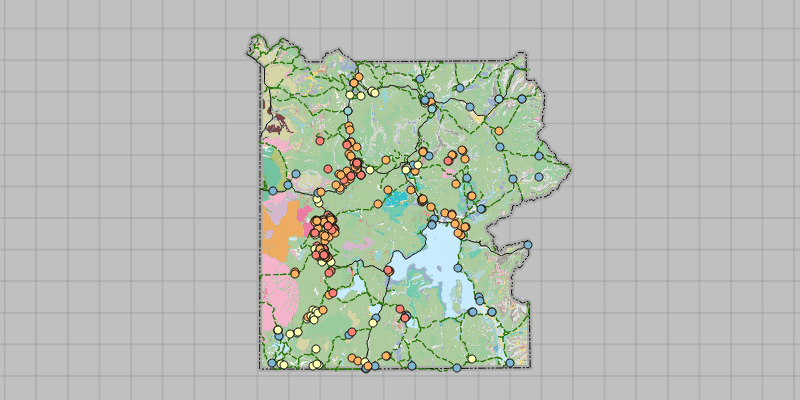
Open mobile map package
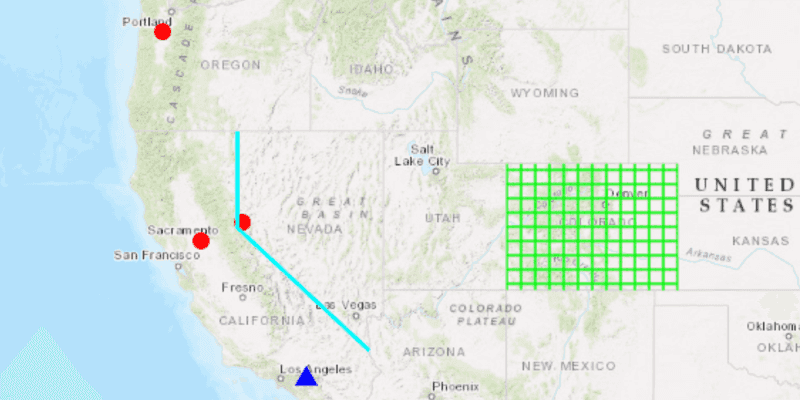
Create geometries
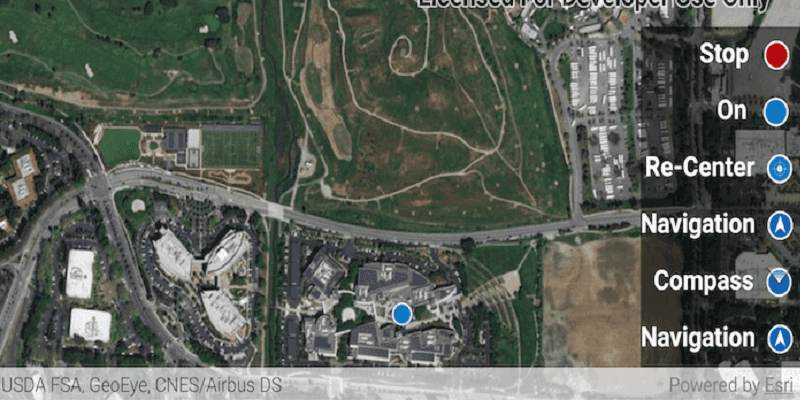
Display device location with autopan modes
