In order to create content, interact with non-public items, save geocoding results, or use POI data with the Places Service, you will need to authenticate through ArcGIS Online, ArcGIS Enterprise, or Platform.
Items in ArcGIS Online and ArcGIS Enterprise can be unshared (accessible only to the item owner) or shared to groups, your organization, or everyone (
 ). Learn more about Sharing here. Read and write access to an item is controlled by the owner-specified sharing level, organizational security settings, and the accessing user’s privileges.
Using OAuth2
There are two ways to authorize with OAuth2: either by using a a code or a client flow. Code-based authorization is interactive, requiring you to copy an authorization code from a browser window into the R console during the execution of your code. Client authorization allows for non-interactive scripting, but cannot be used for creating or modifying content. In most cases, code-based authorization is recommended. These two methods are explained below.
Before you can authorize with either OAuth2 method, you must first create a client ID.
Obtaining a Client ID
If a client ID is not provided to you by an administrator and you have the ability to create content items, you can create one.
You can do so by creating an application item.
- Log in to your ArcGIS Online or ArcGIS Enterprise organization
- Navigate to the Content tab
- Click
New Item - Select
Application

- Choose
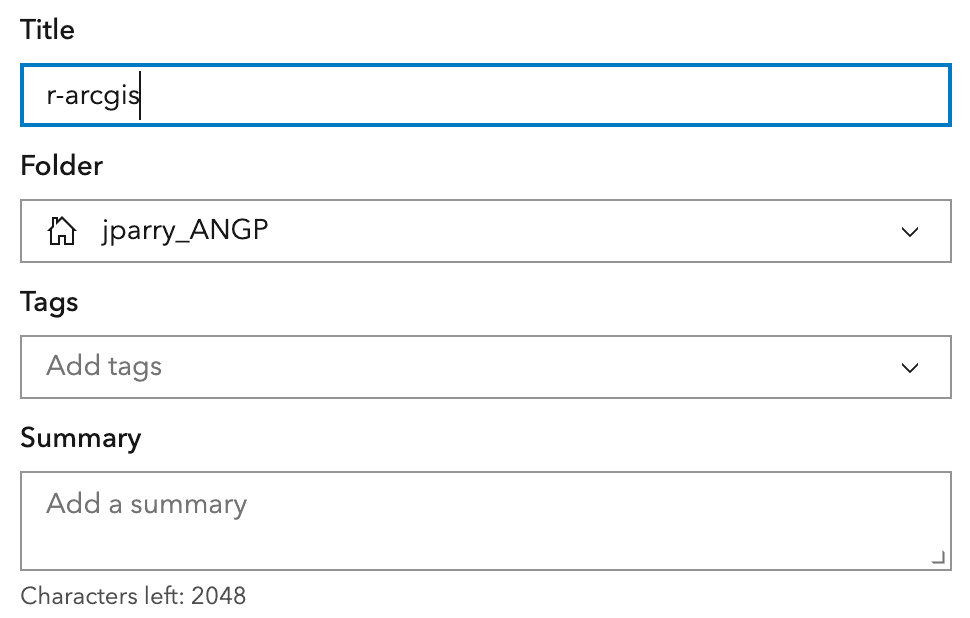
Other applicationas yourApplication Type - Give the item an informative name such as
r-arcgis- Optionally, specify the folder, tags, and summary as well.

- You will be directed to the item details page of the newly created application where you can see your credentials. Do not share these.

Authorizing
First, load the library.
library(arcgis)
#> Attaching core arcgis packages:
#>   - {arcgisutils} v0.1.0
#>   - {arcgislayers} v0.1.0
Code flow
The OAuth2 Code Flow is a process where a user authorizes an application to act on their behalf by granting a temporary access token. This type of authorization permits the application to take actions on the user’s behalf for the duration of the access token. Learn more about how ArcGIS uses OAuth2.0.
Running auth_code() will open a tab in your browser to begin the code flow. If you are authorizing to an ArcGIS Enterprise portal, ensure that you set the ARCGIS_HOST environment variable correctly and that you have restarted your R session.
token <- auth_code()
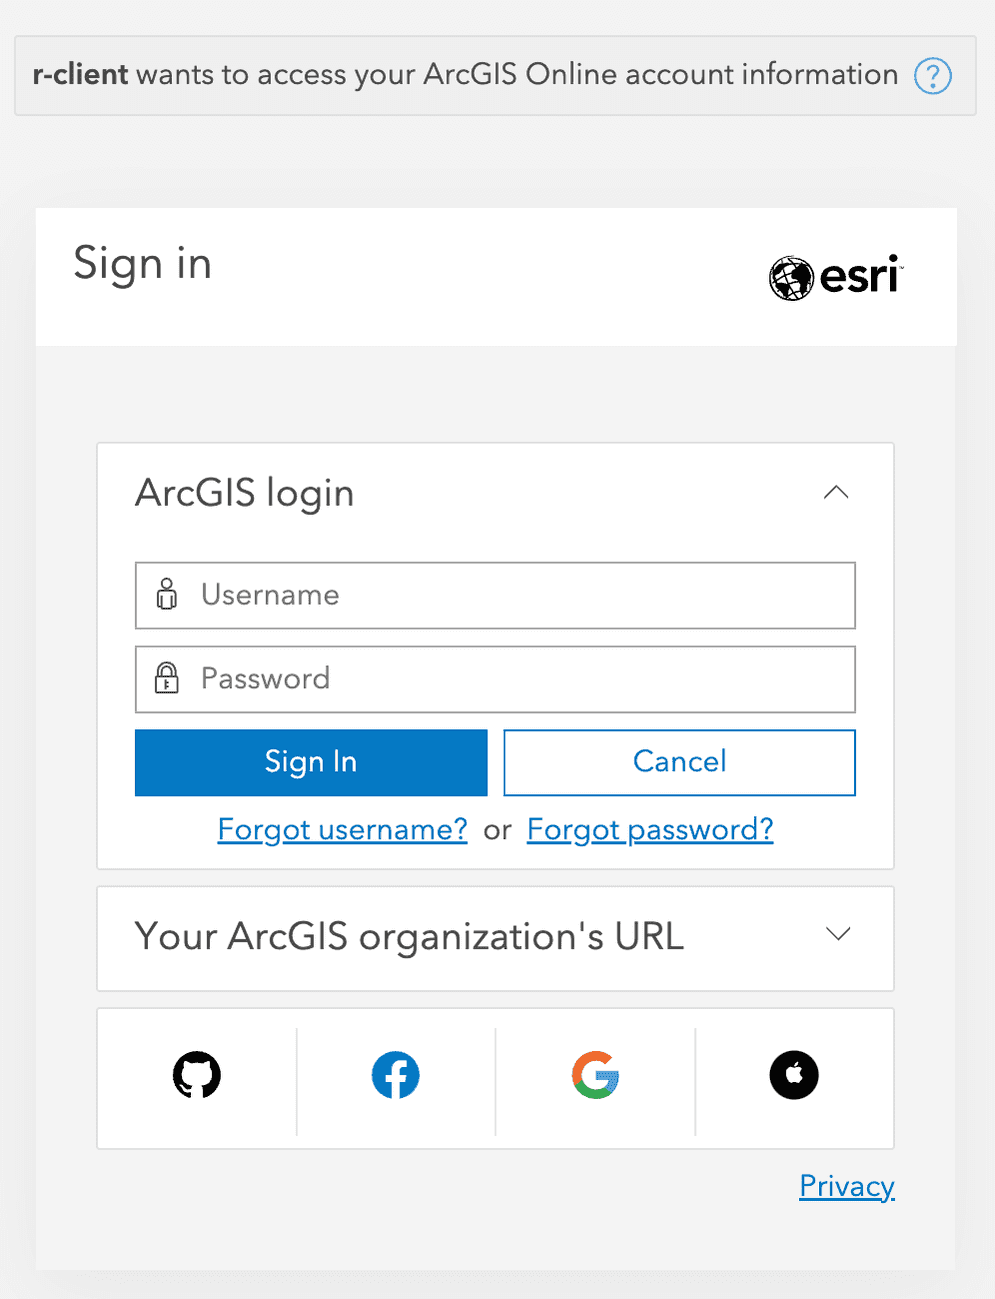
You will be prompted to sign in to your portal.

Once you’ve signed in, copy the code that appears, and return to R. Enter the code into the console without any modifications and press enter.

Your authorization will have completed.
token
#> <httr2_token>
#> token_type: bearer
#> access_token: <REDACTED>
#> expires_at: 2023-03-03 13:21:40
#> refresh_token: <REDACTED>
#> username: your-user
#> ssl: TRUE
#> refresh_token_expires_in: 1209599
Authorization tokens are temporary and will expire. If you encounter an invalid token error, you might need to generate a new token.
To make this token easily accessible to arcgis, use set_arc_token() which sets the token in dedicated authorization token environment.
set_arc_token(token)
Client flow
Alternatively, you can authorize using the client OAuth2 flow. This will authorize the application you created and not ourselves. Because of this, you cannot use the client flow to create or modify content.
The client flow has the benefit of being non-interactive, though.
token <- auth_client()
set_arc_token(token)
Using a Named User
Authorizing using an ArcGIS Online or ArcGIS Enterprise username and password is a legacy method that is supported for cases where OAuth2 is not implemented. As a reminder, credentials should never be stored in plaintext in code.
Security consideration: Obtaining an access token with this method will expose the username and password credentials as plain text and could present a potential security risk.
token <- auth_user(
  username = Sys.getenv("ARCGIS_USER"),
  password = Sys.getenv("ARCGIS_PASSWORD")
  host = arc_host(),
  expiration = 60
)
set_arc_token(token)
Using {arcgisbinding}
If you are a user of ArcGIS Pro and have arcgisbinding installed, you can use auth_binding() to utilize the tokens that result from arc.check_portal(). auth_binding() has the benefit of being non-interactive and authorizes you as a user. You can use auth_binding() for non-interactive work that creates or modifies existing content.
token <- auth_binding()
set_arc_token(token)
This method retrieves the token from the active portal in ArcGIS Pro. Make sure that you are logged into the intended portal and that it is set as active. If you switch which portal is active in ArcGIS Pro, you will need to restart your R session for the new portal to be recognized by auth_binding().
Using an API Key
If you are using ArcGIS Platform or using the ArcGIS Places Service, you will need to authorize via API key. Create an API key via the following instructions:
- Navigate to https://developers.arcgis.com/
- Sign in
- Navigate to your API keys at https://developers.arcgis.com/api-keys/
- Click
+ New API Key& fill out the modal form
Store the API key in your .Renviron file. You can call usethis::edit_r_environ() to open the file for you.
ARCGIS_API_KEY=your-secret-api-key
Restart your R session for the key to be found. Next, load the arcgisutils package:
library(arcgisutils)
auth_key()